Introduction
- Etckeeper is a tool designed to help you manage and track changes to your configuration
files in the
/etcdirectory. Using Git as its backend, Etckeeper allows you to version control your configuration files, making it easier to monitor and revert changes if necessary. - In this guide, I will show you how to set up Etckeeper on your system and start tracking changes to your configuration files.
Step 1: Install Etckeeper
-
The first step is to install Etckeeper on your system. You can do this by running the following commands:
-
For Debian/Ubuntu:
sudo apt-get update sudo apt-get install etckeeper -
For RHEL/CentOS/Fedora:
sudo yum update
sudo yum install etckeeper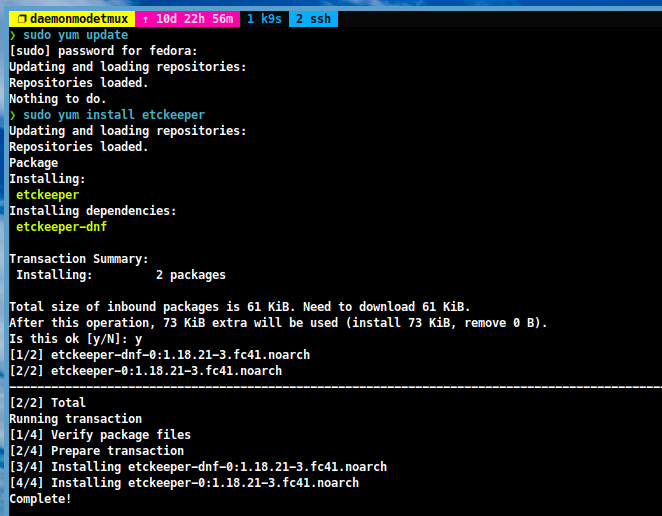
-
Step 2: Initialize Etckeeper
-
Once Etckeeper is installed, you need to initialize it by running the following command:
sudo etckeeper init
-
This will create a new Git repository in the
/etcdirectory and start tracking changes to your configuration files. If you want to take a snapshot for daily autocommit, you can run the following command:sudo systemctl enable --now etckeeper.timer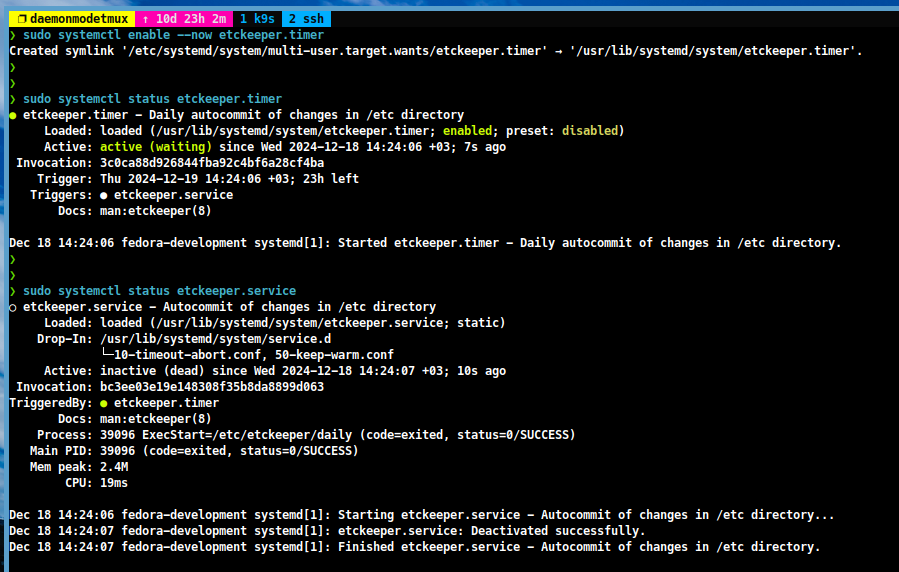
Step 3: List Etckeeper Commits
-
The timer in the previous step will create an initial commit at the beginning and continue to create auto-commits based on changes at certain times of the day. To check the status of your commits, you can run the following command:
sudo etckeeper vcs log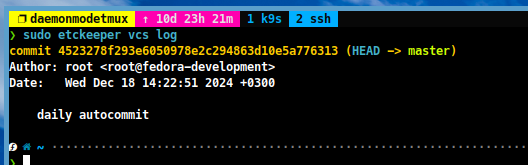
Step 4: Create and Check Manual Commits
-
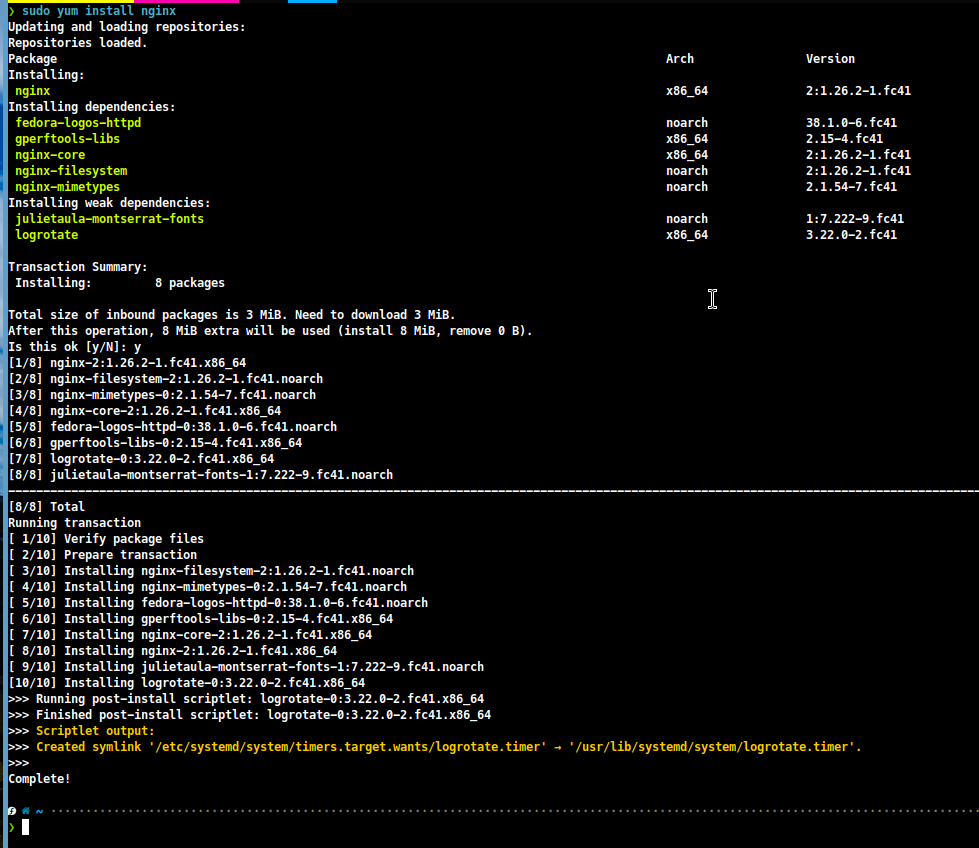
In this step, I will install
nginxpackage and create a manual commit to track the changes. You can do this by running the following commands:-
For Debian/Ubuntu-based systems:
sudo apt-get install nginx -
For Red Hat-based systems:
sudo yum install nginx
-
-
After installing the package, you can check the status of your changes by running the following command:
sudo etckeeper vcs status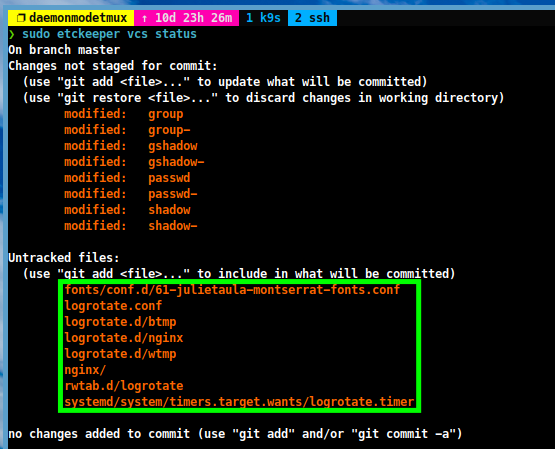
-
To create a manual commit, you can run the following command:
sudo etckeeper commit "feat: install nginx package"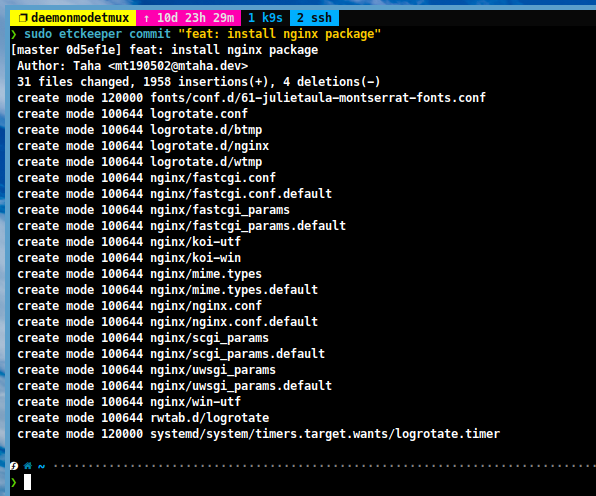
-
Now, you can check the status of your commits by running the following command:
sudo etckeeper vcs log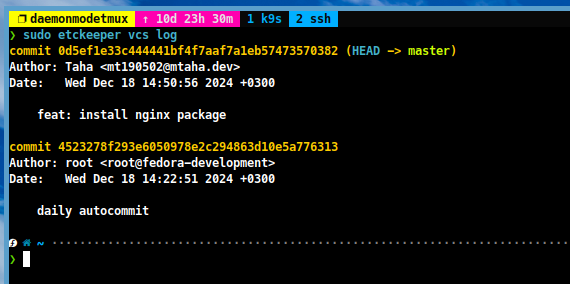
-
If you check a specific file, you can run the following command: (For example, to check the changes in the
/etc/passwdfile)sudo etckeeper vcs diff HEAD~1 /etc/passwd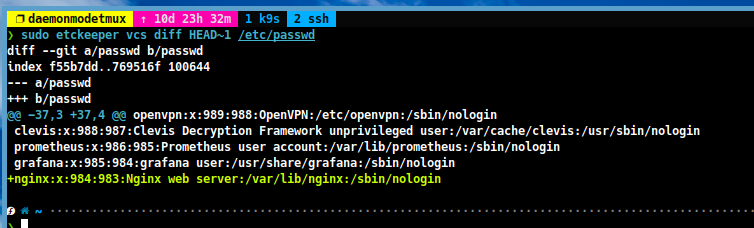
(Optional) Step 5: Connect Etckeeper to a Remote Repository
-
If you want to store your configuration files in a remote Git repository, you can do so by following these steps:
-
Create a new private repository on GitHub or GitLab.
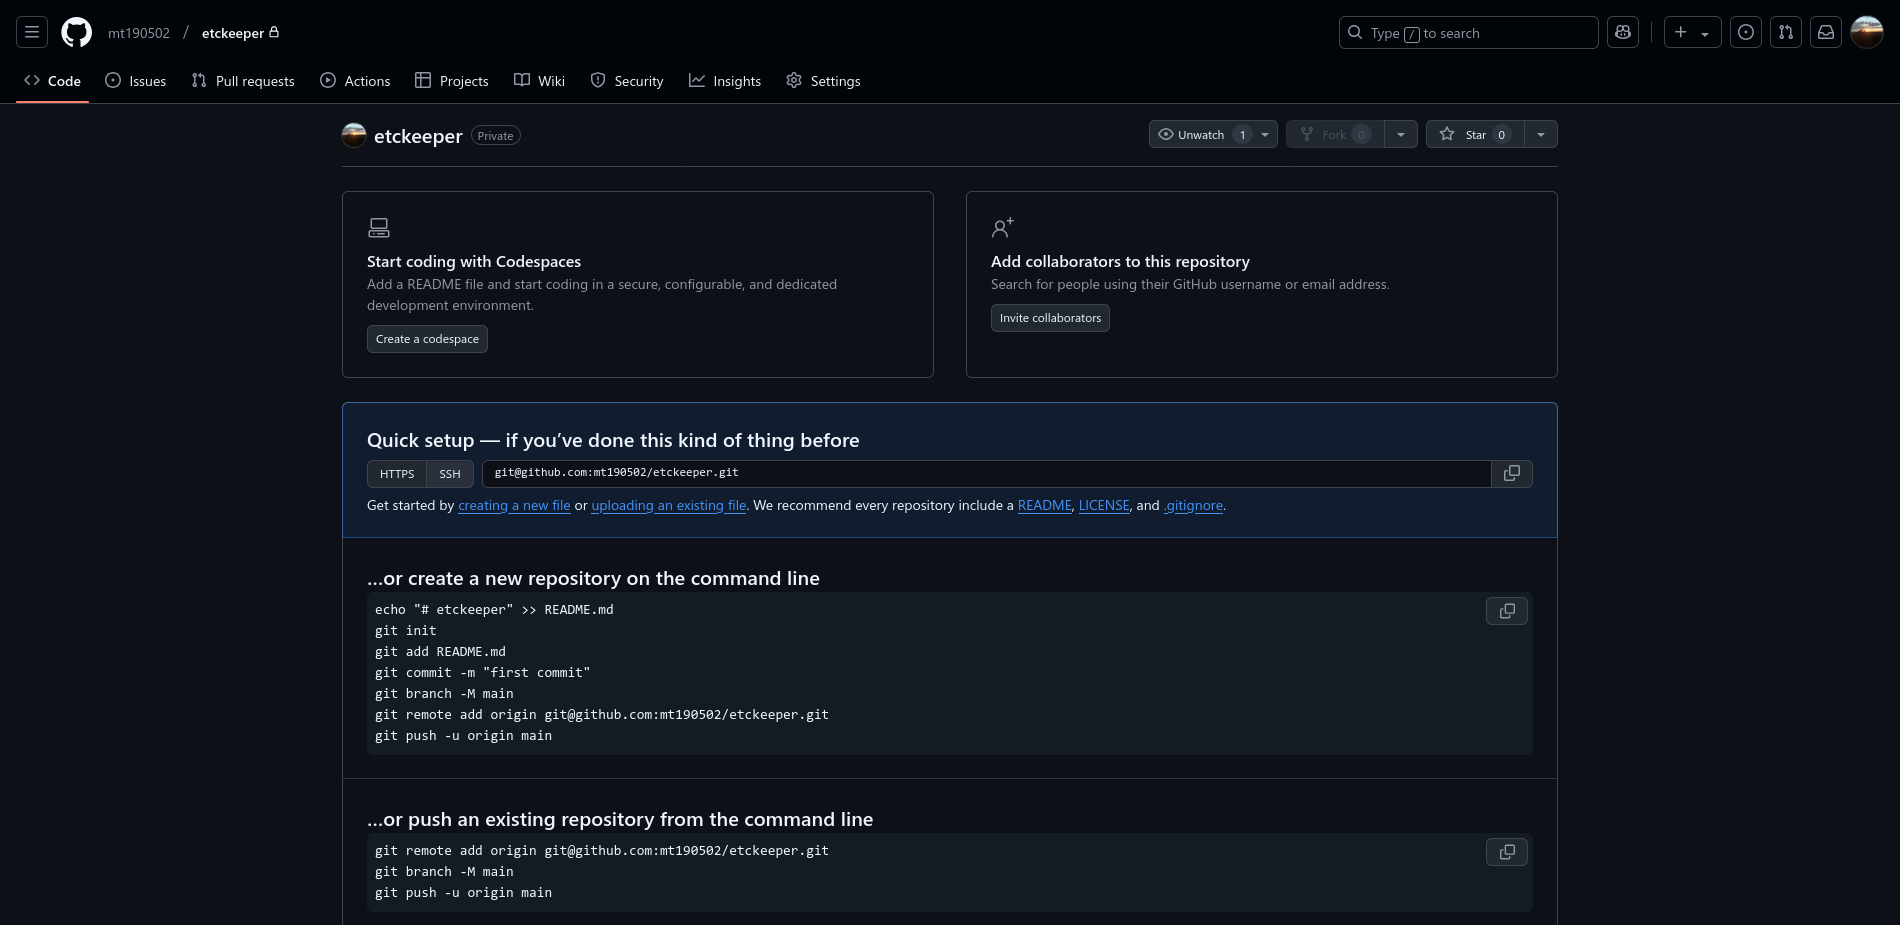
-
Add the remote repository to your Etckeeper configuration by running the following command:
sudo etckeeper vcs remote add origin <repository-url>    #~ add your repository url
sudo etckeeper vcs remote -v                             #~ check the remote repository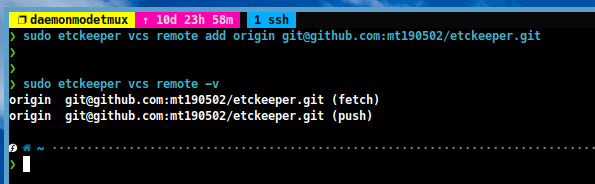
-
Push your changes to the remote repository by running the following command:
sudo etckeeper vcs branch -M main                       #~ change the branch name to main
sudo etckeeper vcs push -u origin main                  #~ push the changes to the remote repository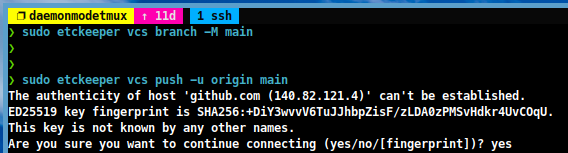
Tip
If you are using etckeeper on multiple machines, I recommend using hostname or machine-id as the branch name. Or you can use hostname to create multiple git repositories.
-
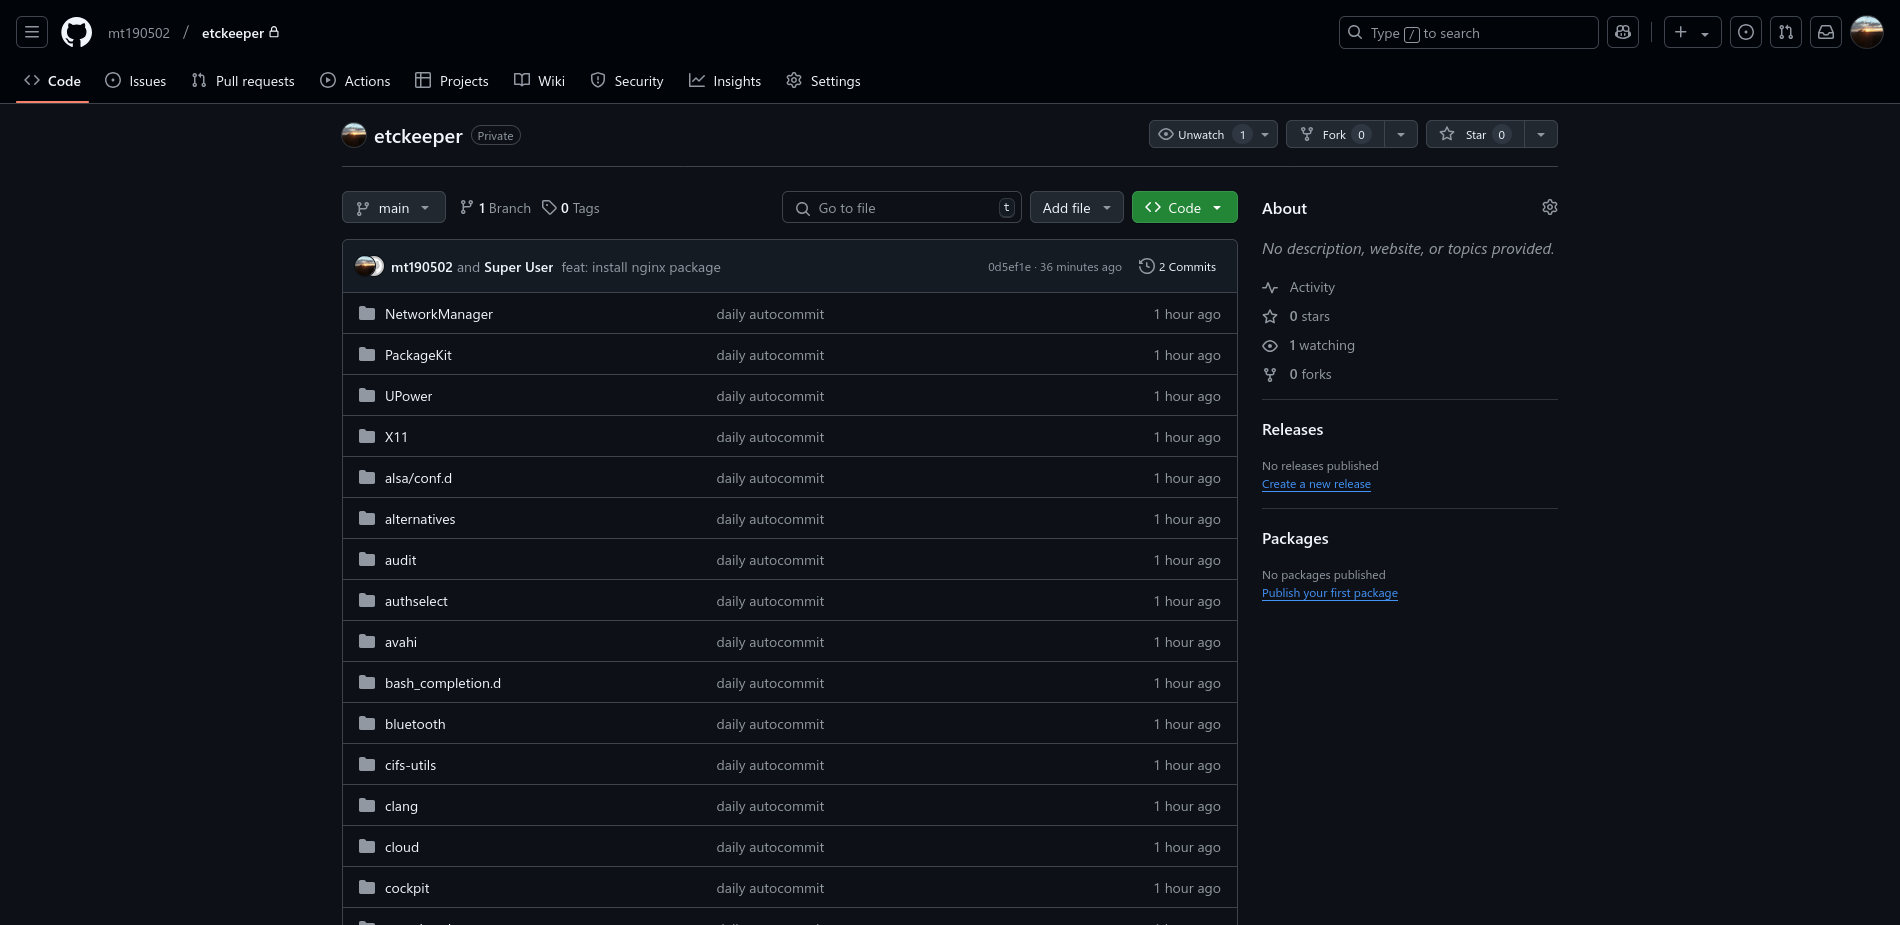
Now, your configuration files will be stored in a remote Git repository, allowing you to access them from anywhere.
Conclusion
- Etckeeper is a powerful tool that allows you to track changes to your configuration
files in the
/etcdirectory. By using Git as its backend, Etckeeper makes it easy to monitor and revert changes when necessary. In this guide, I showed you how to set up Etckeeper on your system and start tracking changes to your configuration files.