Disclaimer
In this article I have chosen ubuntu for the live boot and fedora for the target. You can use other distributions for live boot and target installation. If you use a different distribution for the target, you need to check the bootstrap commands for that distribution. For example: debootstrap, pacstrap and dnf. The parameters may differ depending on the tool you are using
Introduction
- In linux distributions, the bootstrap process is used to install the base of a
distribution without a GUI installer (e.g. Calamares, Anaconda, etc.) using package
managers or other tools. This method can be done in many distributions. For example:
pacstrapfor Arch Linuxdebootstrapfor Ubuntu/Debiandnffor fedora
- So why choose this method?
- In some cases I have chosen this method for several reasons. For example:
- Old hardware
- Some hardware drivers not included in the distribution
- Gui installer not working due to file system errors from an old installation and etc.
- Today in this article I will try to explain in detail the steps I take when using this method.
Step 1: Update Repositories in Live Environment
-
The first step is to update the repositories in the live environment.
sudo apt update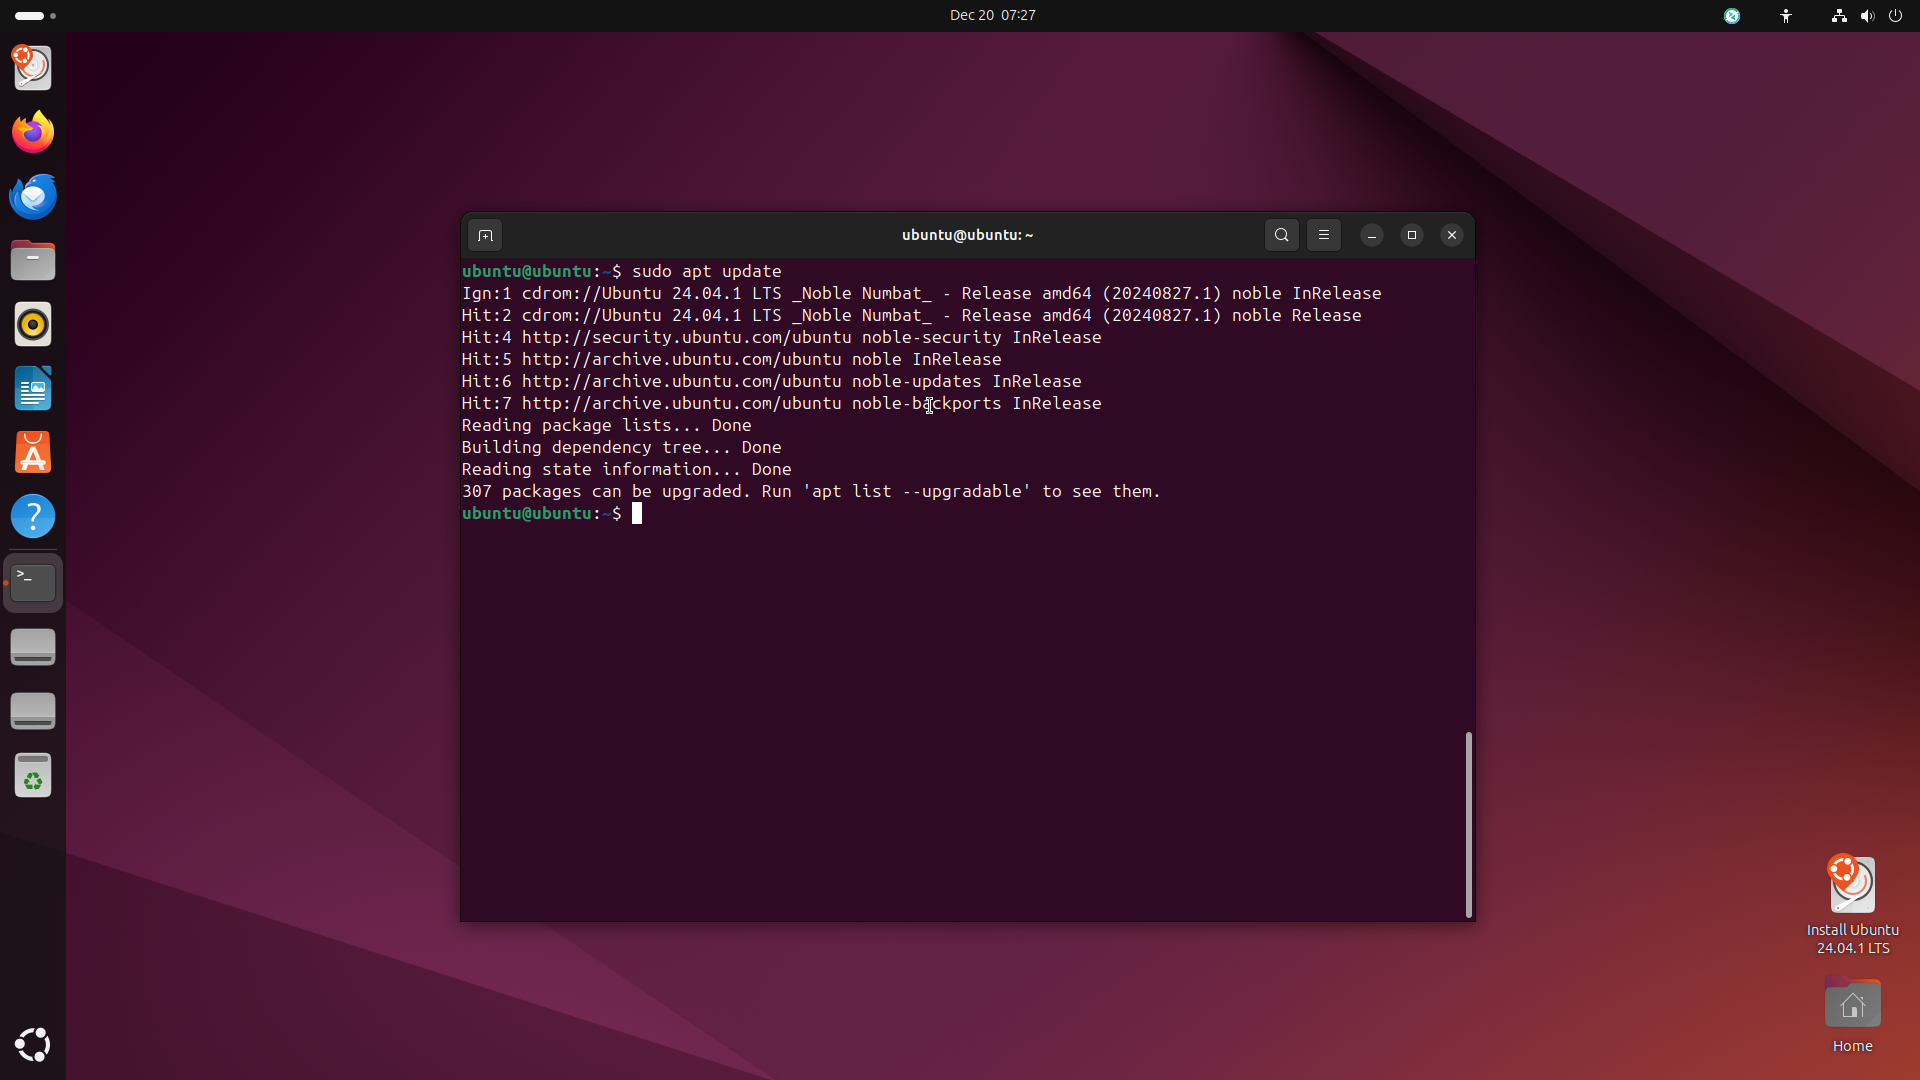
Step 2: Install DNF Package Manager in Live Environment
-
In this article, we will install the dnf package manager in the live environment, since we chose fedora for the target installation.
sudo apt install dnf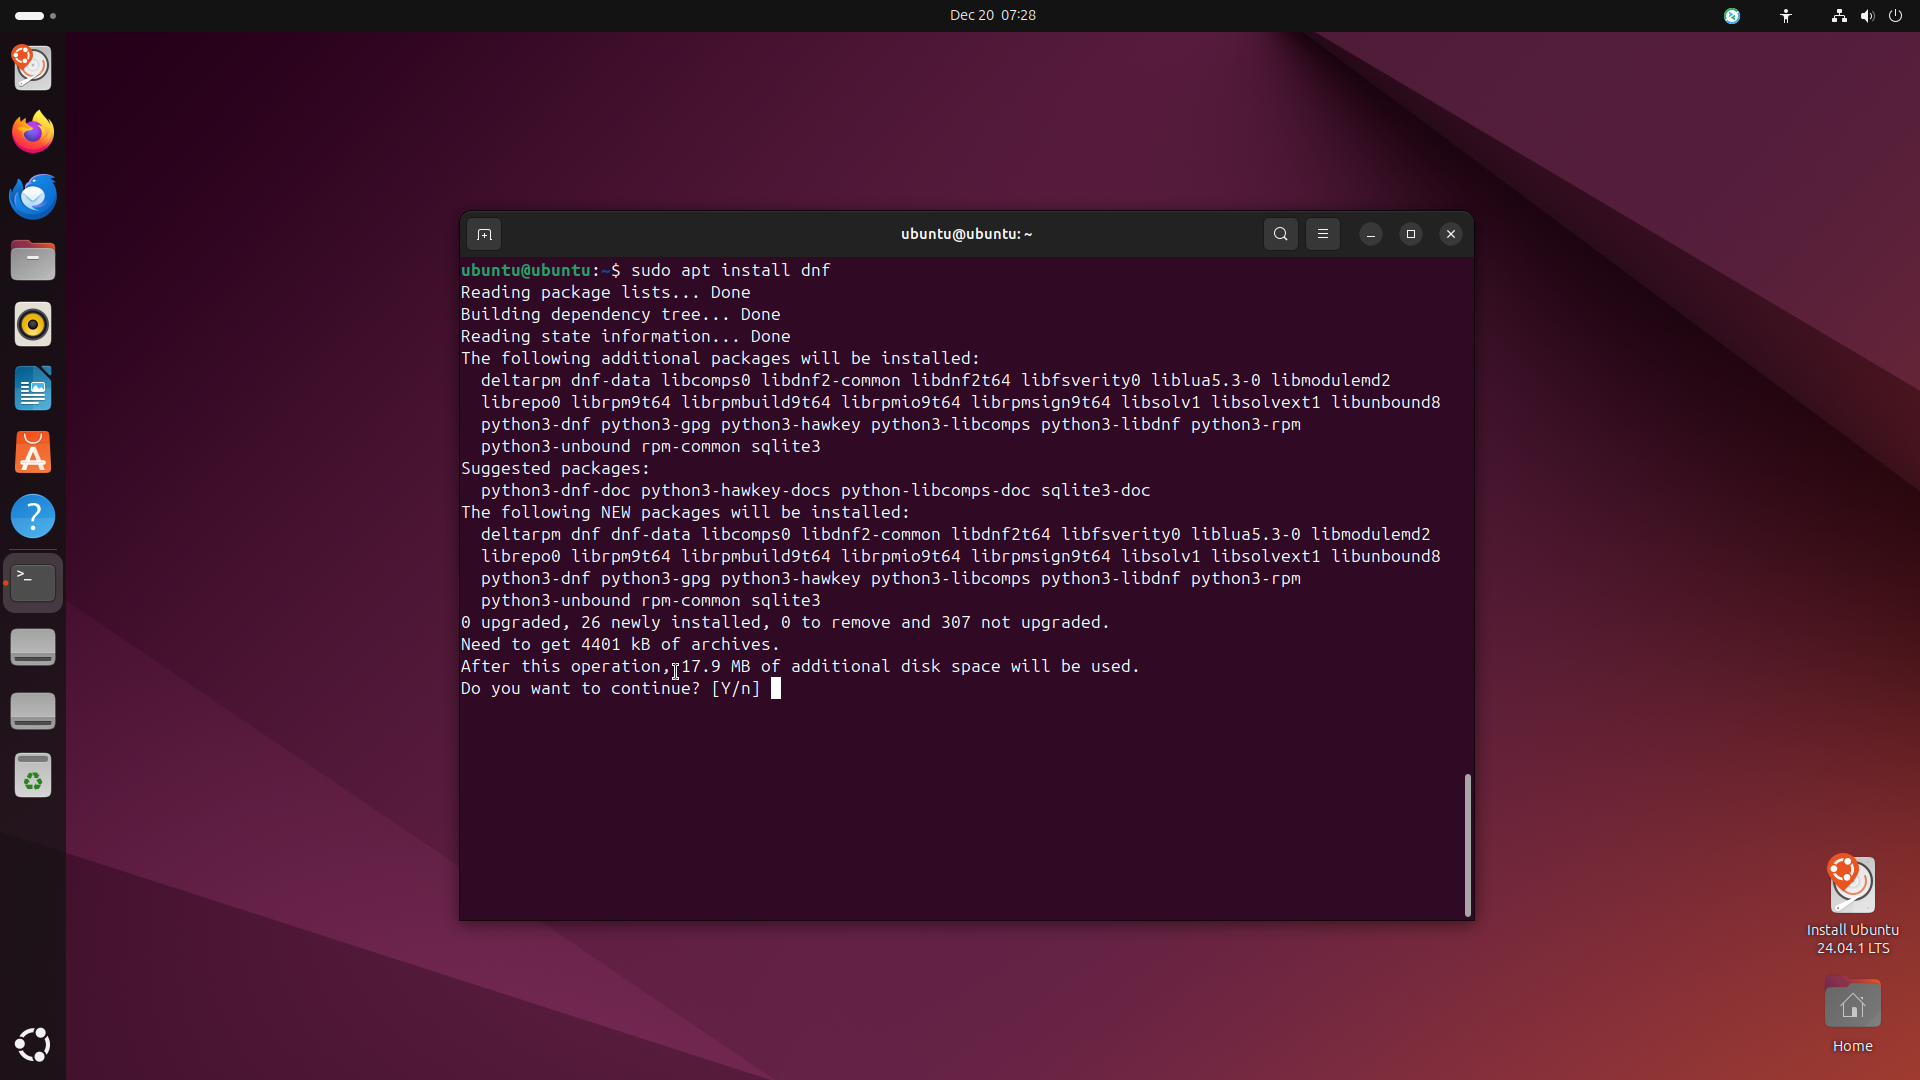
Step 3: Prepare the Disk and Partitions
-
The next step is to prepare the disk and partitions. First, you need to check the disk you want to install the system on:
lsblk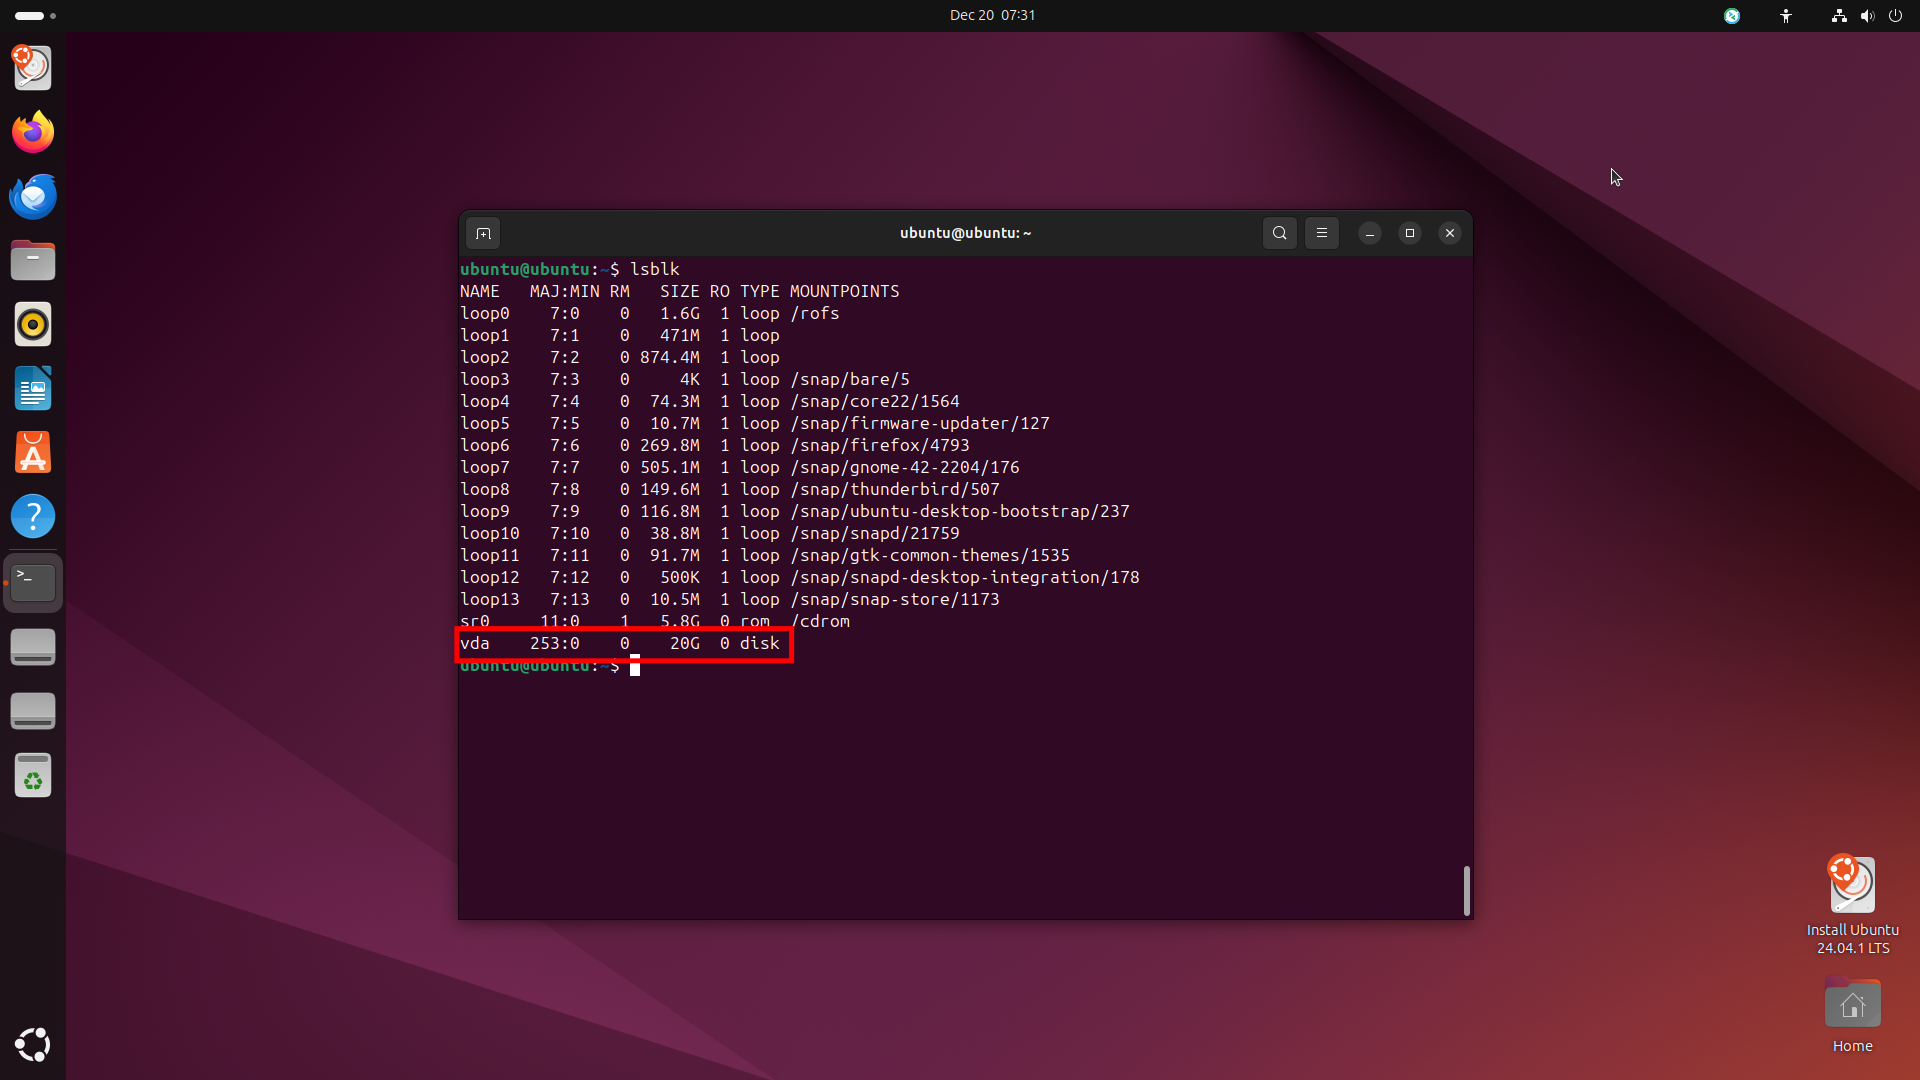
-
In my case, I will use
/dev/vdadisk. You can usecfdiskto create partitions on the disk. You can do this by running the following command:cfdisk /dev/vda -
Select
gpt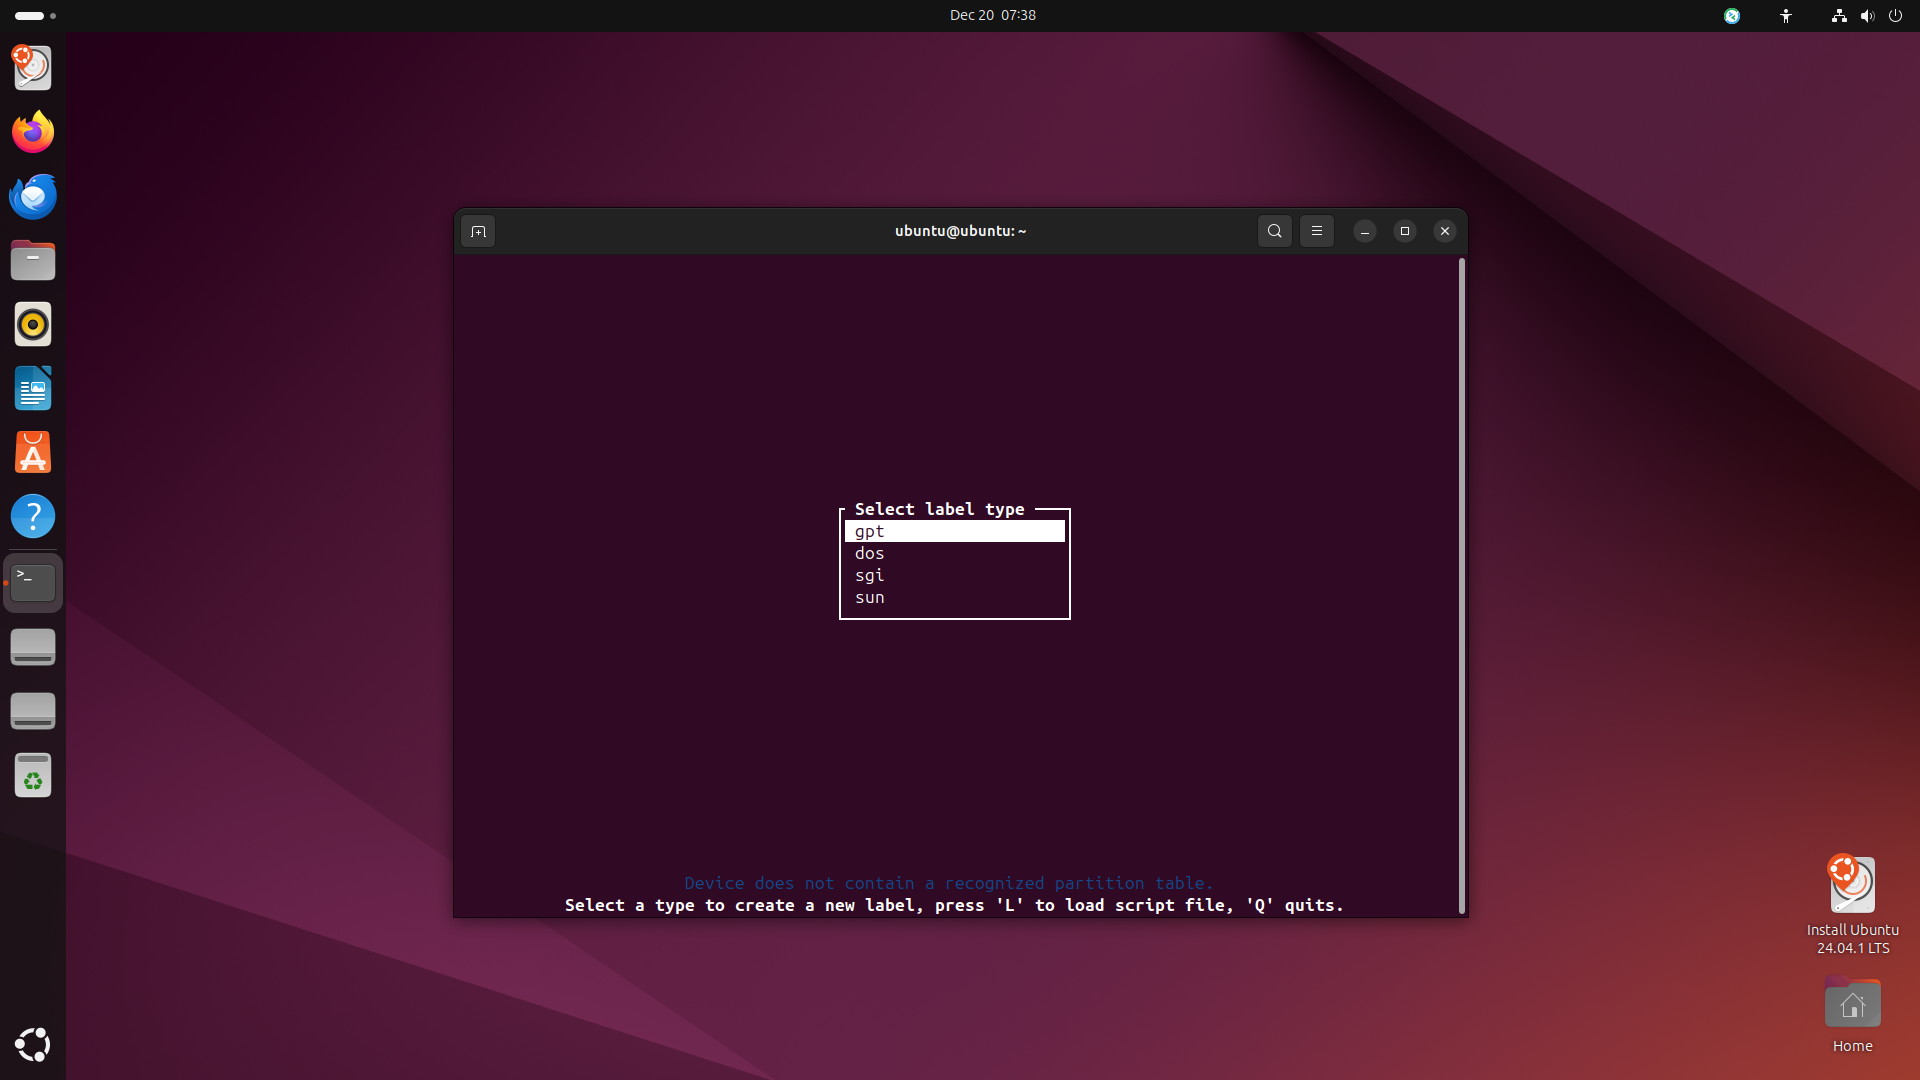
-
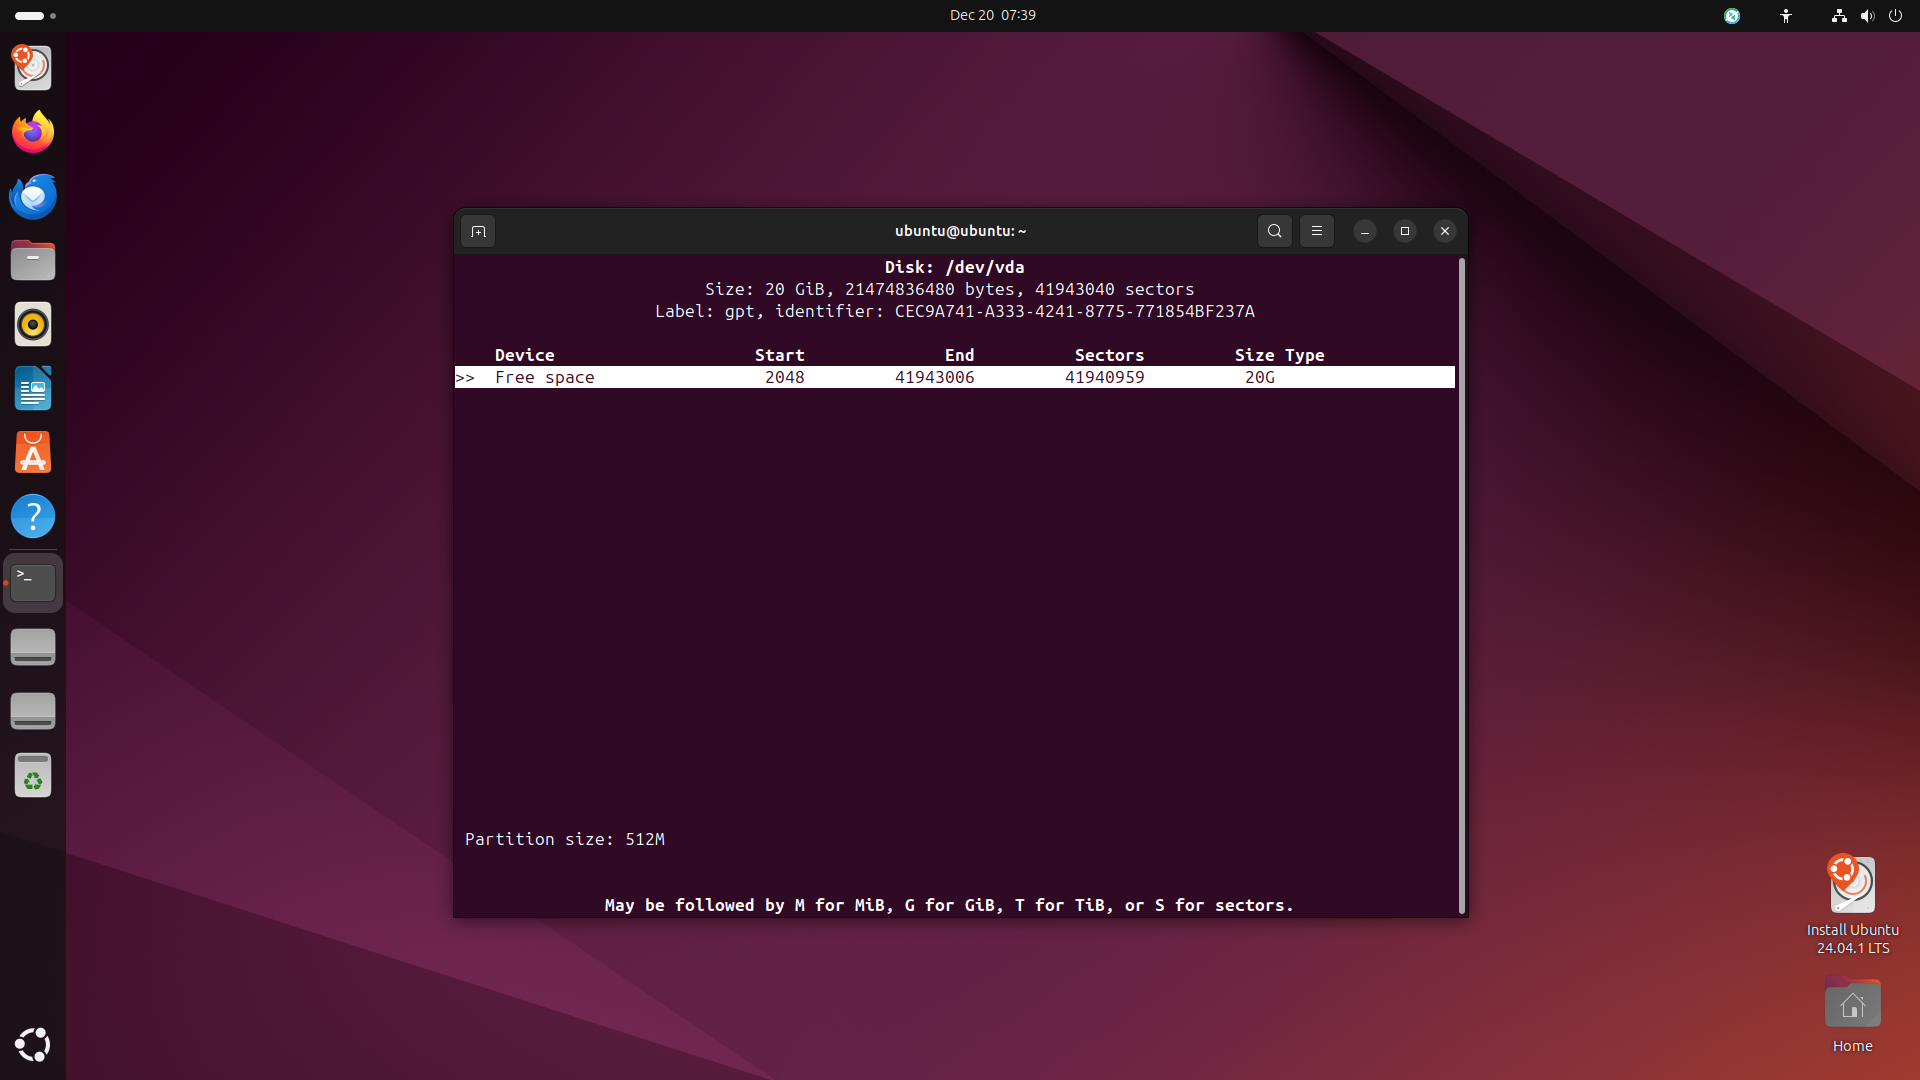
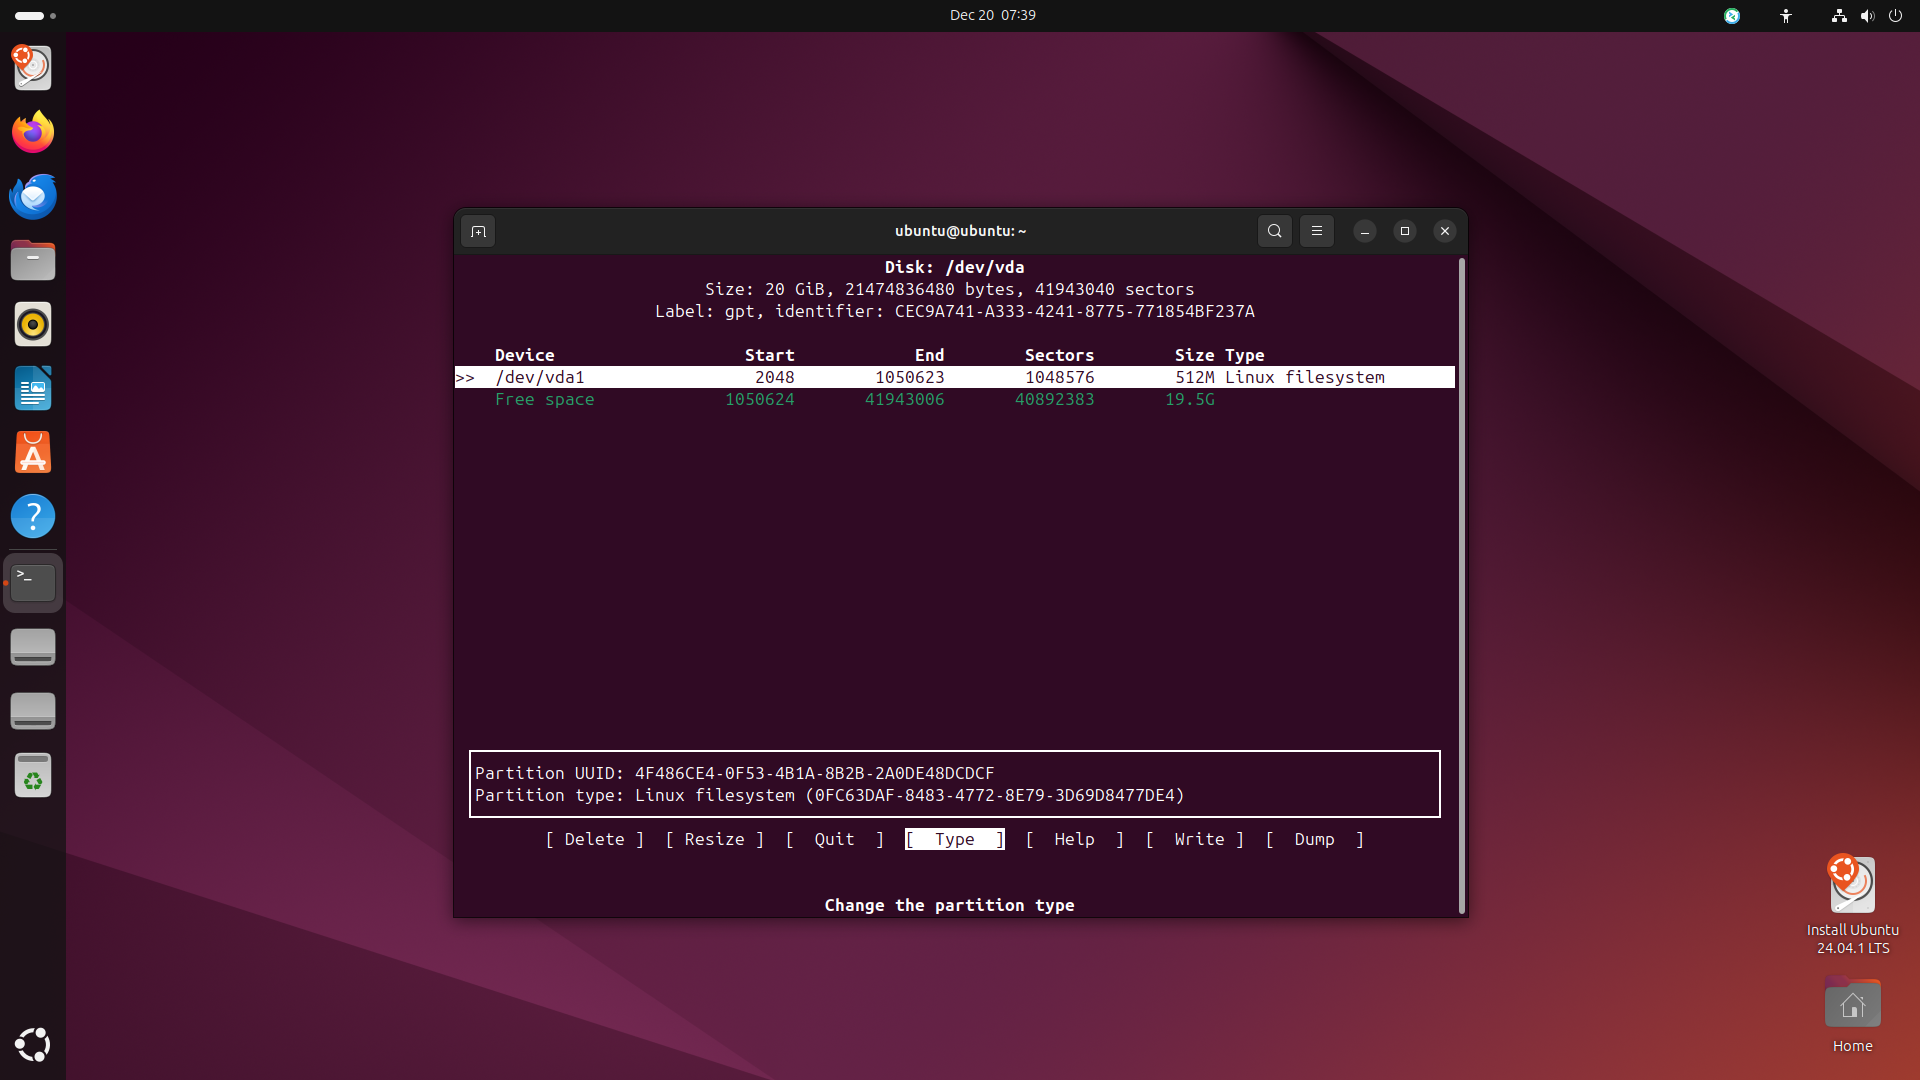
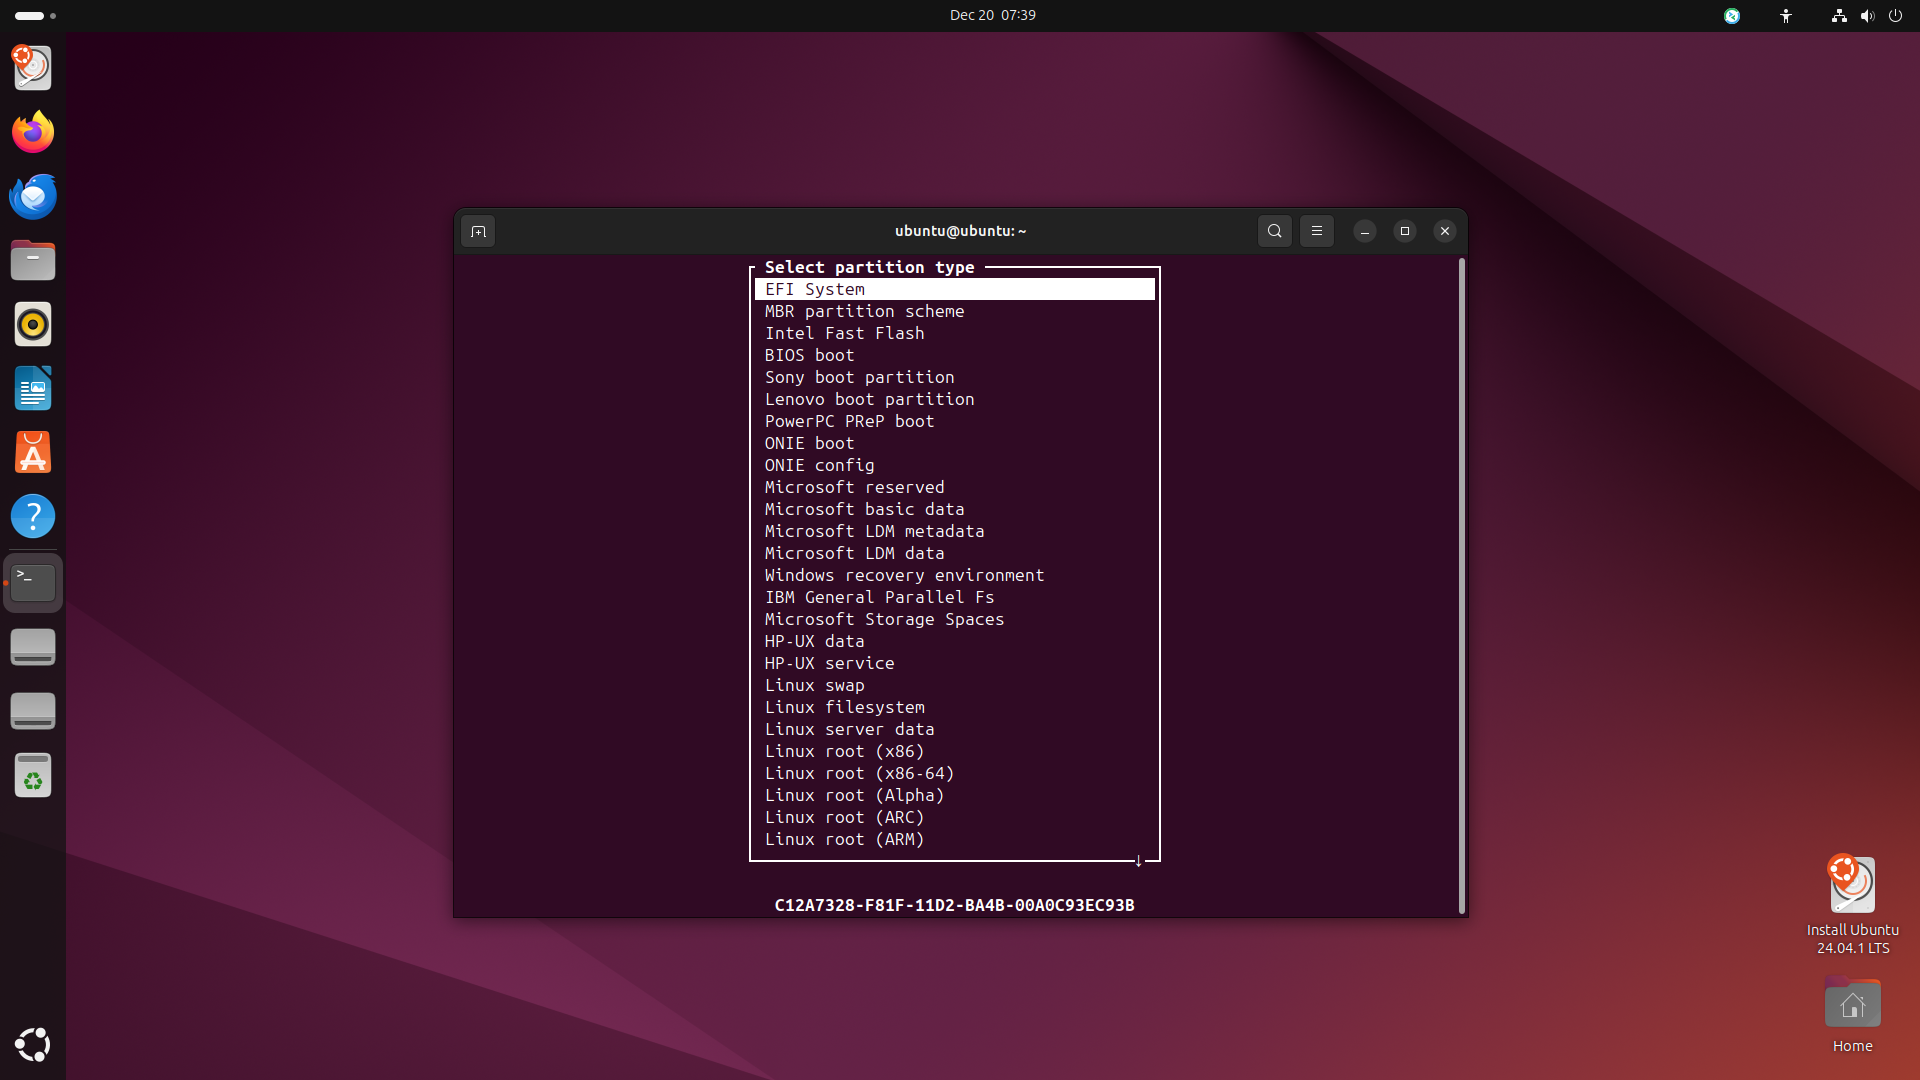
cfdiskwill list the partitions on the disk. You can create a new efi partition by selectingNewand then set the size to512Mand type toEFI System.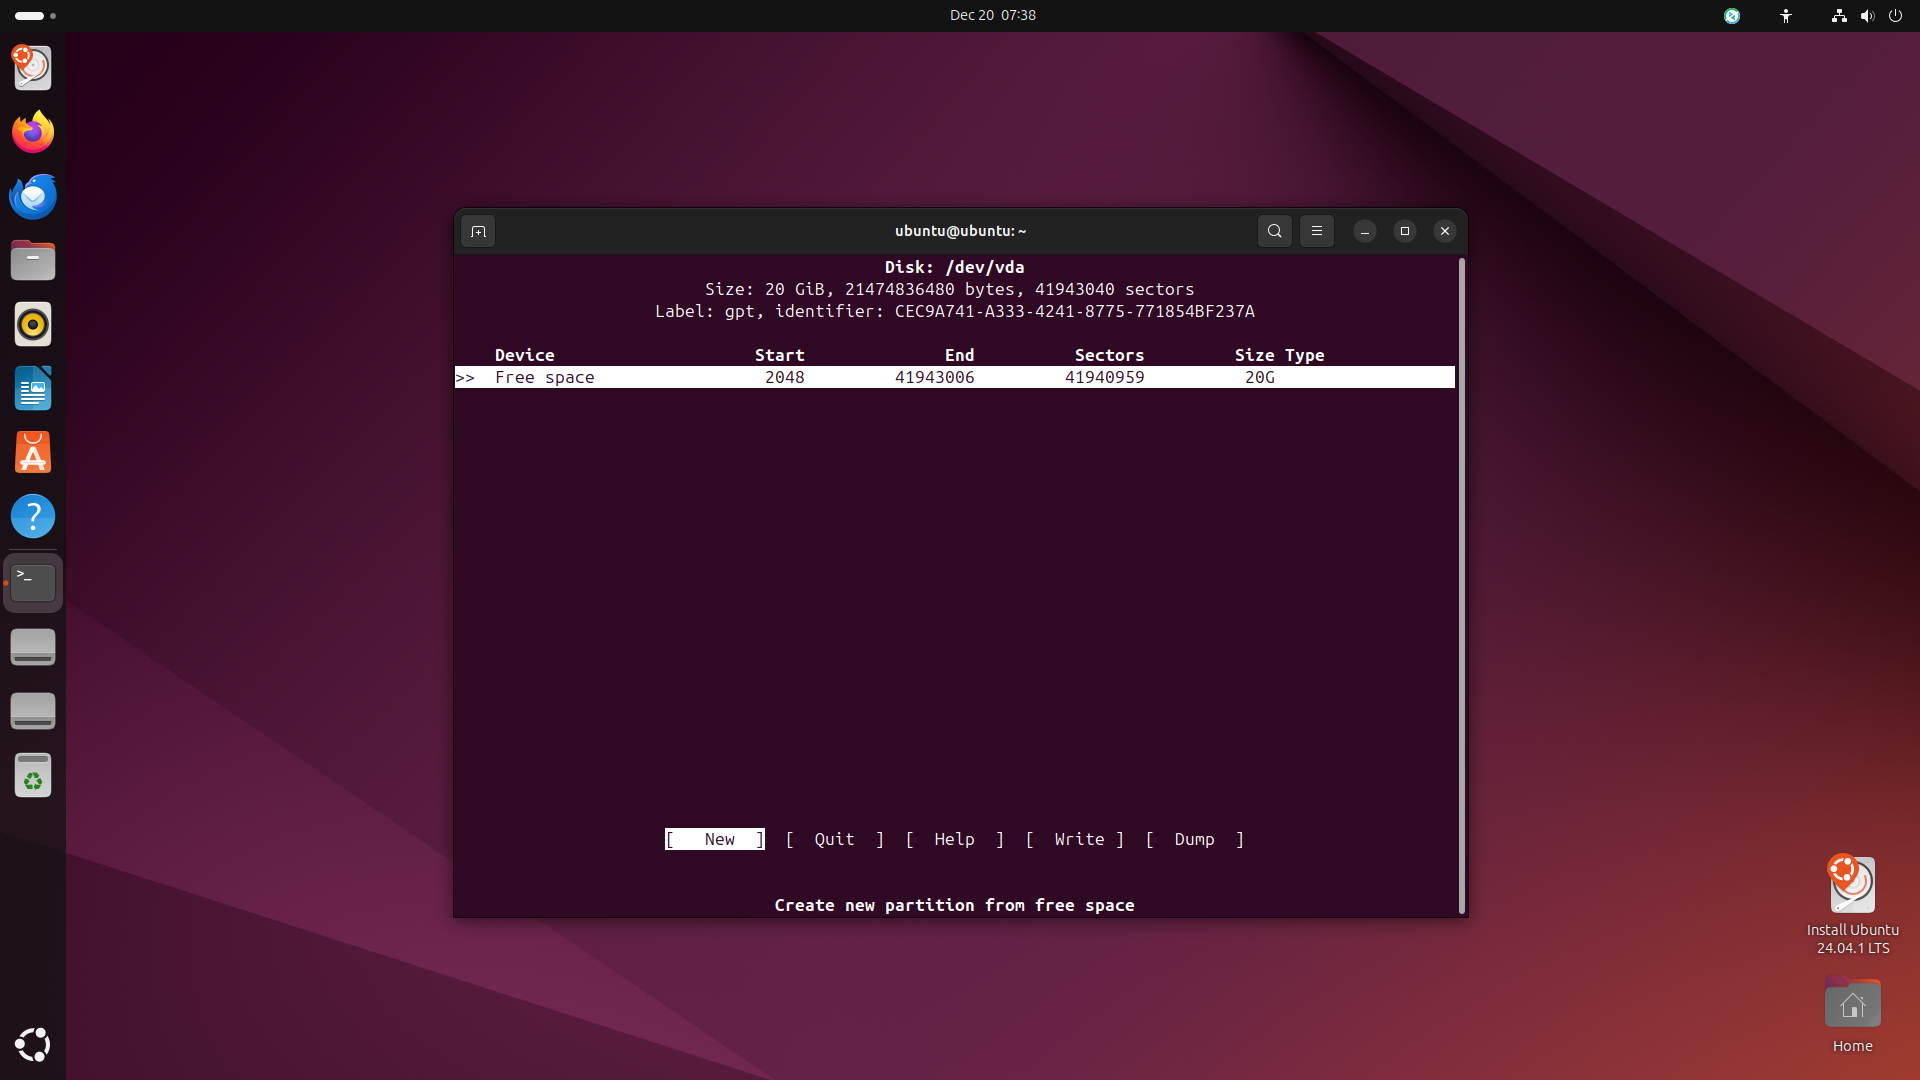
-
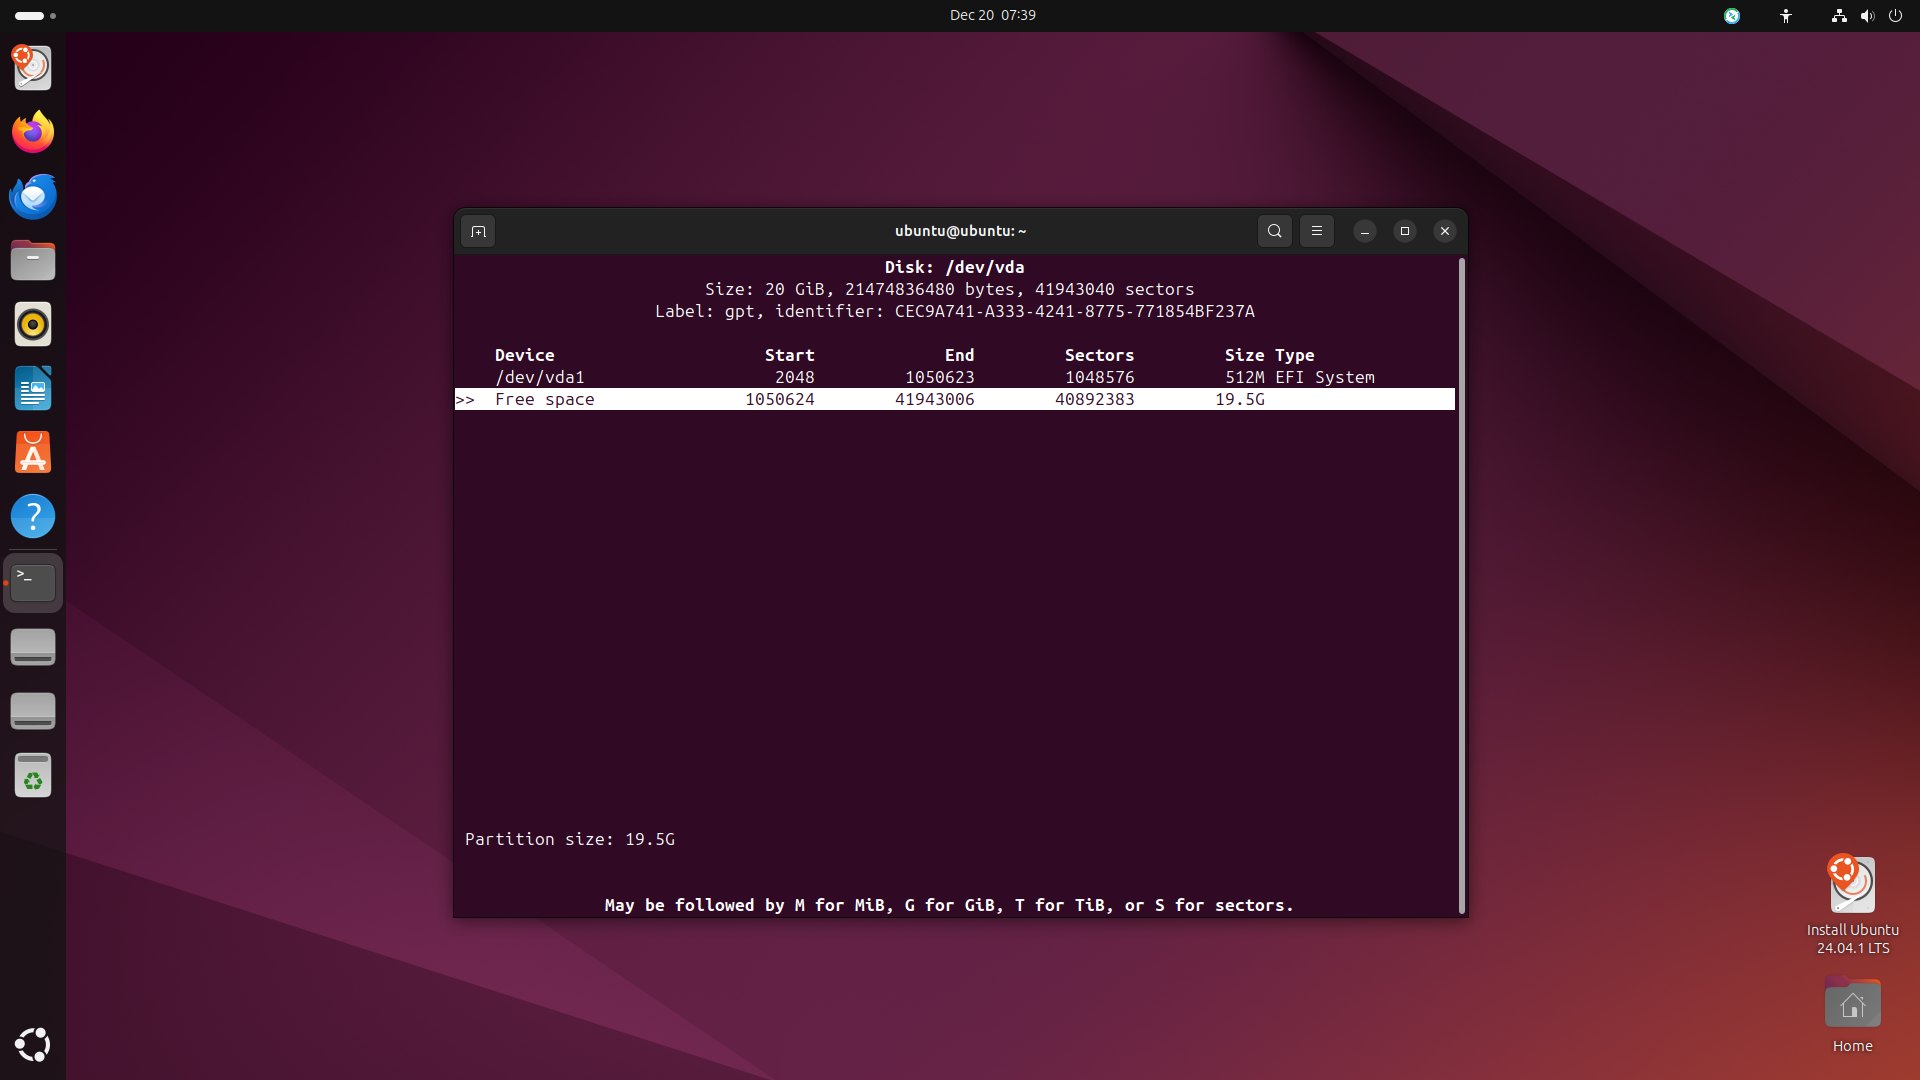
Create a new root partition by selecting
Newand pressingEnterto use the remaining space.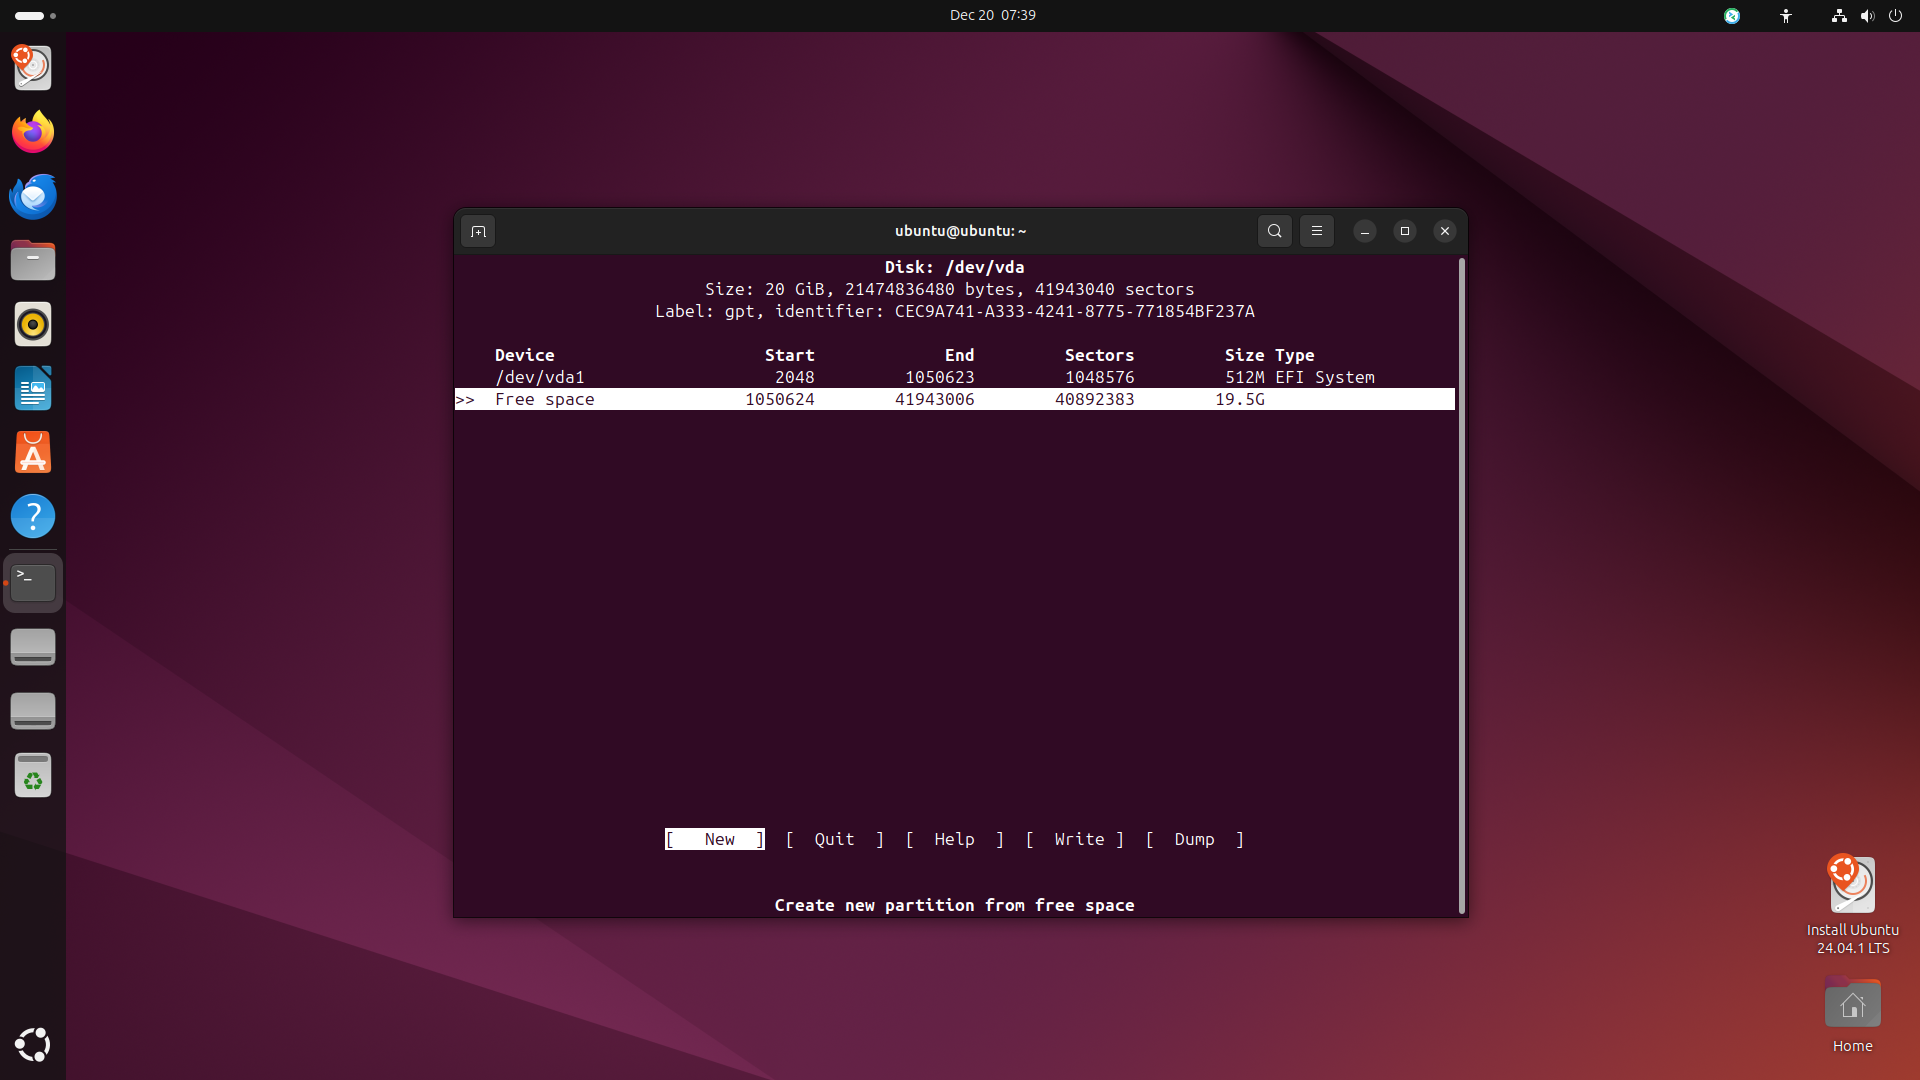
-
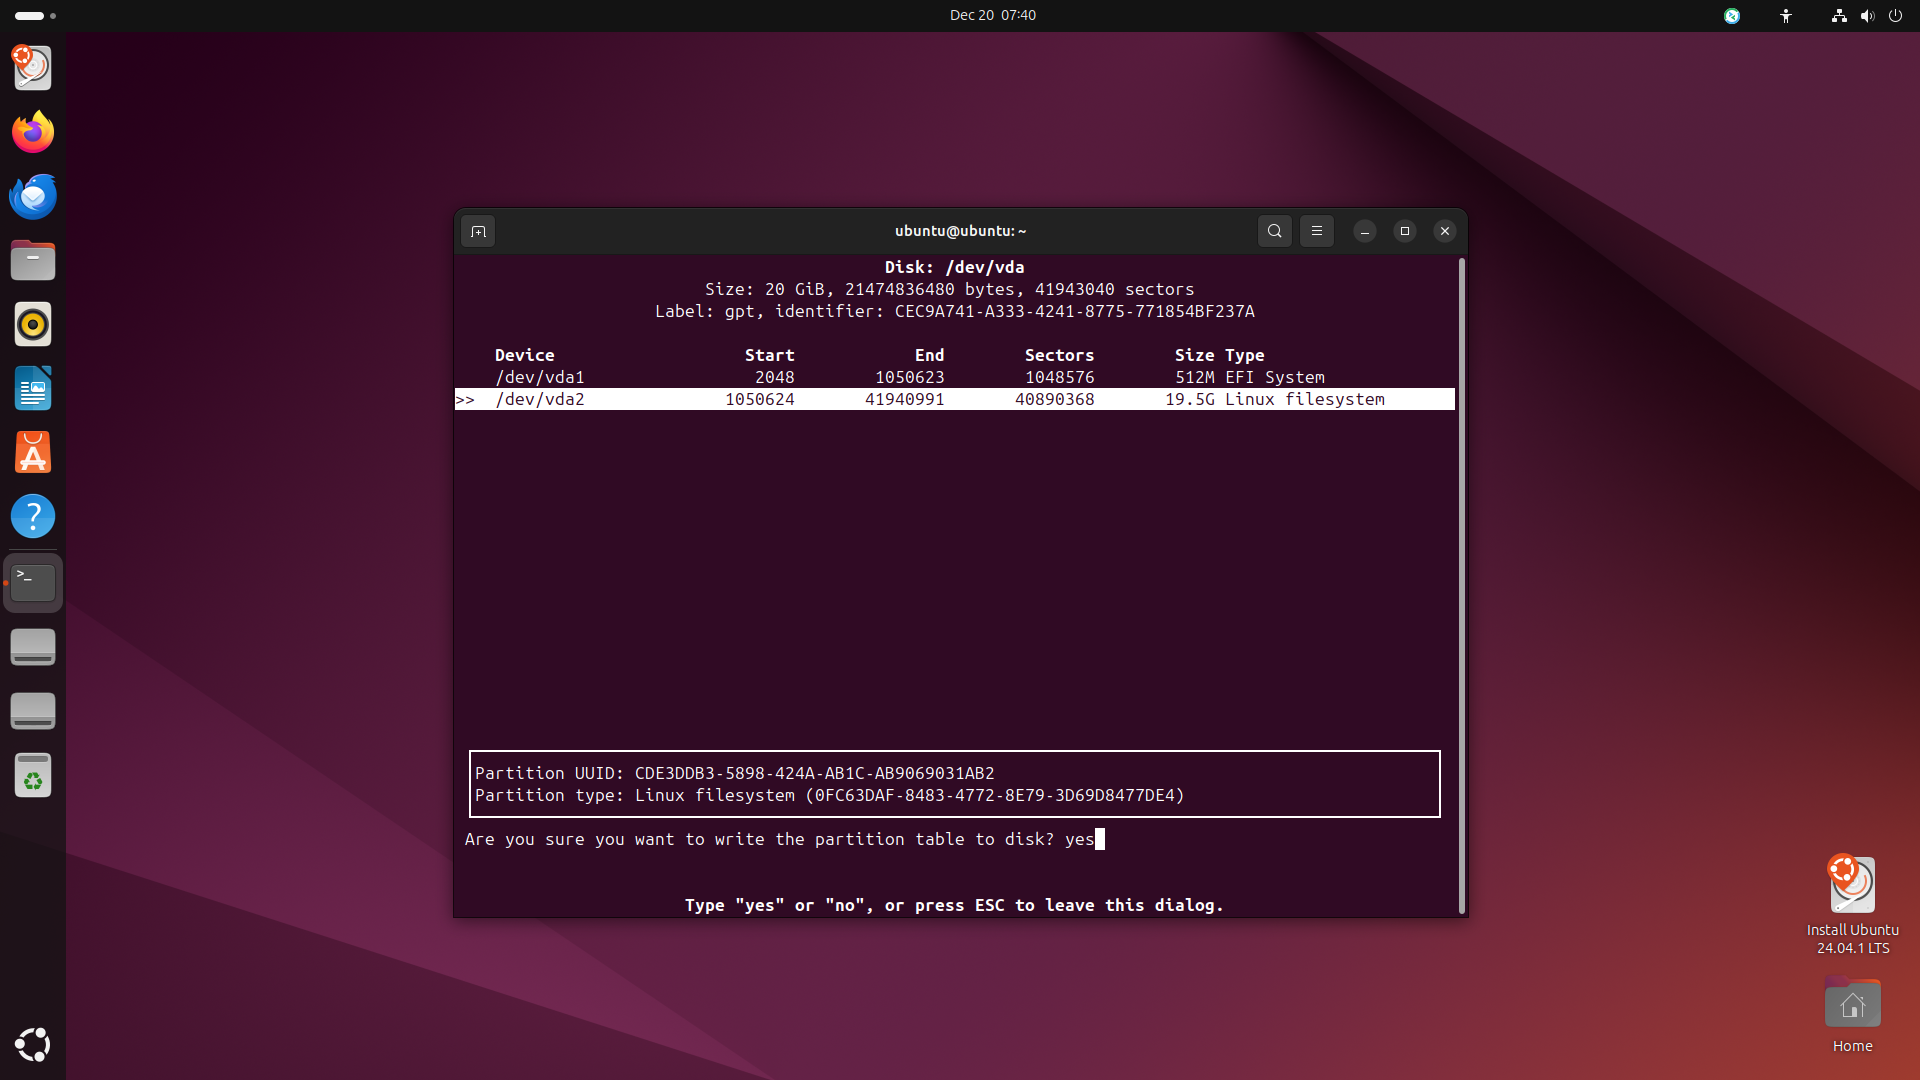
Finally, select
Writeand typeyesto write the changes to the disk.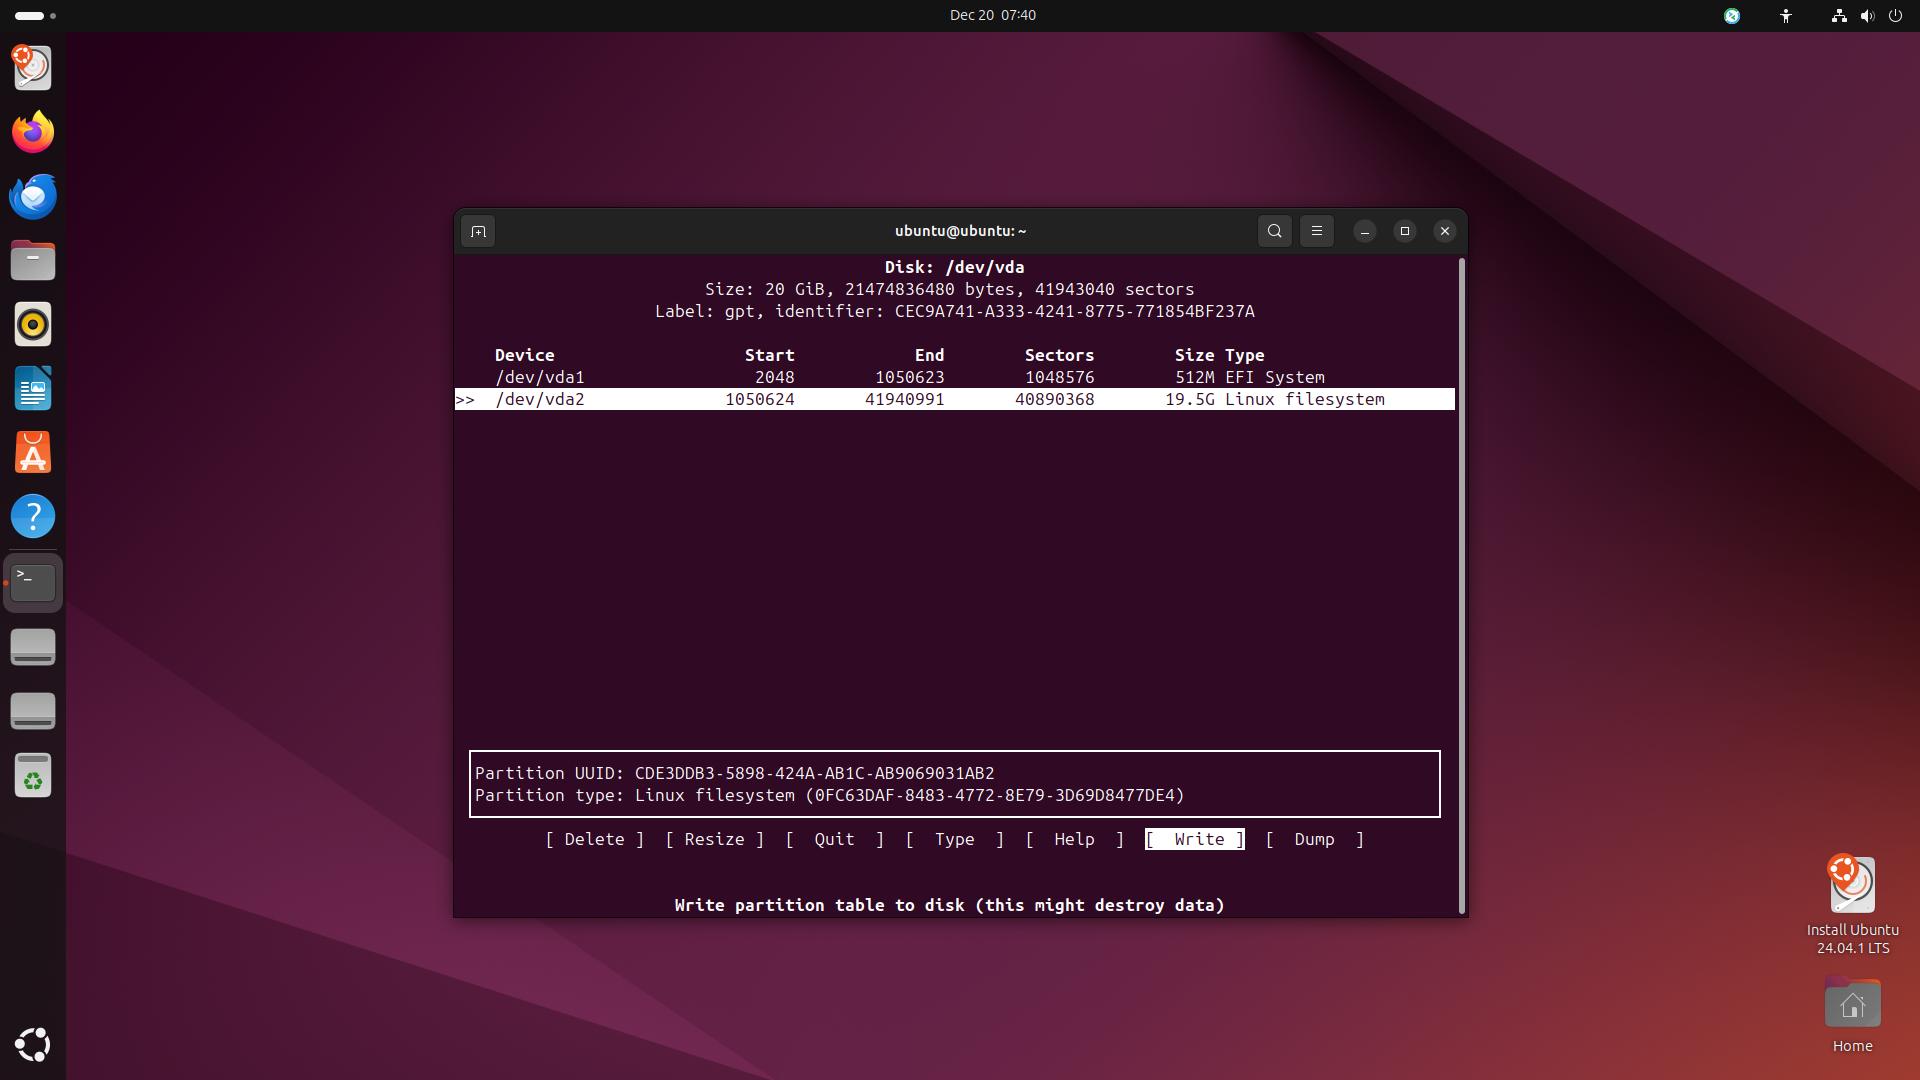
-
After creating the partitions, check the partitions by running the following command:
lsblk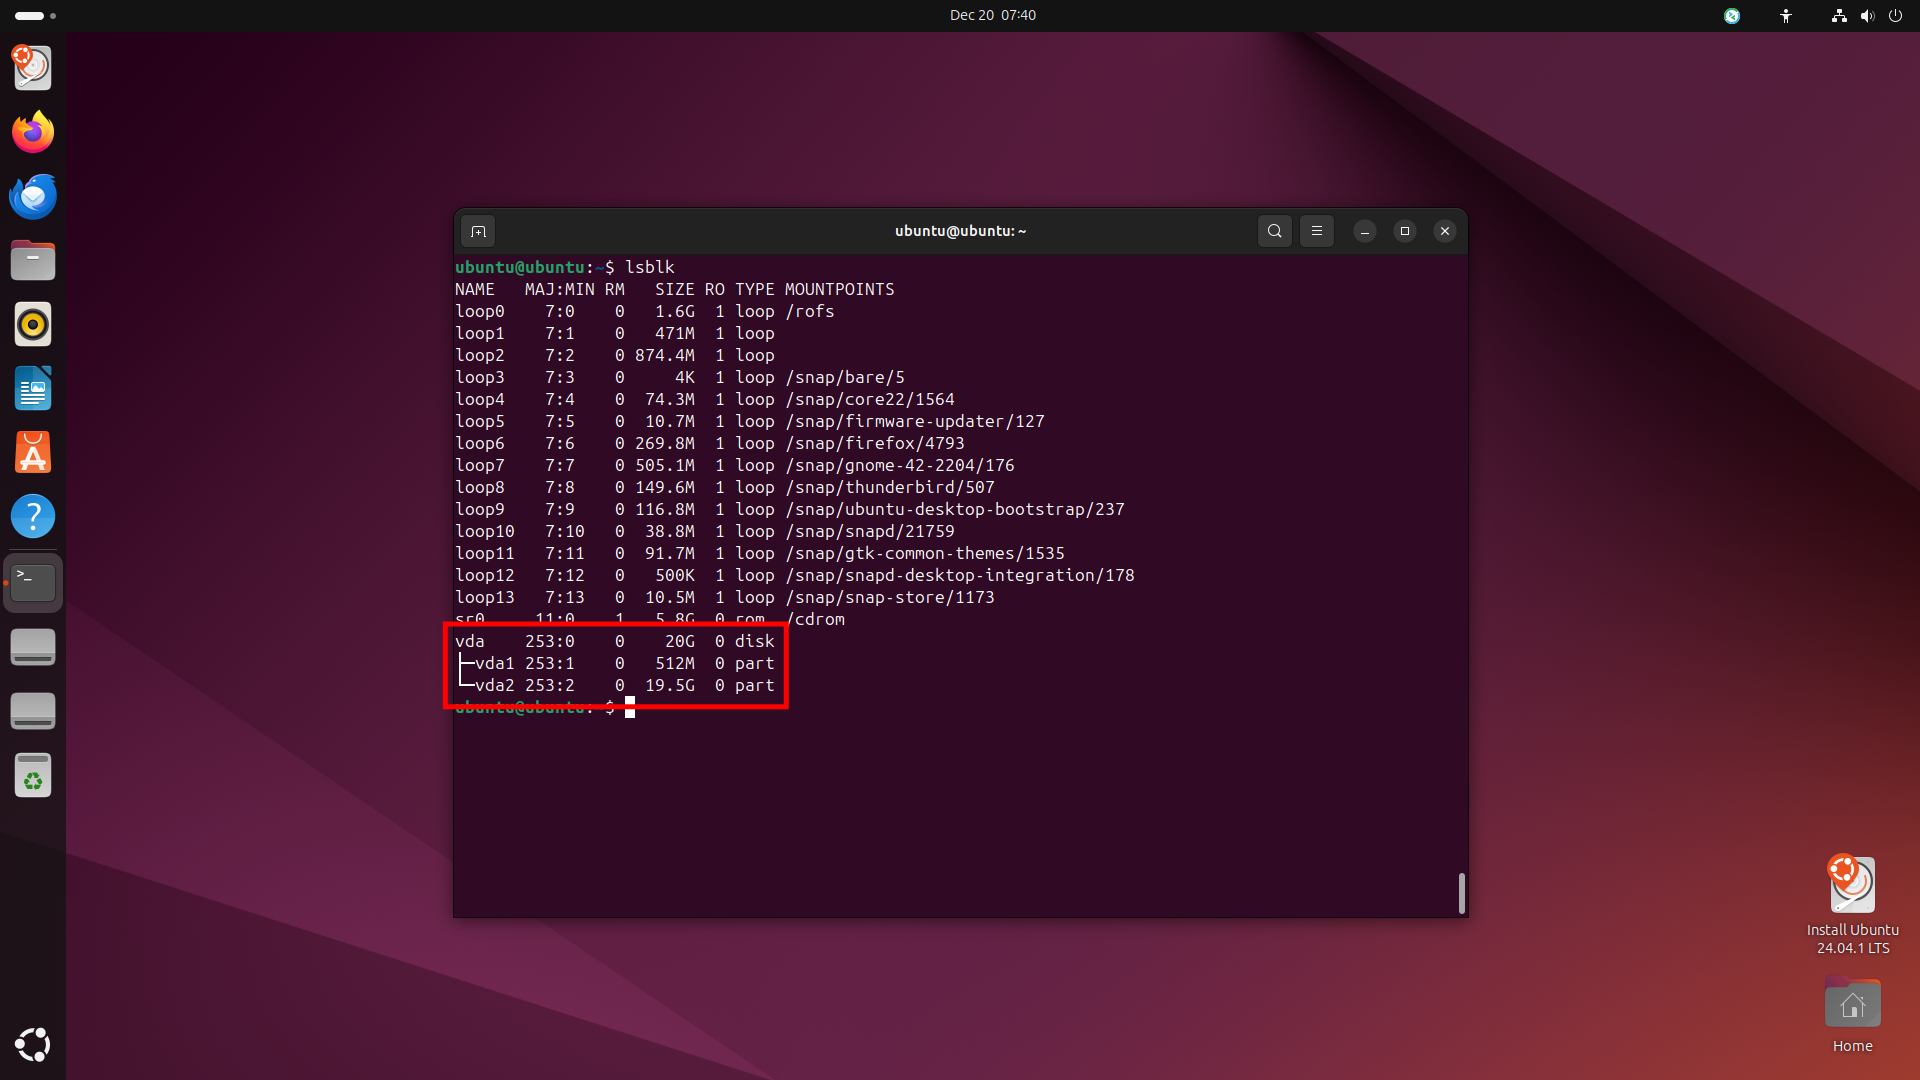
Step 4: Format the Partitions
-
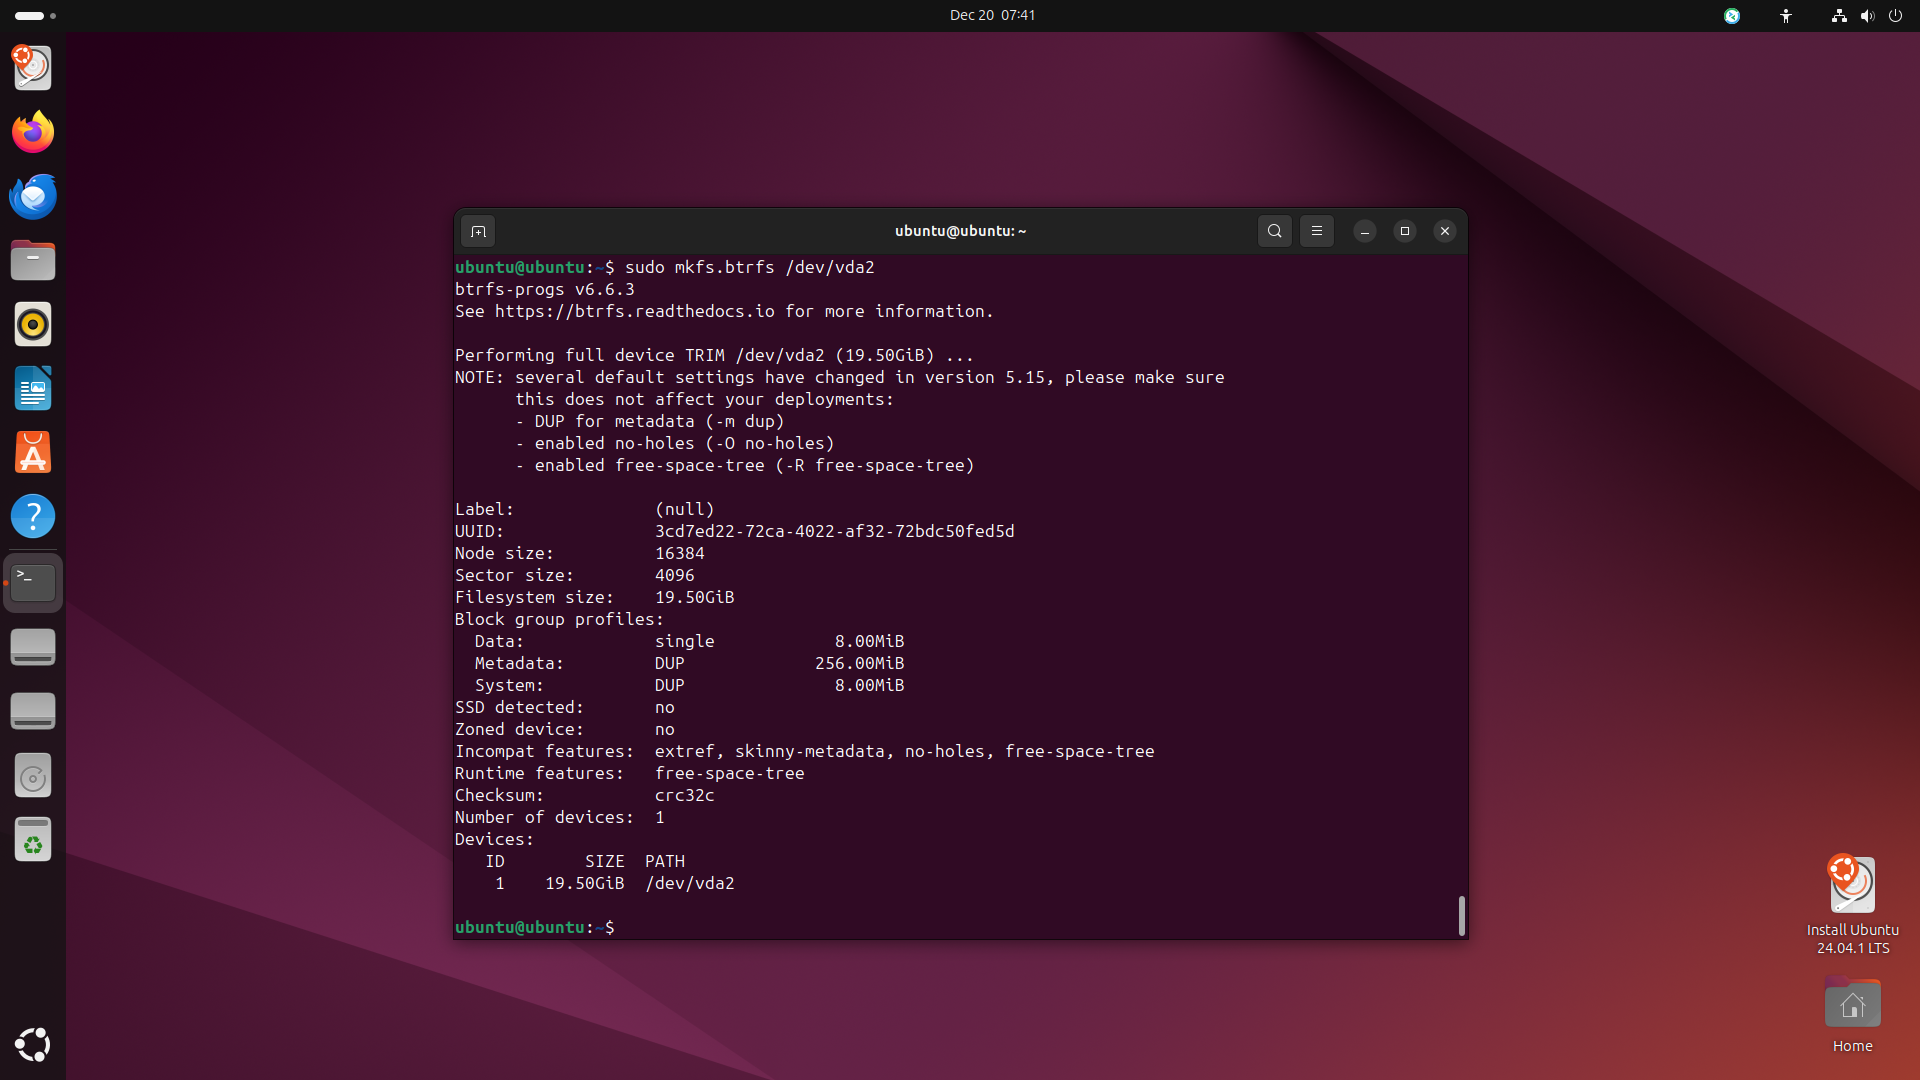
The next step is to format the partitions:
sudo mkfs.vfat -F32 /dev/vda1               # EFI Partition
sudo mkfs.btrfs /dev/vda2                   # Root Partition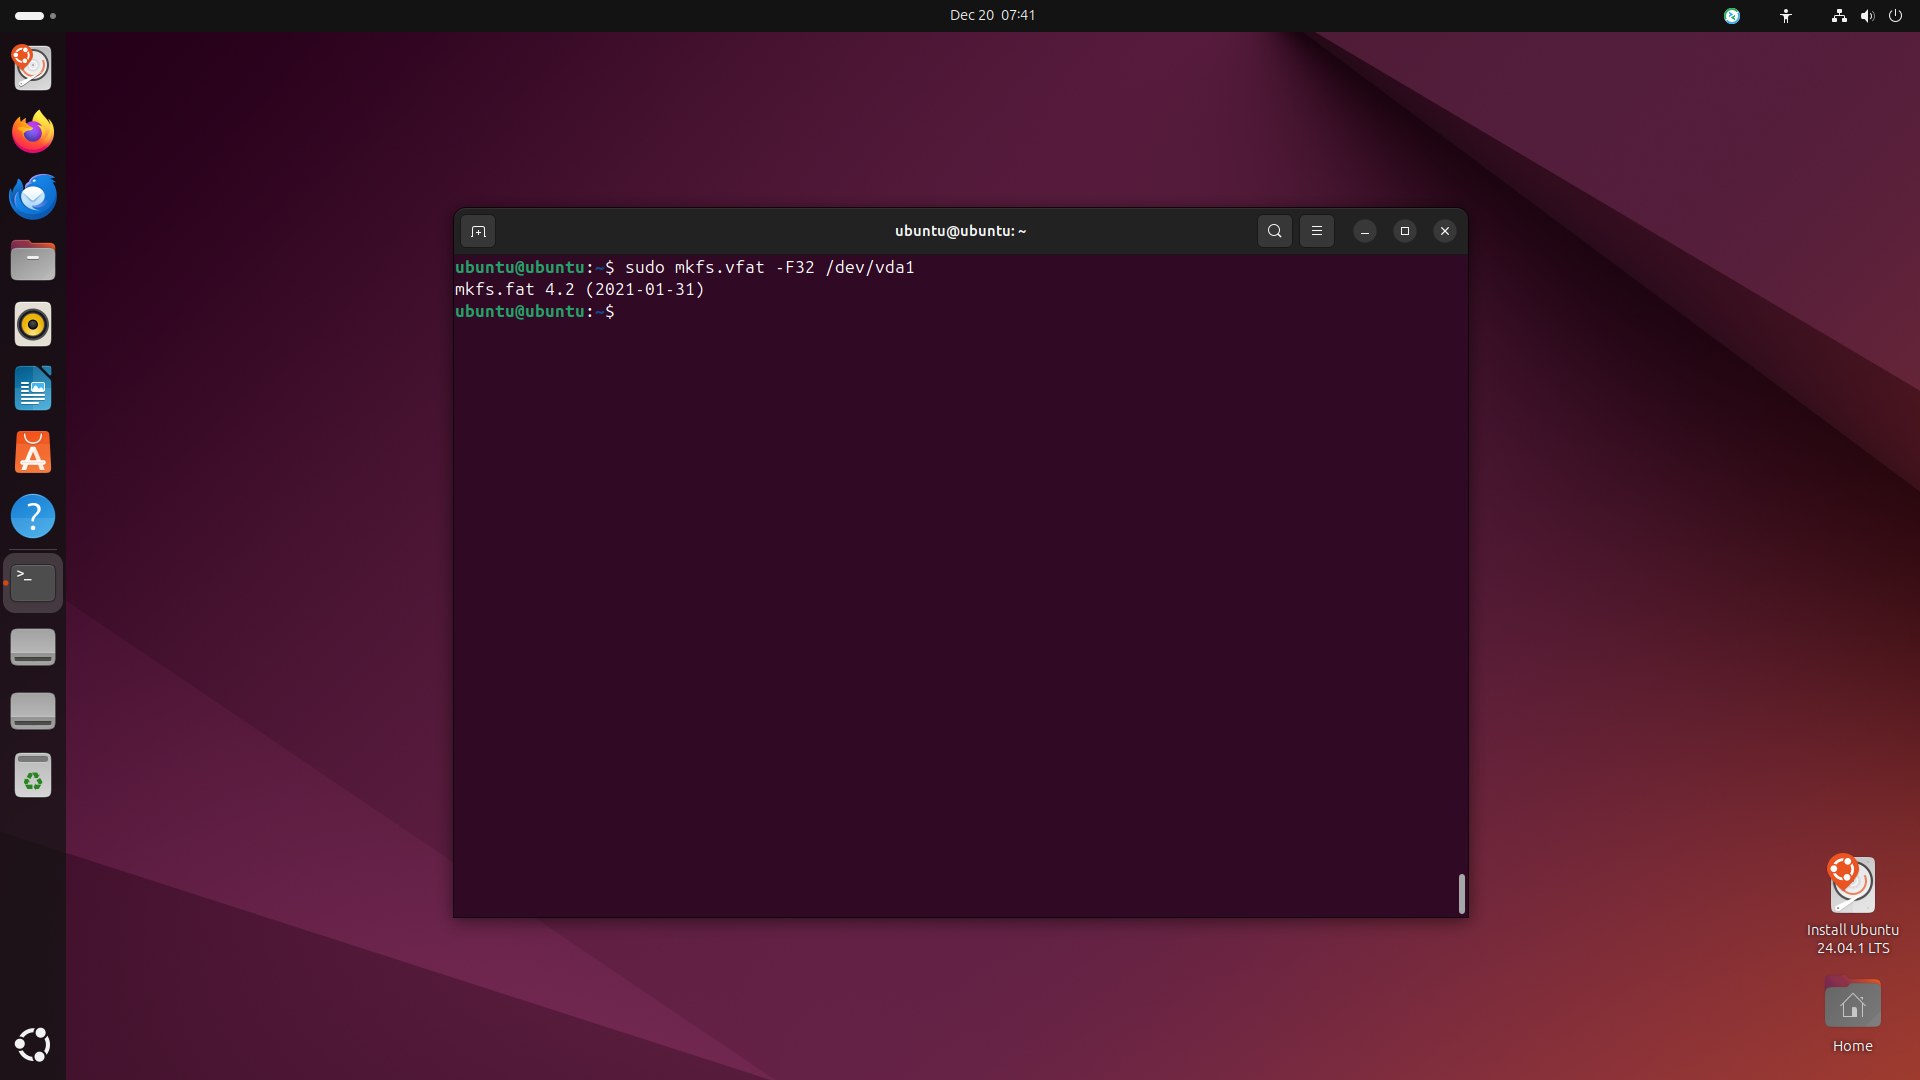
-
Then check filesystems:
lsblk -f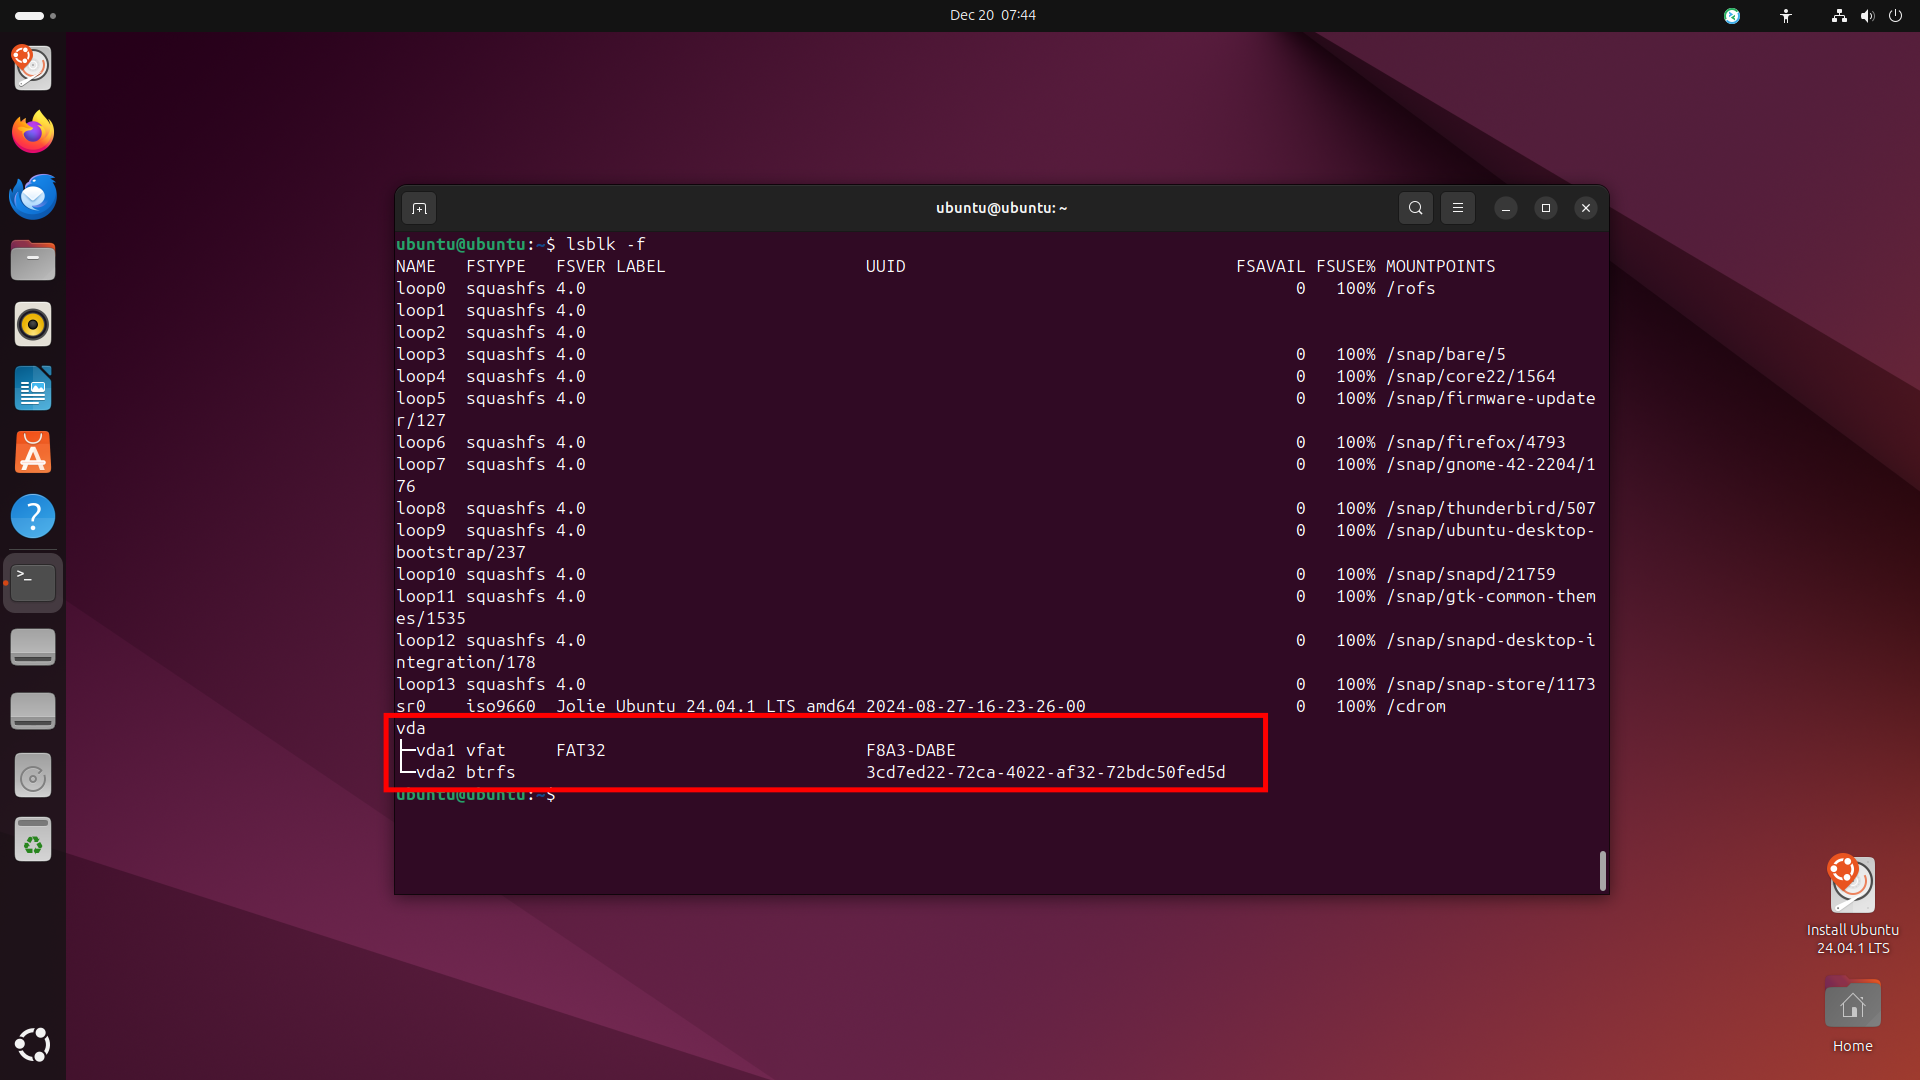
Step 5: Mount the BTRFS Partition and Create Subvolumes
-
The next step is to mount the btrfs partition and create subvolumes. You can do this by running the following commands:
#~ mount the btrfs partition
sudo mount /dev/vda2 /mnt

#~ check the mount
mount | grep '/mnt'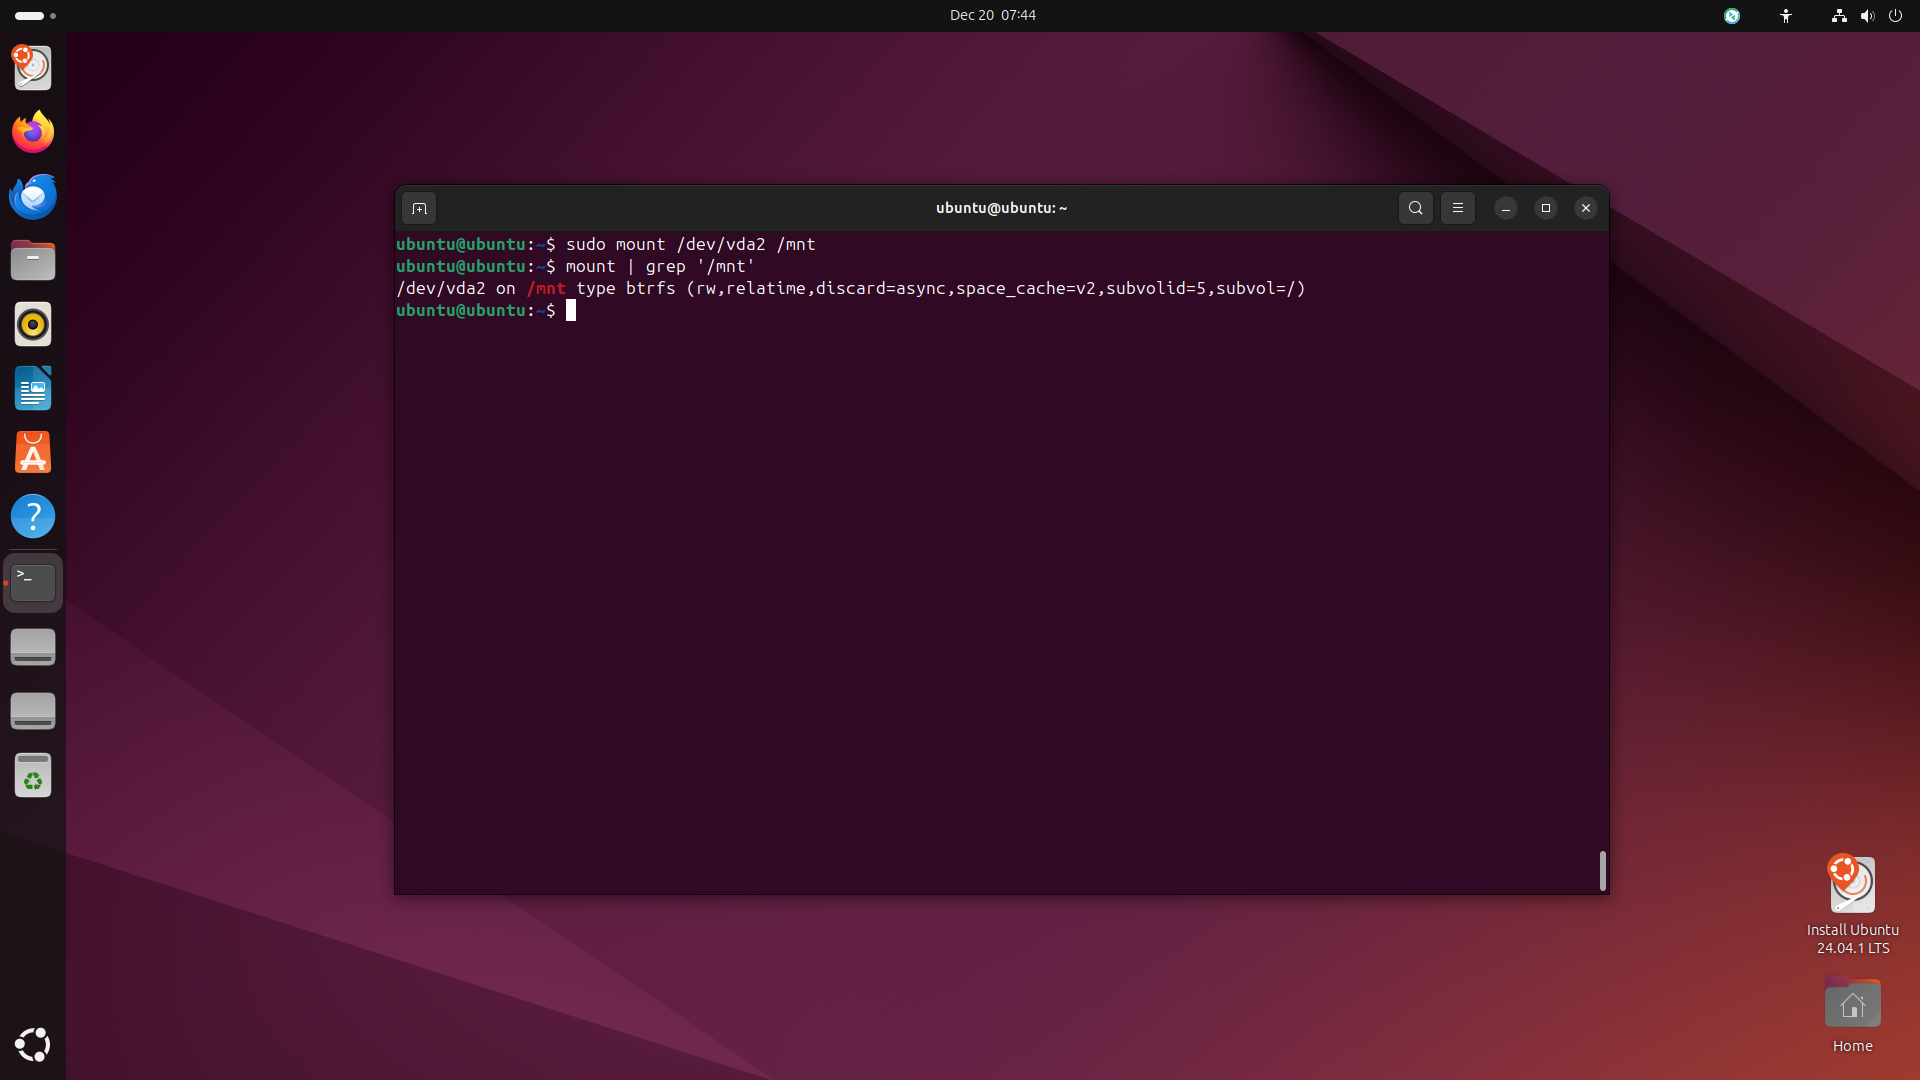
-
Then create subvolumes:
#~ change directory and create subvolumes
cd /mnt
sudo btrfs su cr fedora-$(date +%Y-%m-%d)
sudo btrfs su cr fedora-$(date +%Y-%m-%d)/@
sudo btrfs su cr fedora-$(date +%Y-%m-%d)/@snapshots
sudo btrfs su cr fedora-$(date +%Y-%m-%d)/@without
sudo btrfs su cr fedora-$(date +%Y-%m-%d)/@without/opt
sudo btrfs su cr fedora-$(date +%Y-%m-%d)/@without/root
sudo btrfs su cr fedora-$(date +%Y-%m-%d)/@without/srv
sudo btrfs su cr fedora-$(date +%Y-%m-%d)/@without/usr
sudo btrfs su cr fedora-$(date +%Y-%m-%d)/@without/usr/local
sudo btrfs su cr fedora-$(date +%Y-%m-%d)/@without/var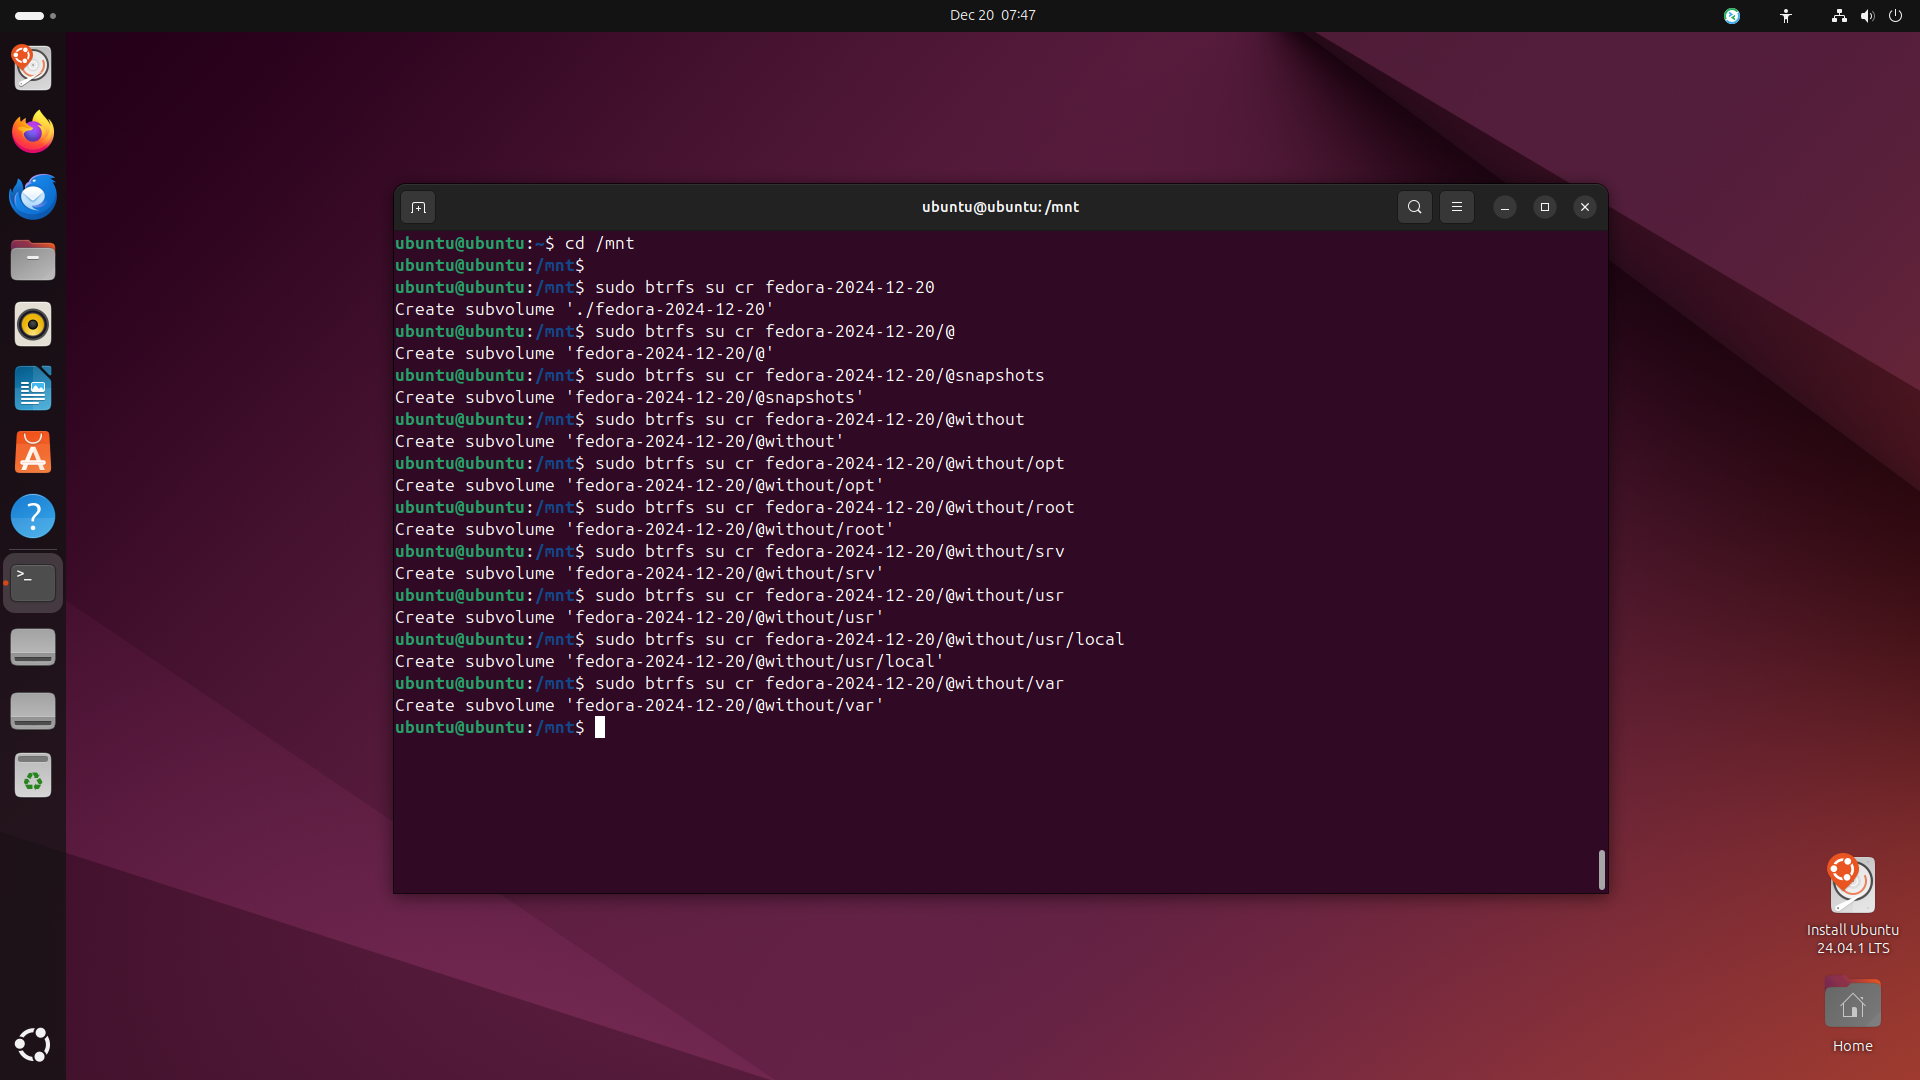
-
After creating the subvolumes, unmount the btrfs partition and remount with this flags:
#~ change directory
cd /

#~ unmount the btrfs partition
sudo umount /mnt

#~ mount the btrfs partition with subvolumes
sudo mount -o rw,noatime,compress=zstd:1,space_cache=v2,subvol=fedora-$(date +%Y-%m-%d)/@ /dev/vda2 /mnt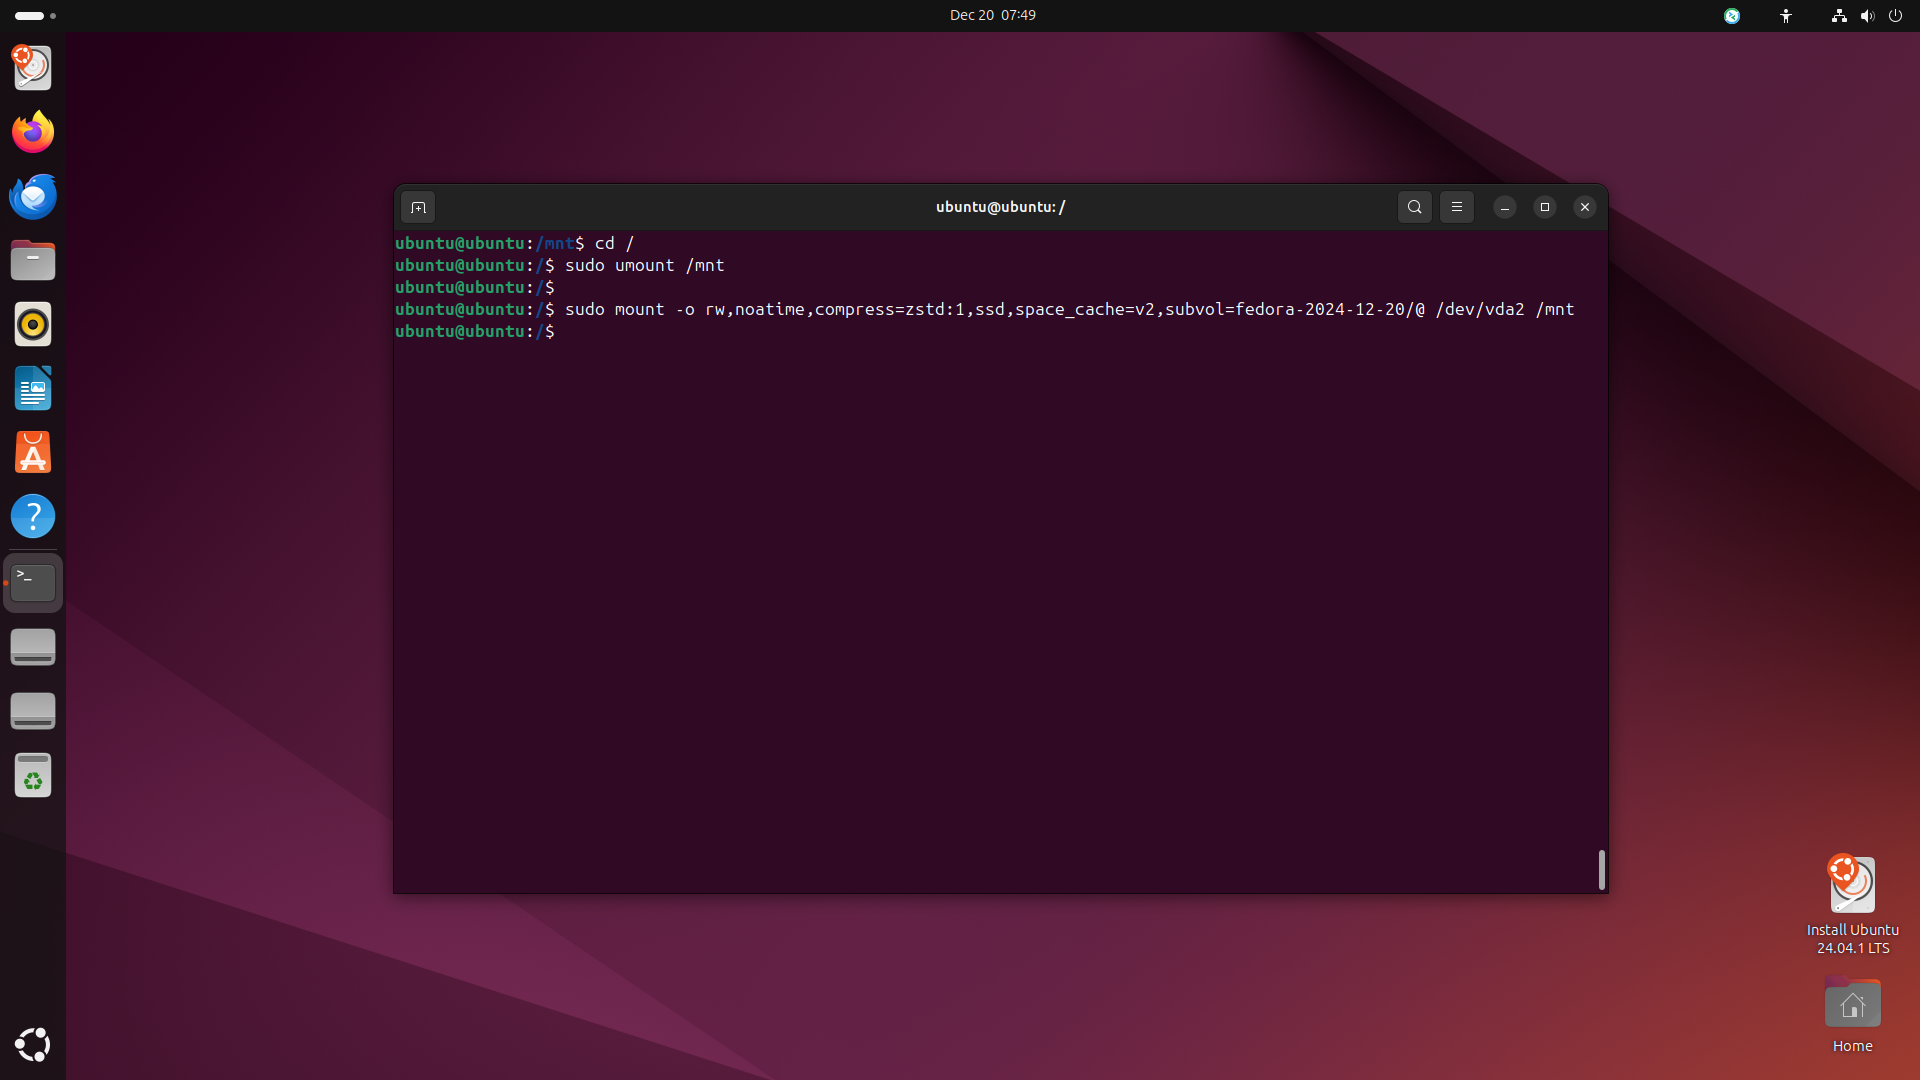
-
Finally, mount the other subvolumes:
#~ create folders for the another subvolumes
sudo mkdir -p /mnt/{boot/efi,opt,root,srv,usr/local,var}

#~ mount the btrfs partition with subvolumes
sudo mount -o rw,noatime,compress=zstd:1,space_cache=v2,subvol=fedora-$(date +%Y-%m-%d)/@without/opt /dev/vda2 /mnt/opt
sudo mount -o rw,noatime,compress=zstd:1,space_cache=v2,subvol=fedora-$(date +%Y-%m-%d)/@without/root /dev/vda2 /mnt/root
sudo mount -o rw,noatime,compress=zstd:1,space_cache=v2,subvol=fedora-$(date +%Y-%m-%d)/@without/srv /dev/vda2 /mnt/srv
sudo mount -o rw,noatime,compress=zstd:1,space_cache=v2,subvol=fedora-$(date +%Y-%m-%d)/@without/usr/local /dev/vda2 /mnt/usr/local
sudo mount -o rw,noatime,compress=zstd:1,space_cache=v2,subvol=fedora-$(date +%Y-%m-%d)/@without/var /dev/vda2 /mnt/var
sudo mount /dev/vda1 /mnt/boot/efi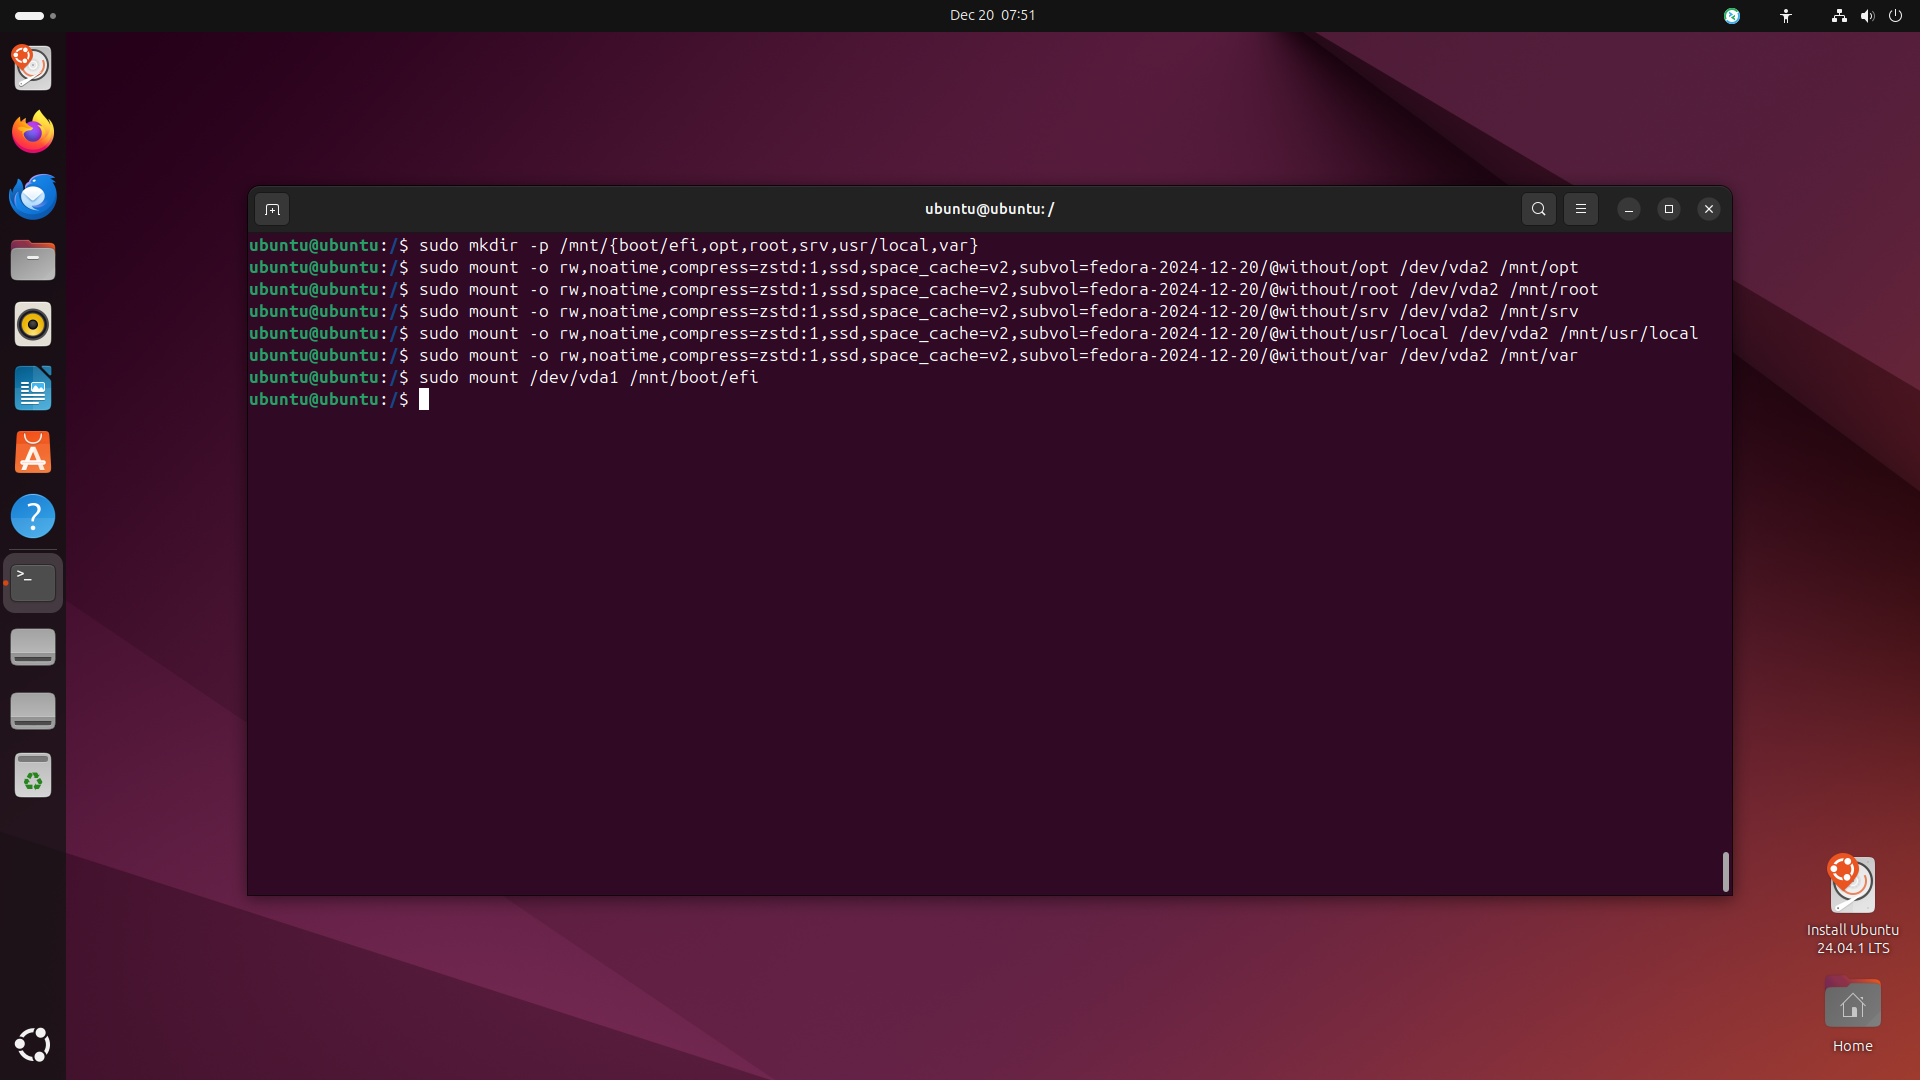
Step 6: Generate Fstab File for New Installation
-
The next step is to generate the fstab file for the new installation. The fstab file is a system configuration file that contains information about disk partitions and their mount points. It is used by the system to mount the partitions automatically at boot time. You can do this by running the following commands:
sudo apt install -y arch-install-scripts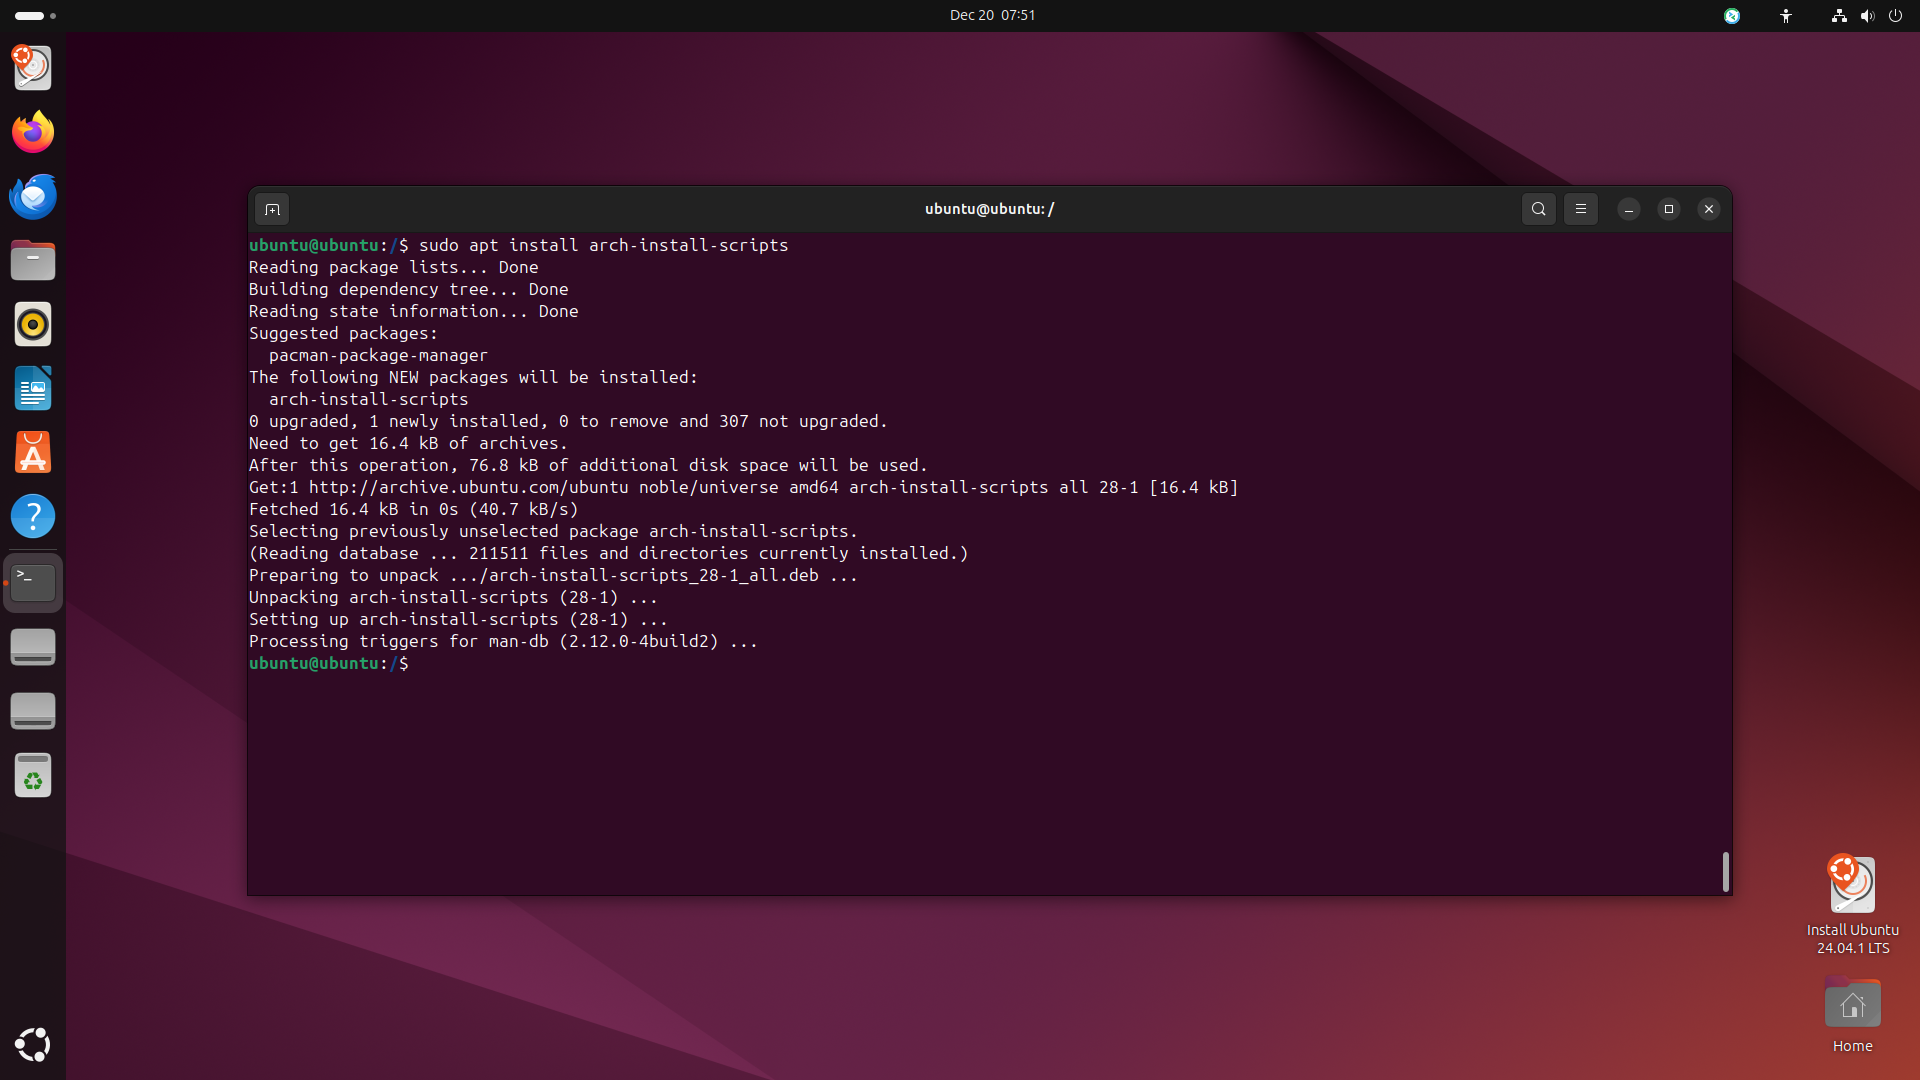
-
Then create etc folder and generate fstab file:
#~ create etc folder
sudo mkdir -p /mnt/etc

#~ generate fstab file
genfstab -U /mnt | sudo tee /mnt/etc/fstab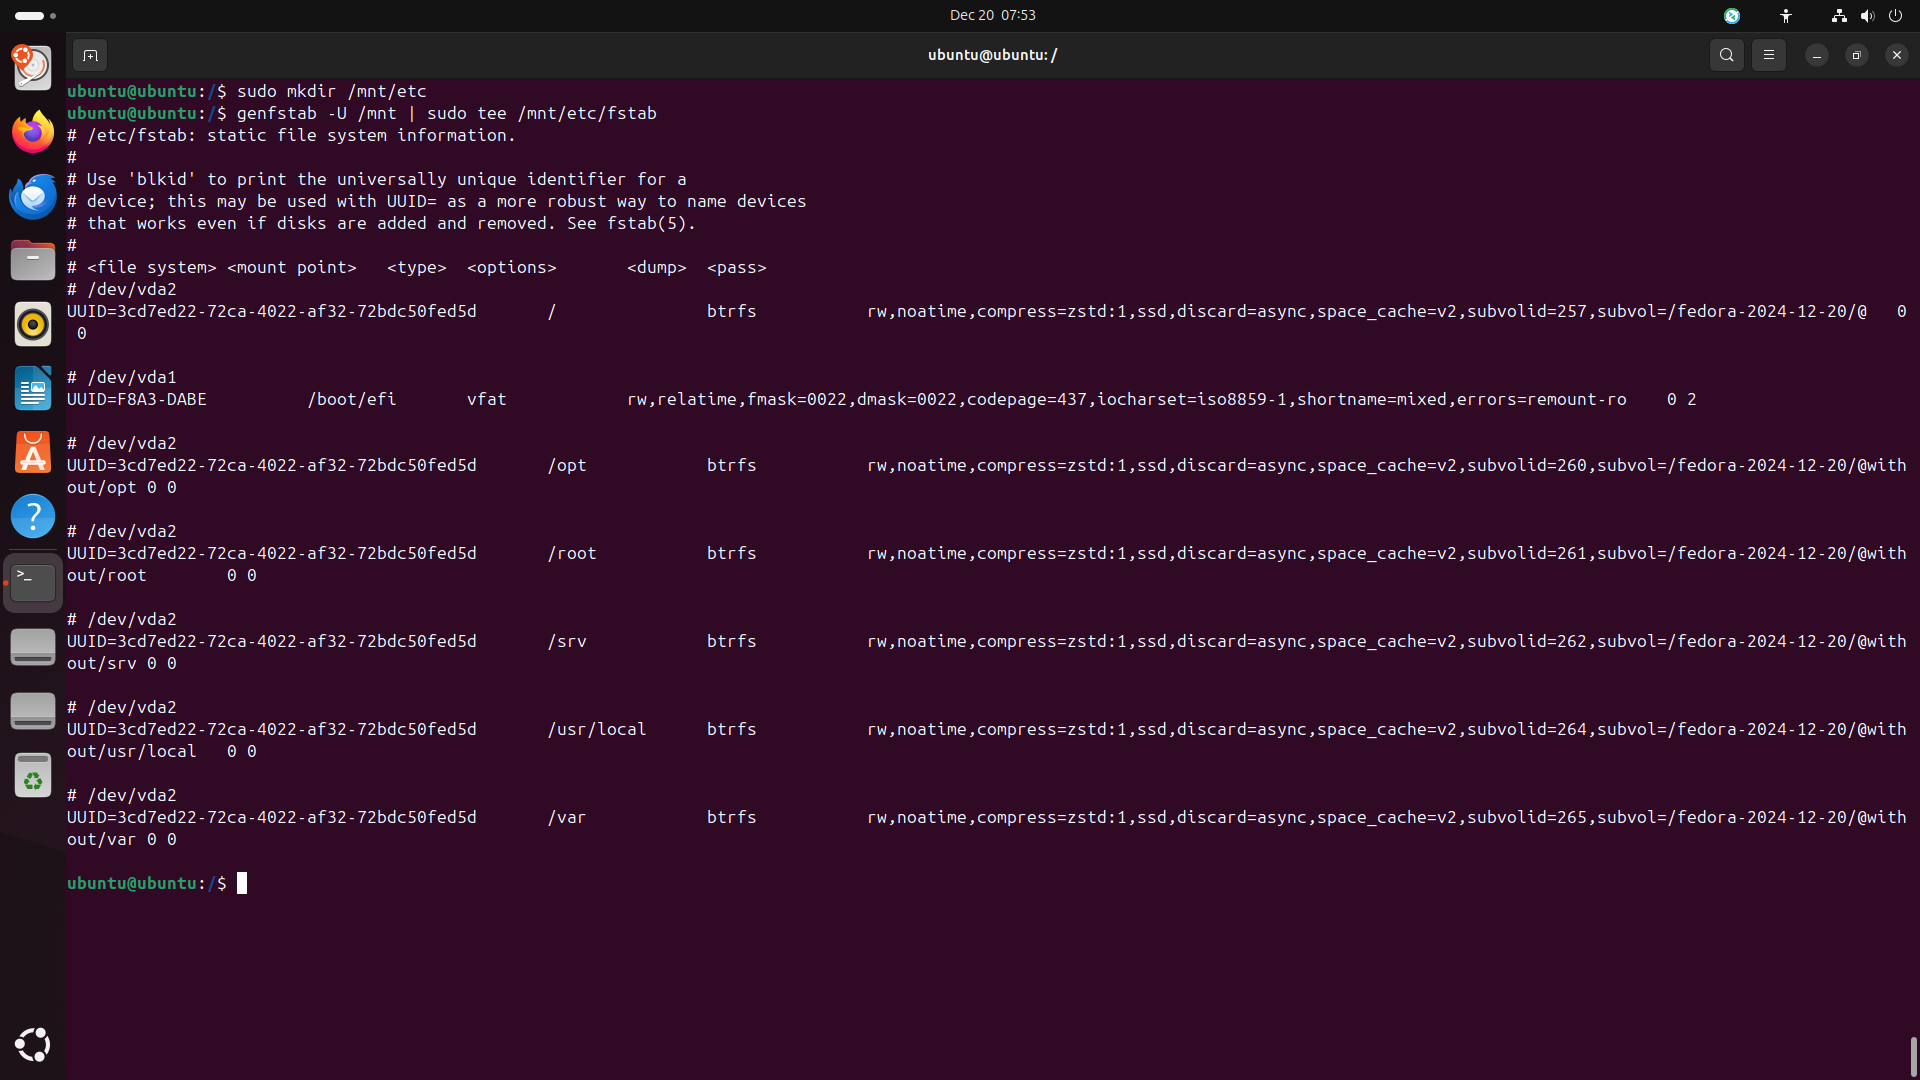
Step 7: Bootstrap Fedora Installation
-
The next step is to bootstrap the fedora installation by running the following commands:
#~ create /etc/yum.repos.d folder
sudo mkdir -p /etc/yum.repos.d

#~ create fedora.repo file
sudo nano /etc/yum.repos.d/fedora.repo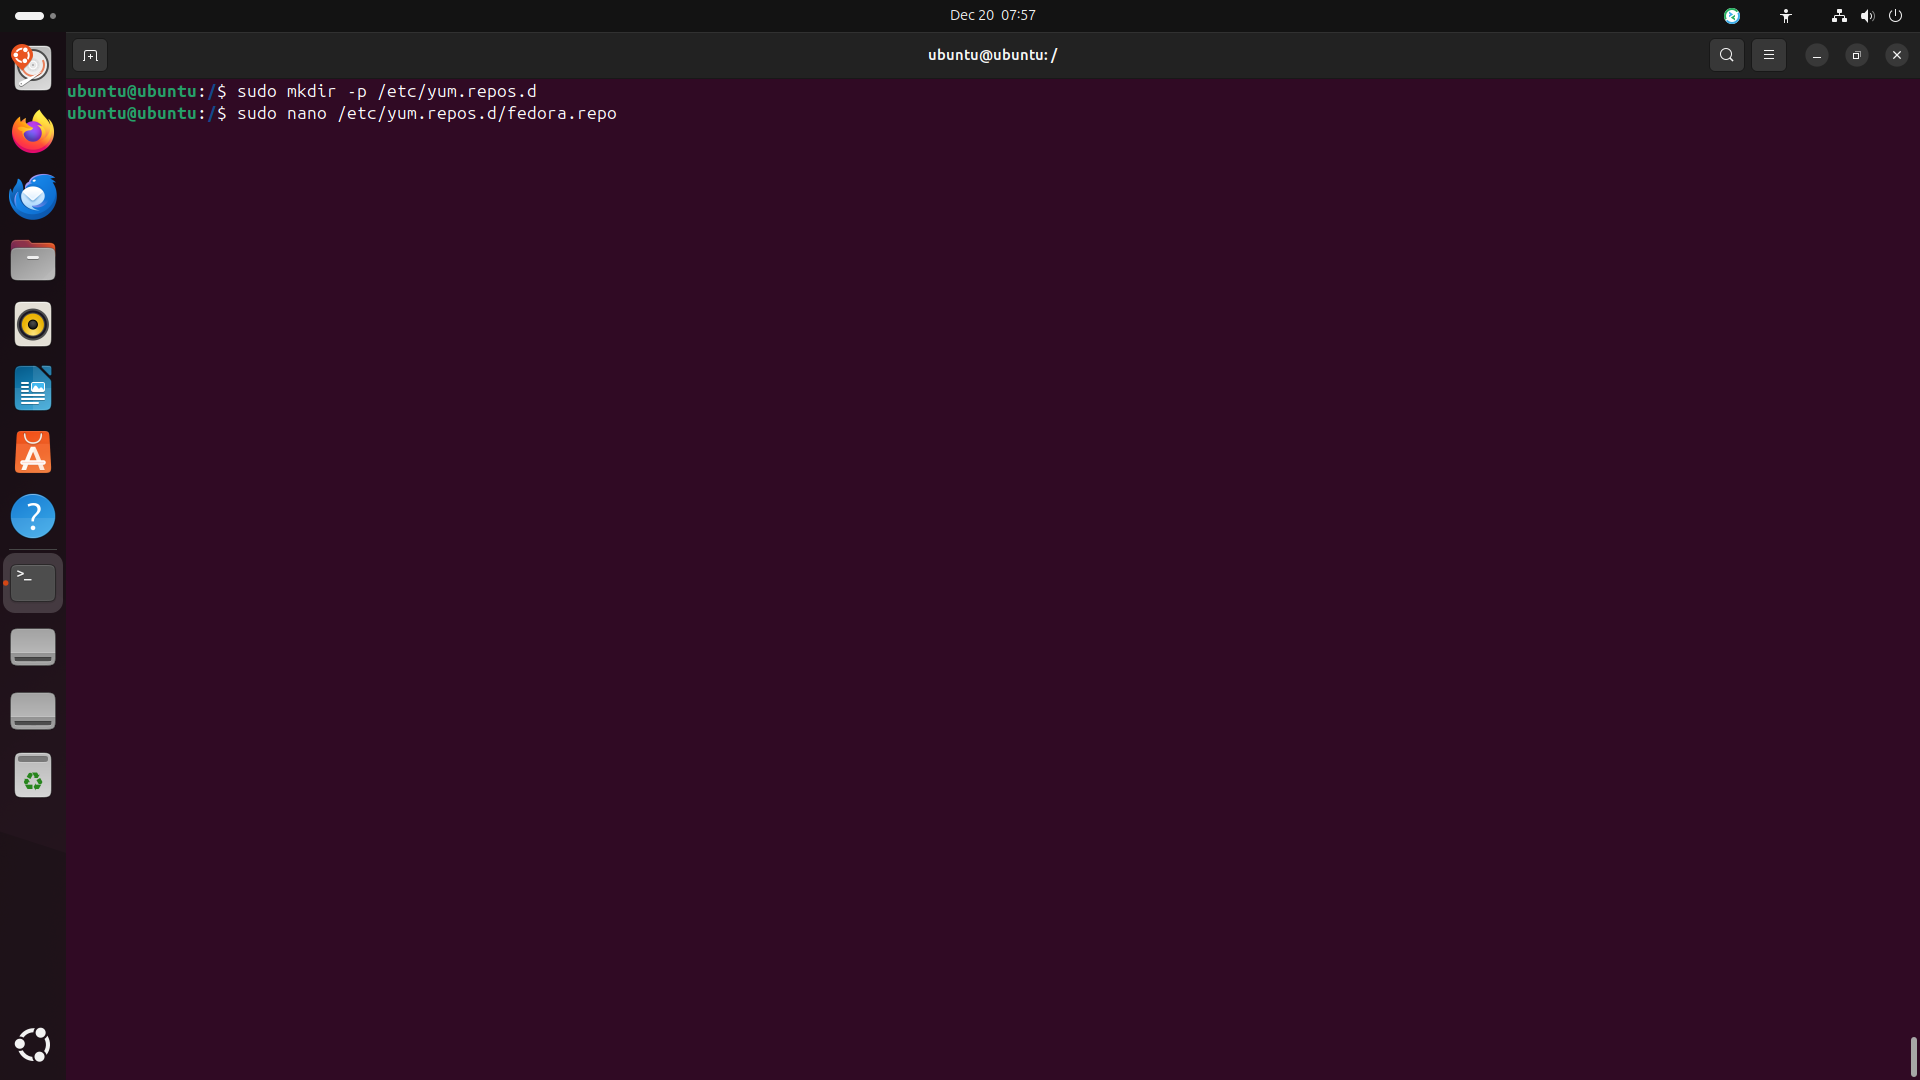
-
Then add the following lines to the
fedora.repofile:[fedora] name=Fedora $releasever - $basearch #baseurl=http://download.example/pub/fedora/linux/releases/$releasever/Everything/$basearch/os/ metalink=https://mirrors.fedoraproject.org/metalink?repo=fedora-$releasever&arch=$basearch enabled=1 countme=1 metadata_expire=7d repo_gpgcheck=0 type=rpm gpgcheck=0 #gpgkey=file:///etc/pki/rpm-gpg/RPM-GPG-KEY-fedora-$releasever-$basearch skip_if_unavailable=False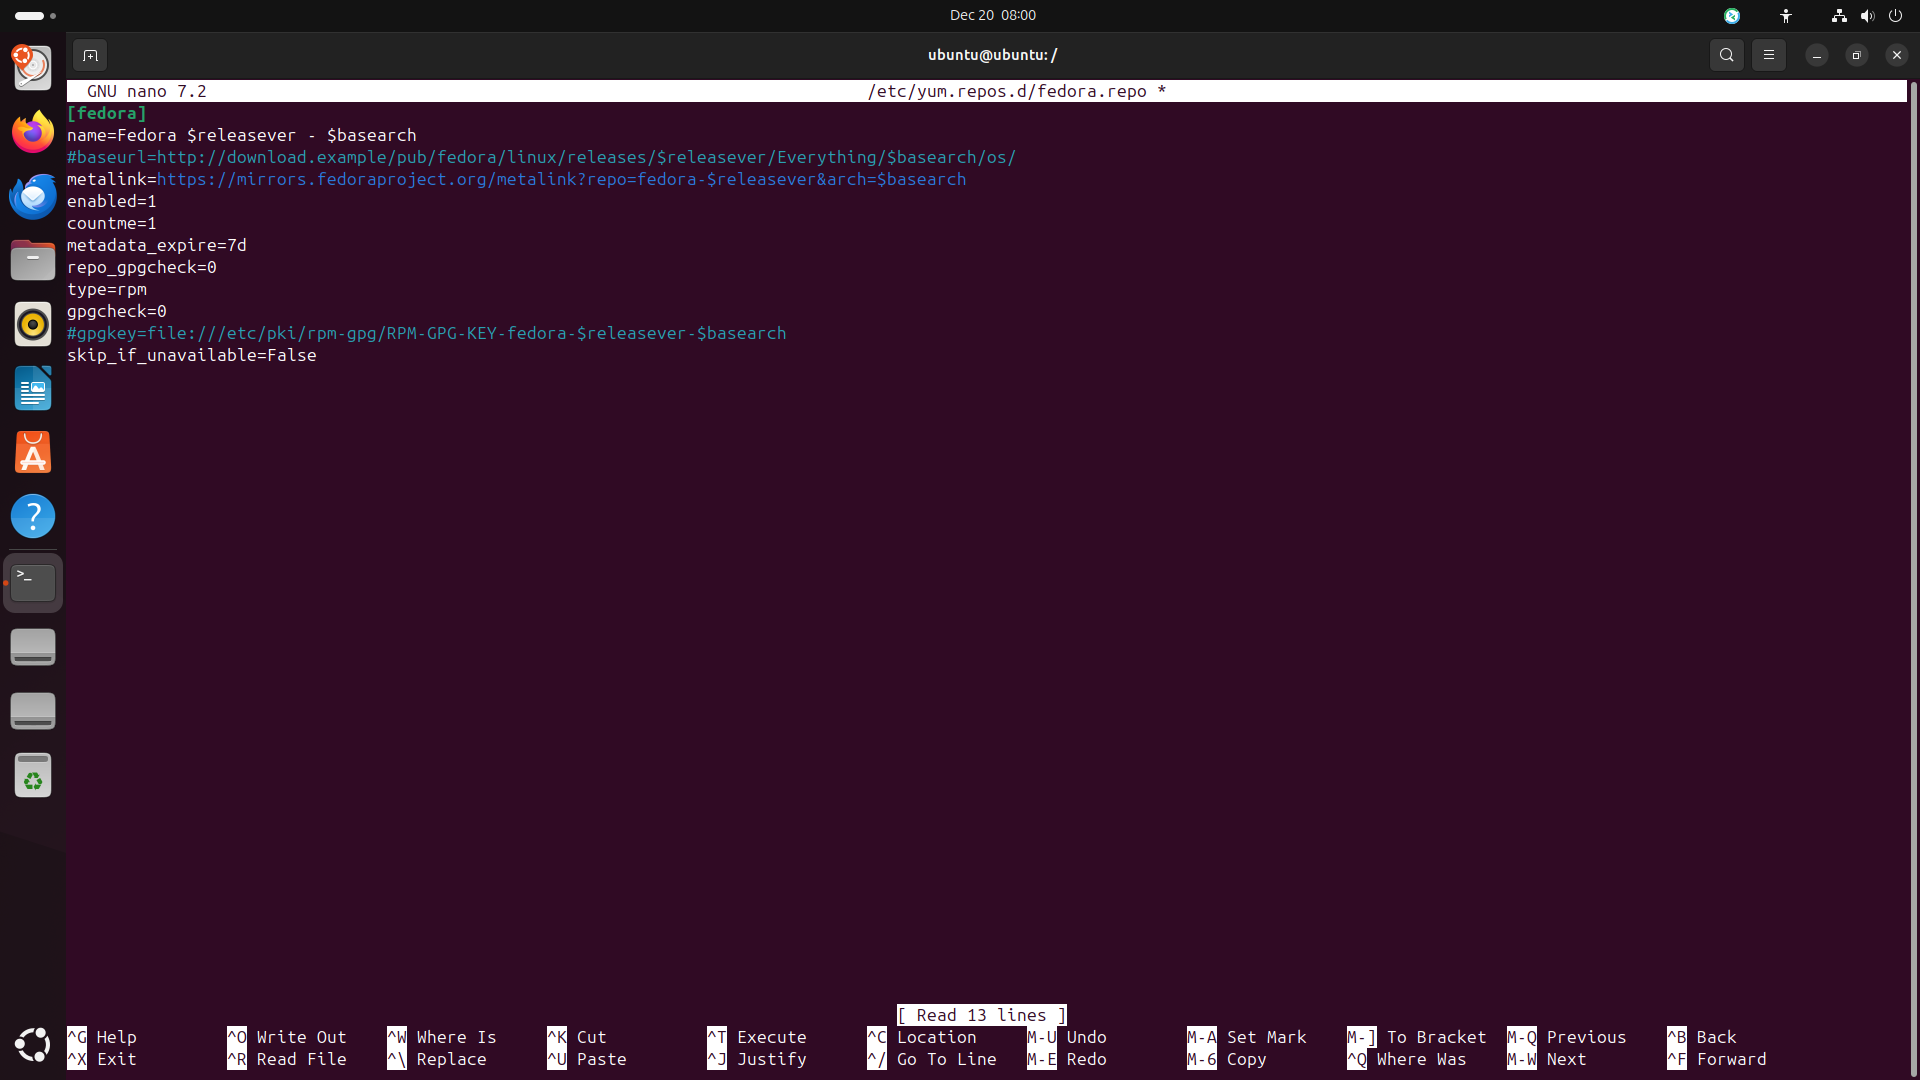
-
Then bootstrap the fedora installation:
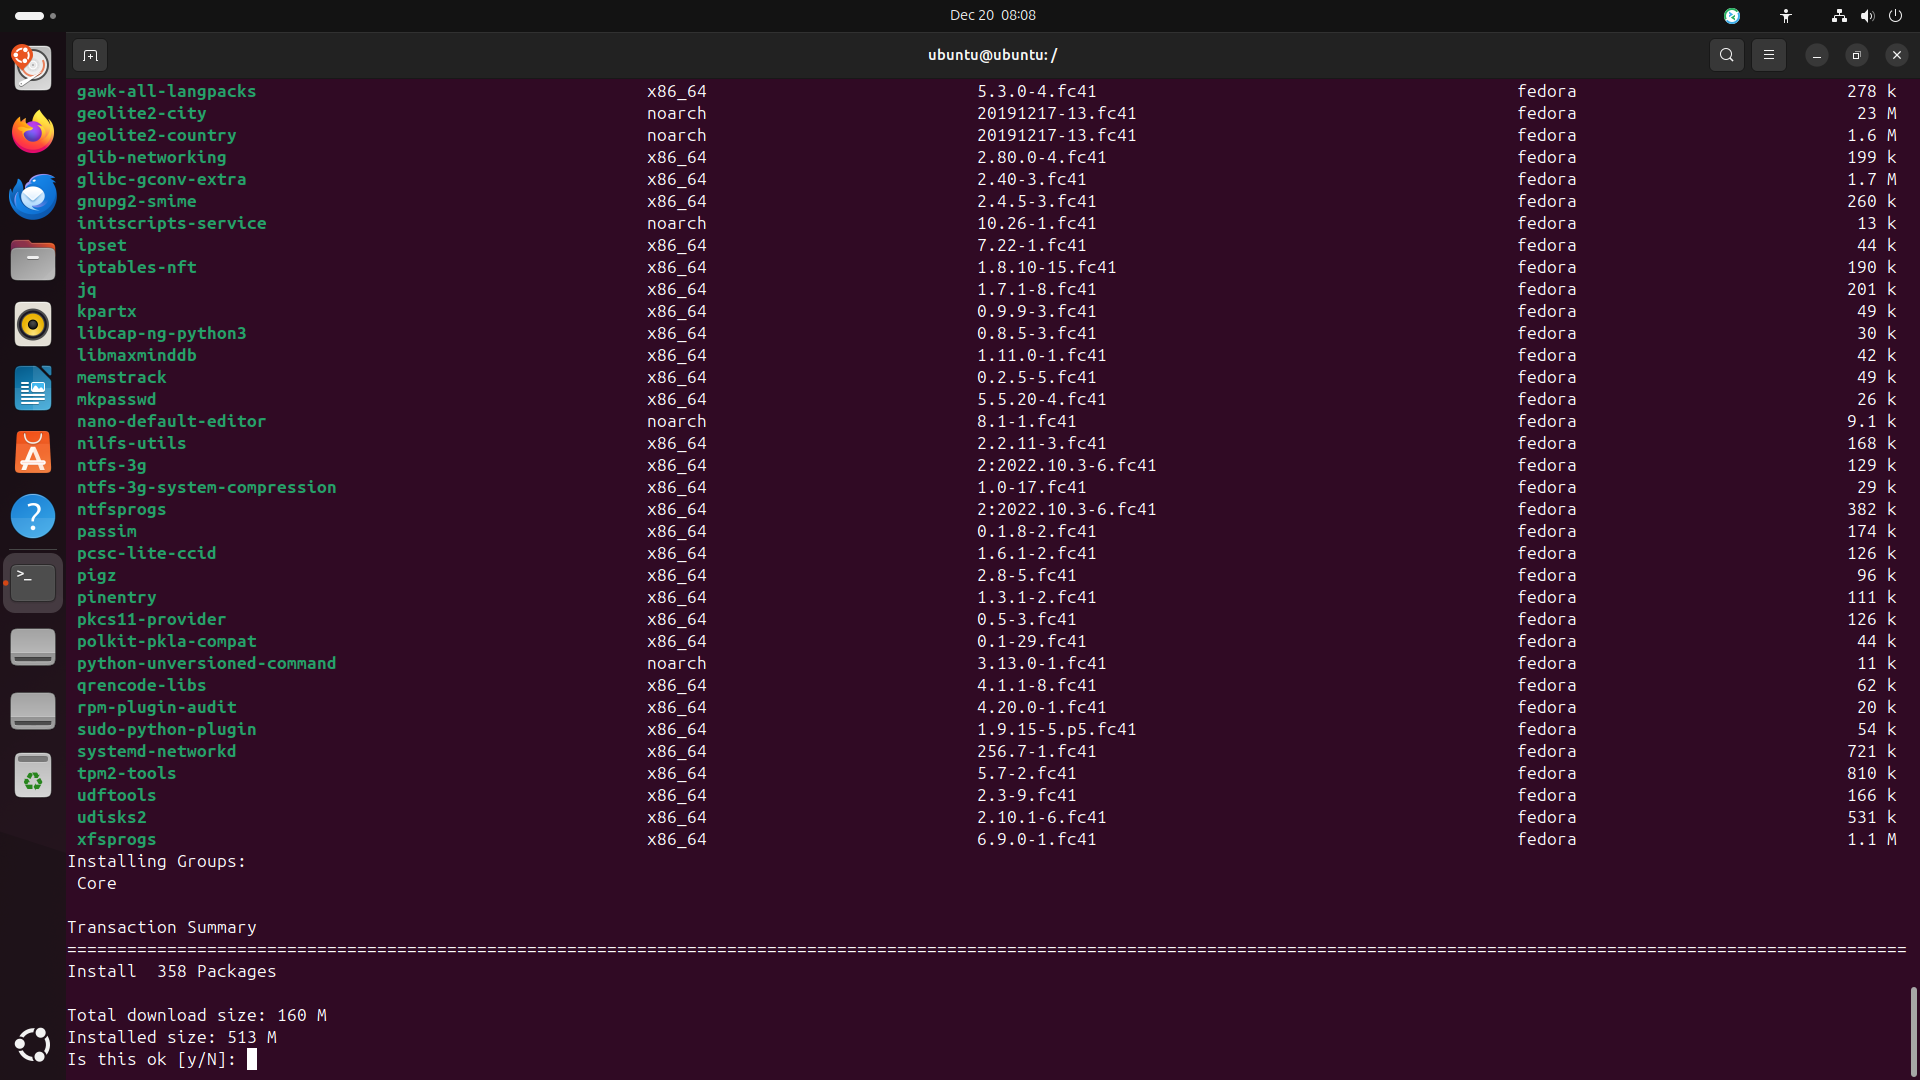
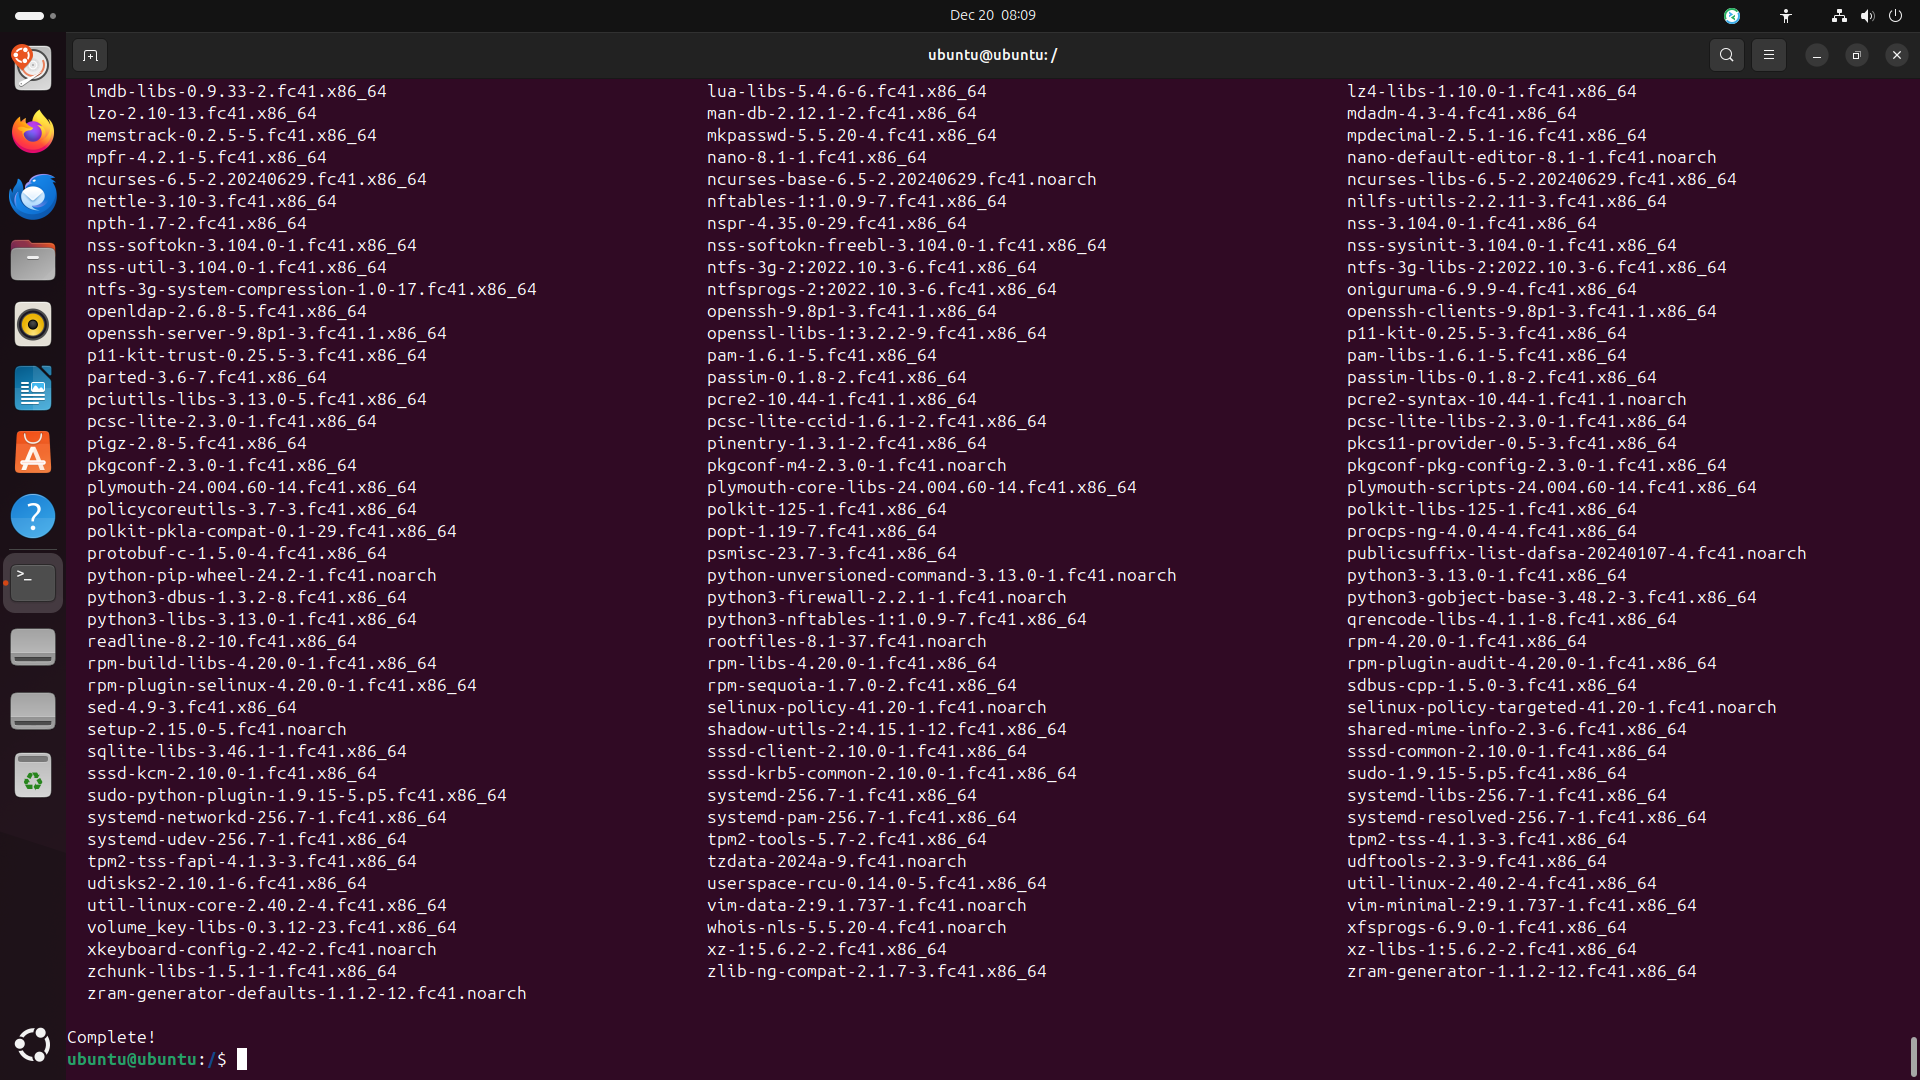
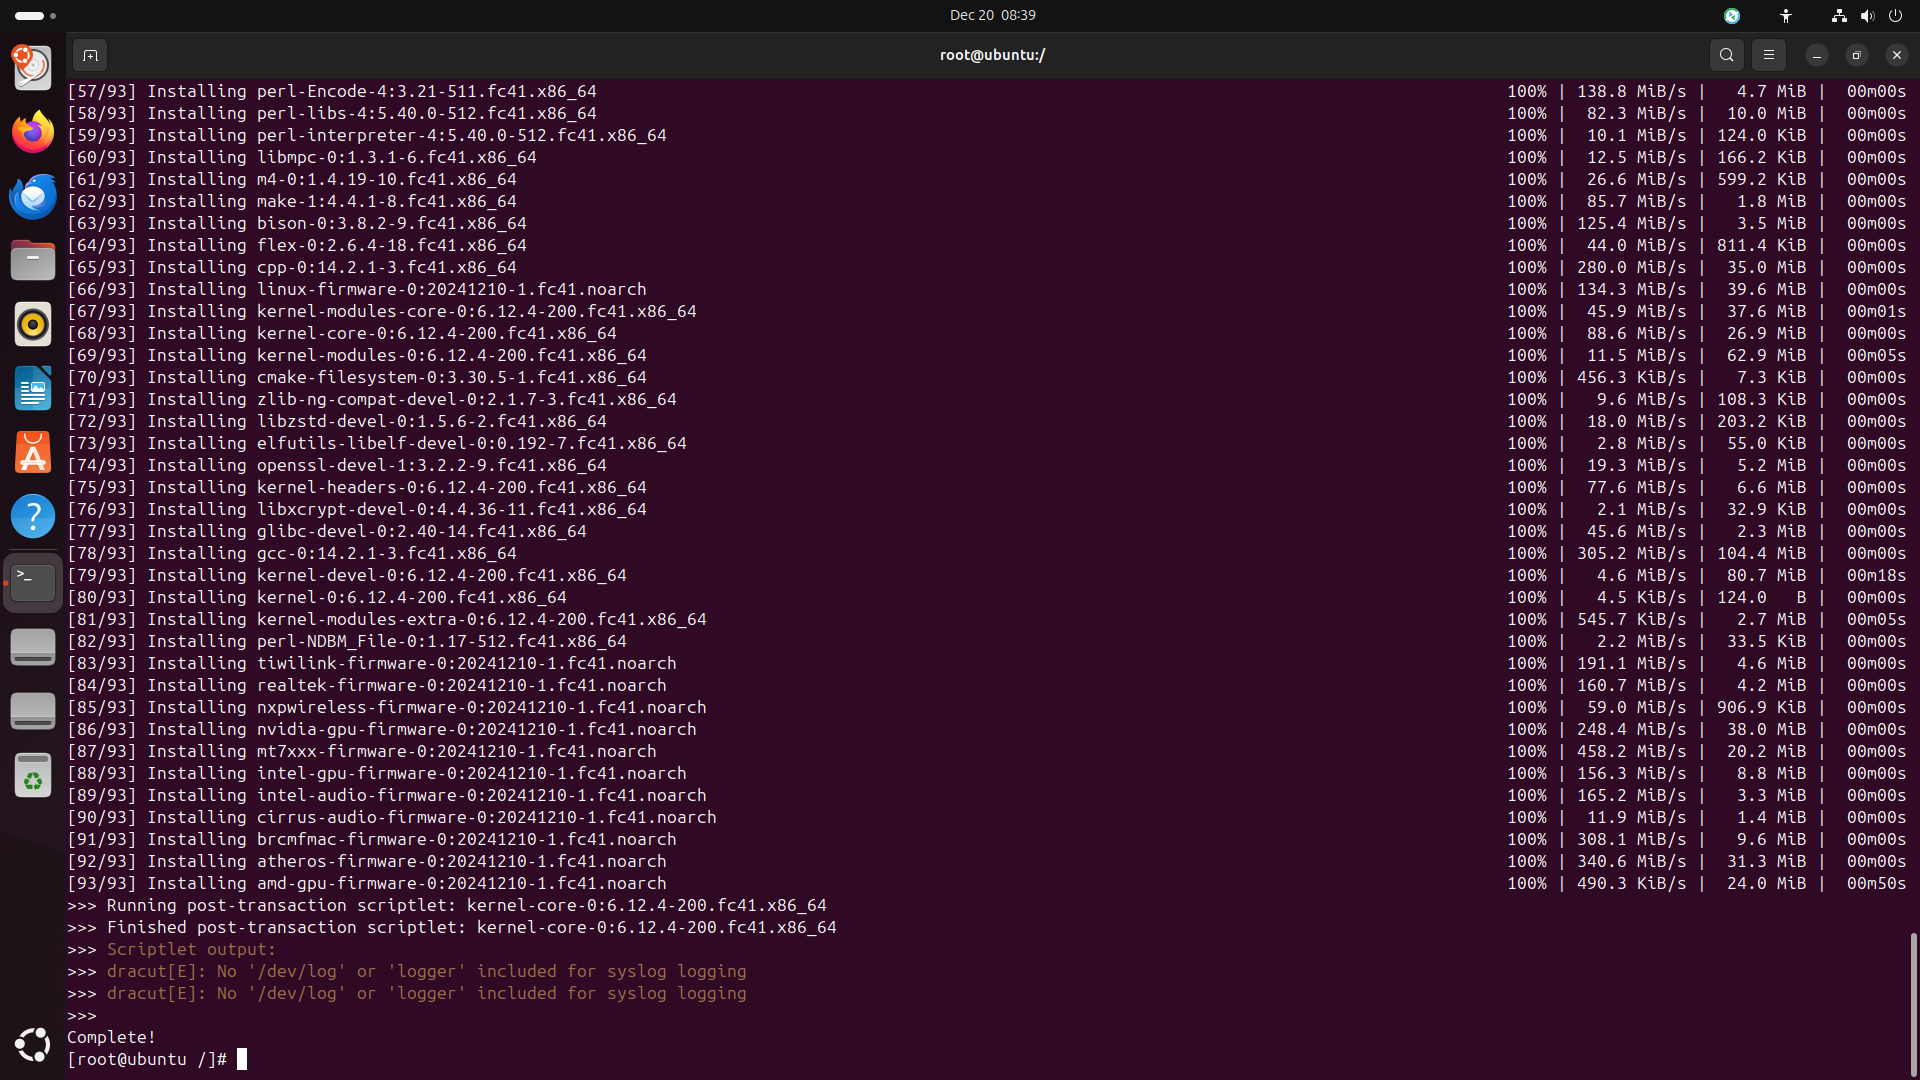
sudo dnf --installroot=/mnt --releasever=41 --forcearch=x86_64 --setopt=fastestmirror=True group install "Core"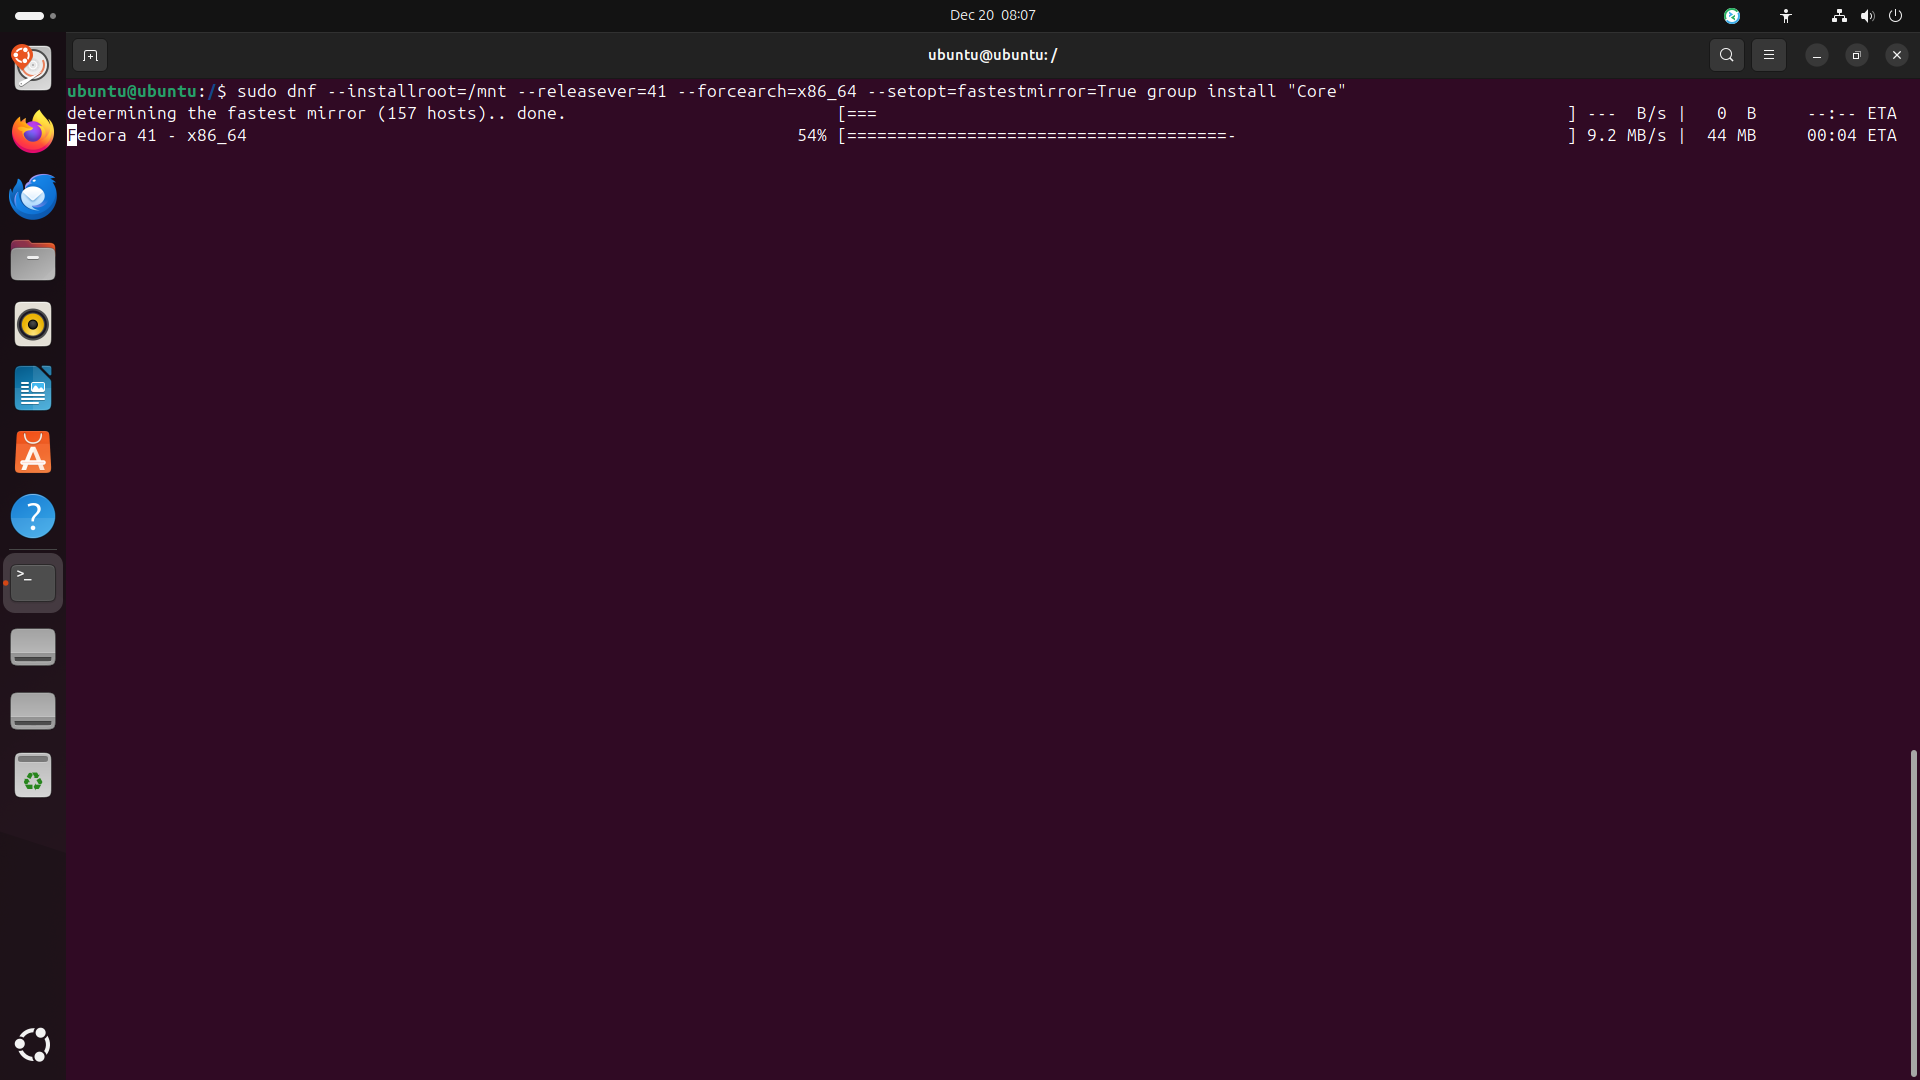
Step 8: Chroot into the New Installation
-
The next step is to chroot into the new installation. The
chrootcommand changes the apparent root directory for the current running process and its children. This allows you to work within the new installation as if it were the root filesystem. First, you need to mount the filesystems:#~ change directory cd /mnt #~ remove etc/resolv.conf symlink for bind mount sudo rm -f etc/resolv.conf #~ touch resolv.conf file sudo touch etc/resolv.conf #~ mount the filesystems for f in dev etc/resolv.conf proc sys sys/firmware/efi/efivars; do sudo mount --bind /$f $f done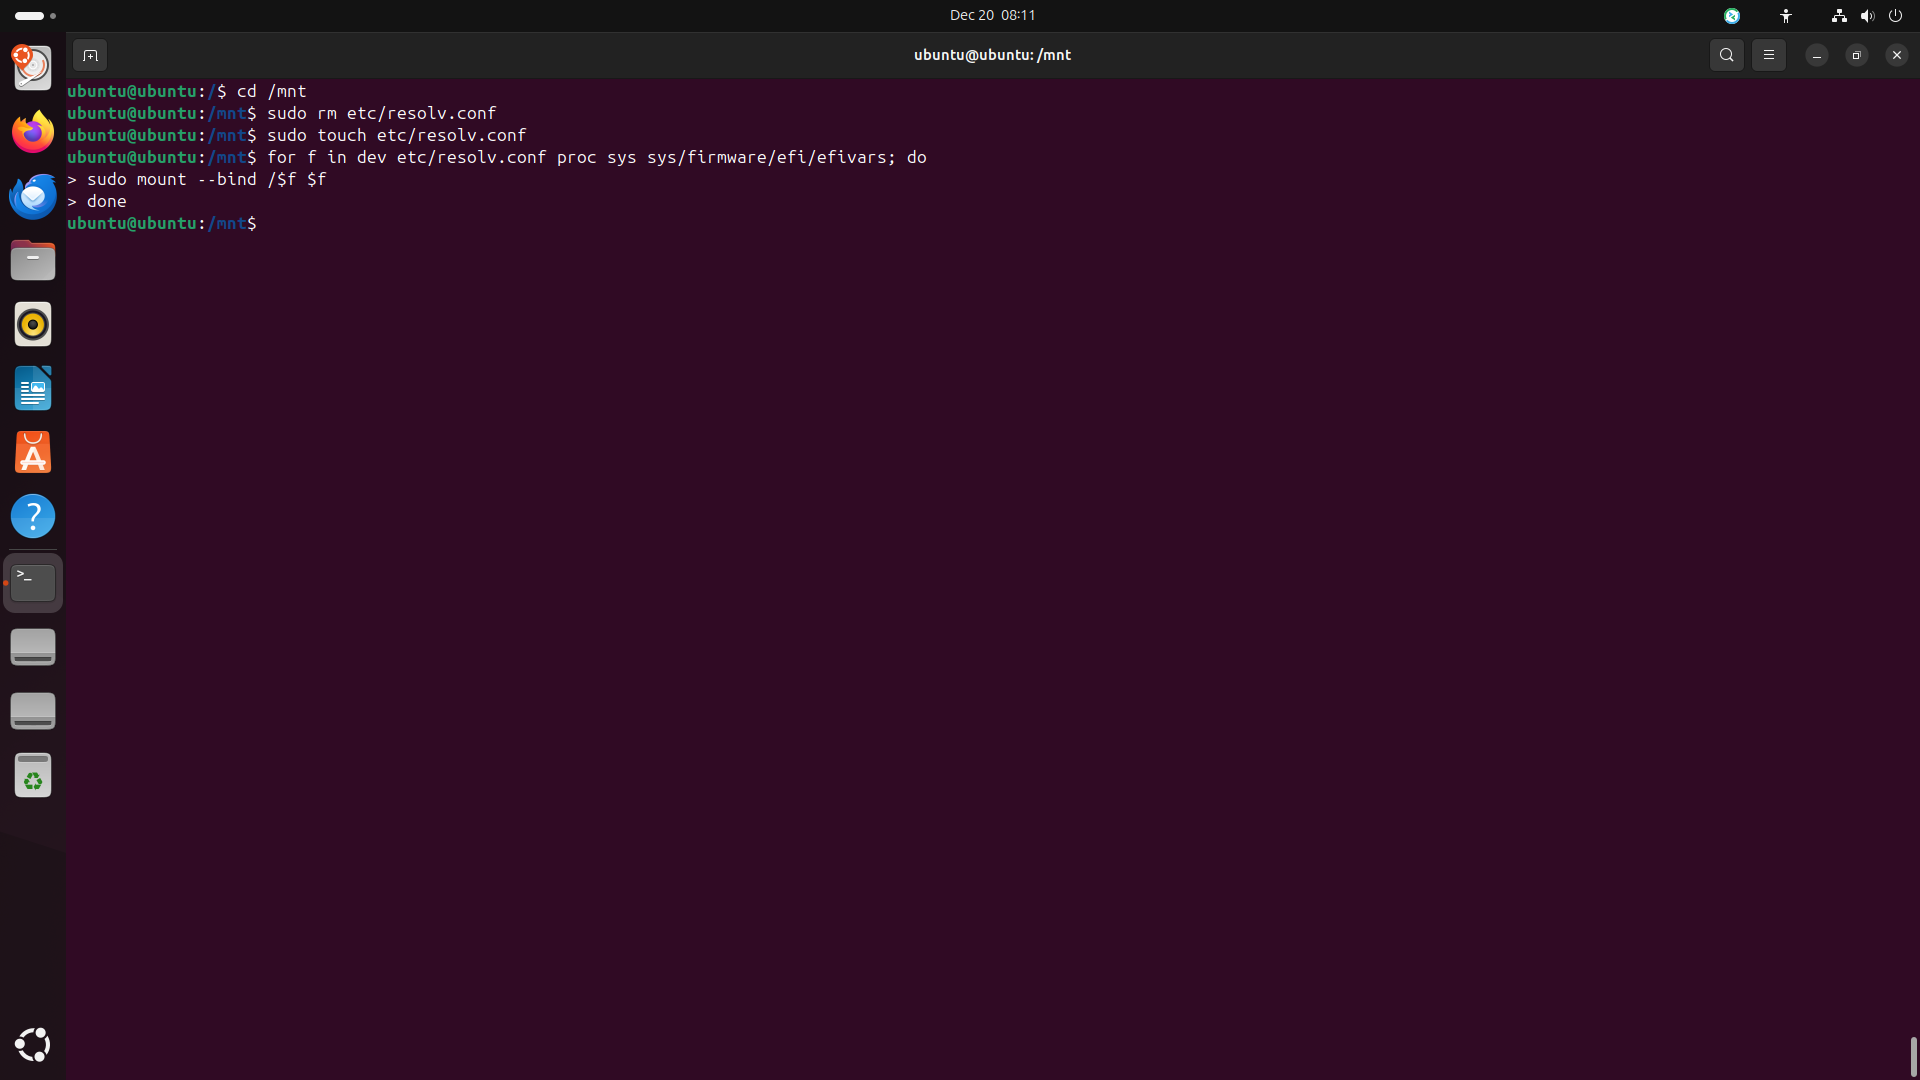
-
Then chroot into the new installation:
#~ chroot into the new installation
sudo chroot /mnt

#~ update the system
dnf --releasever=41 --setopt=fastestmirror=True --refresh update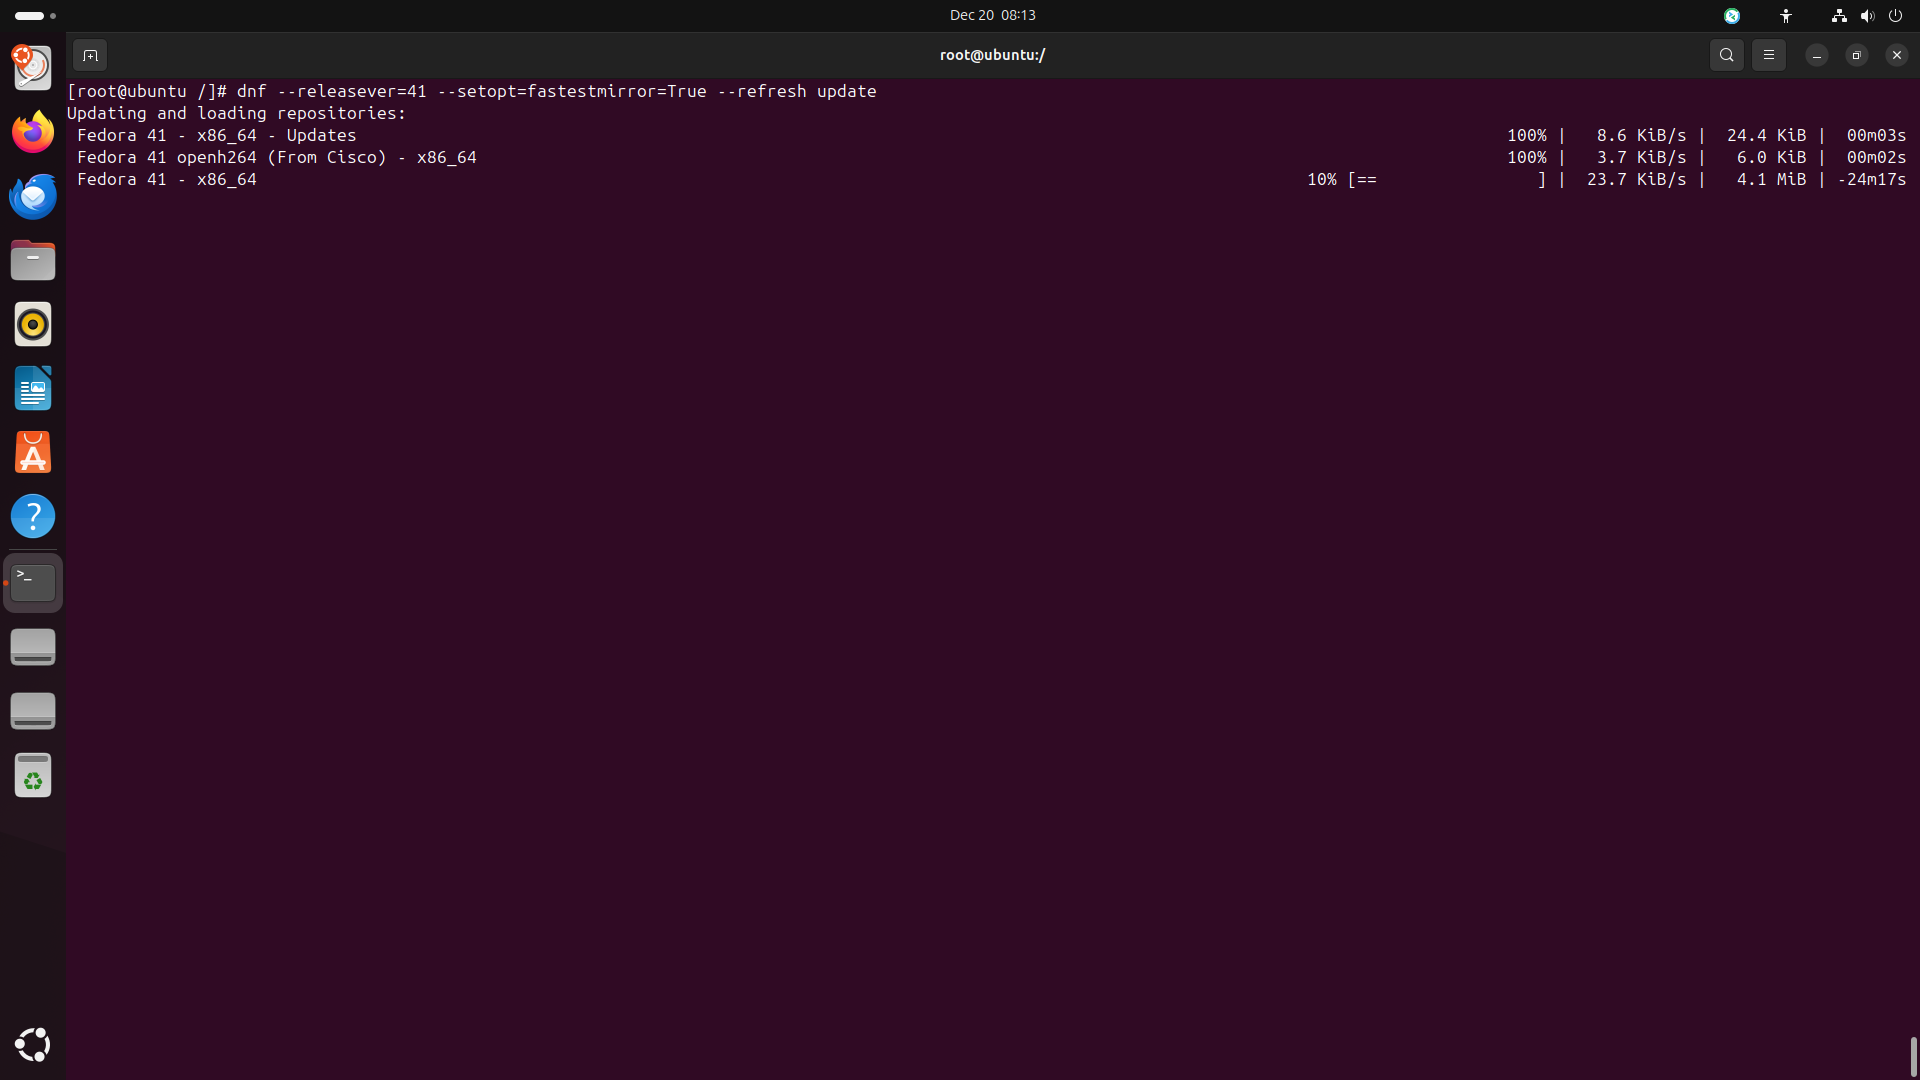
Step 9: Install ‘Standard’ group
-
The next step is to install the
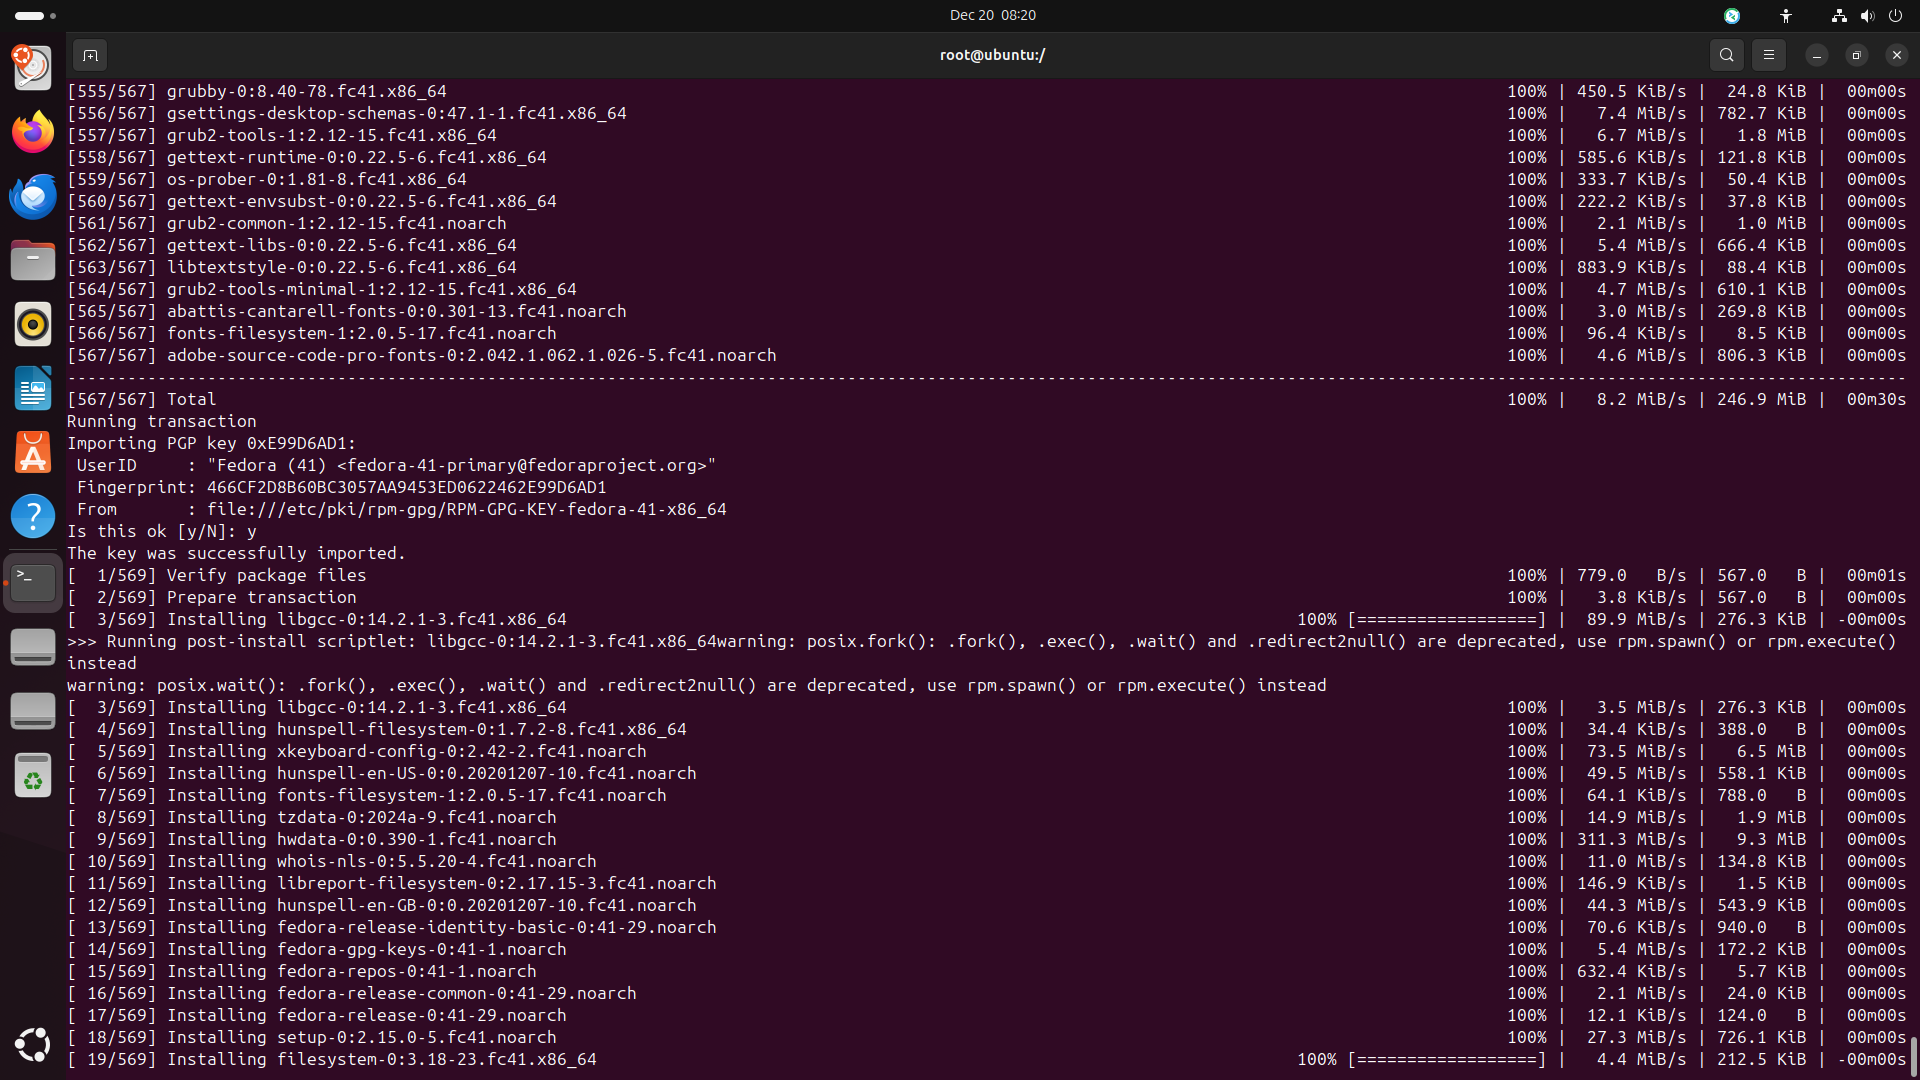
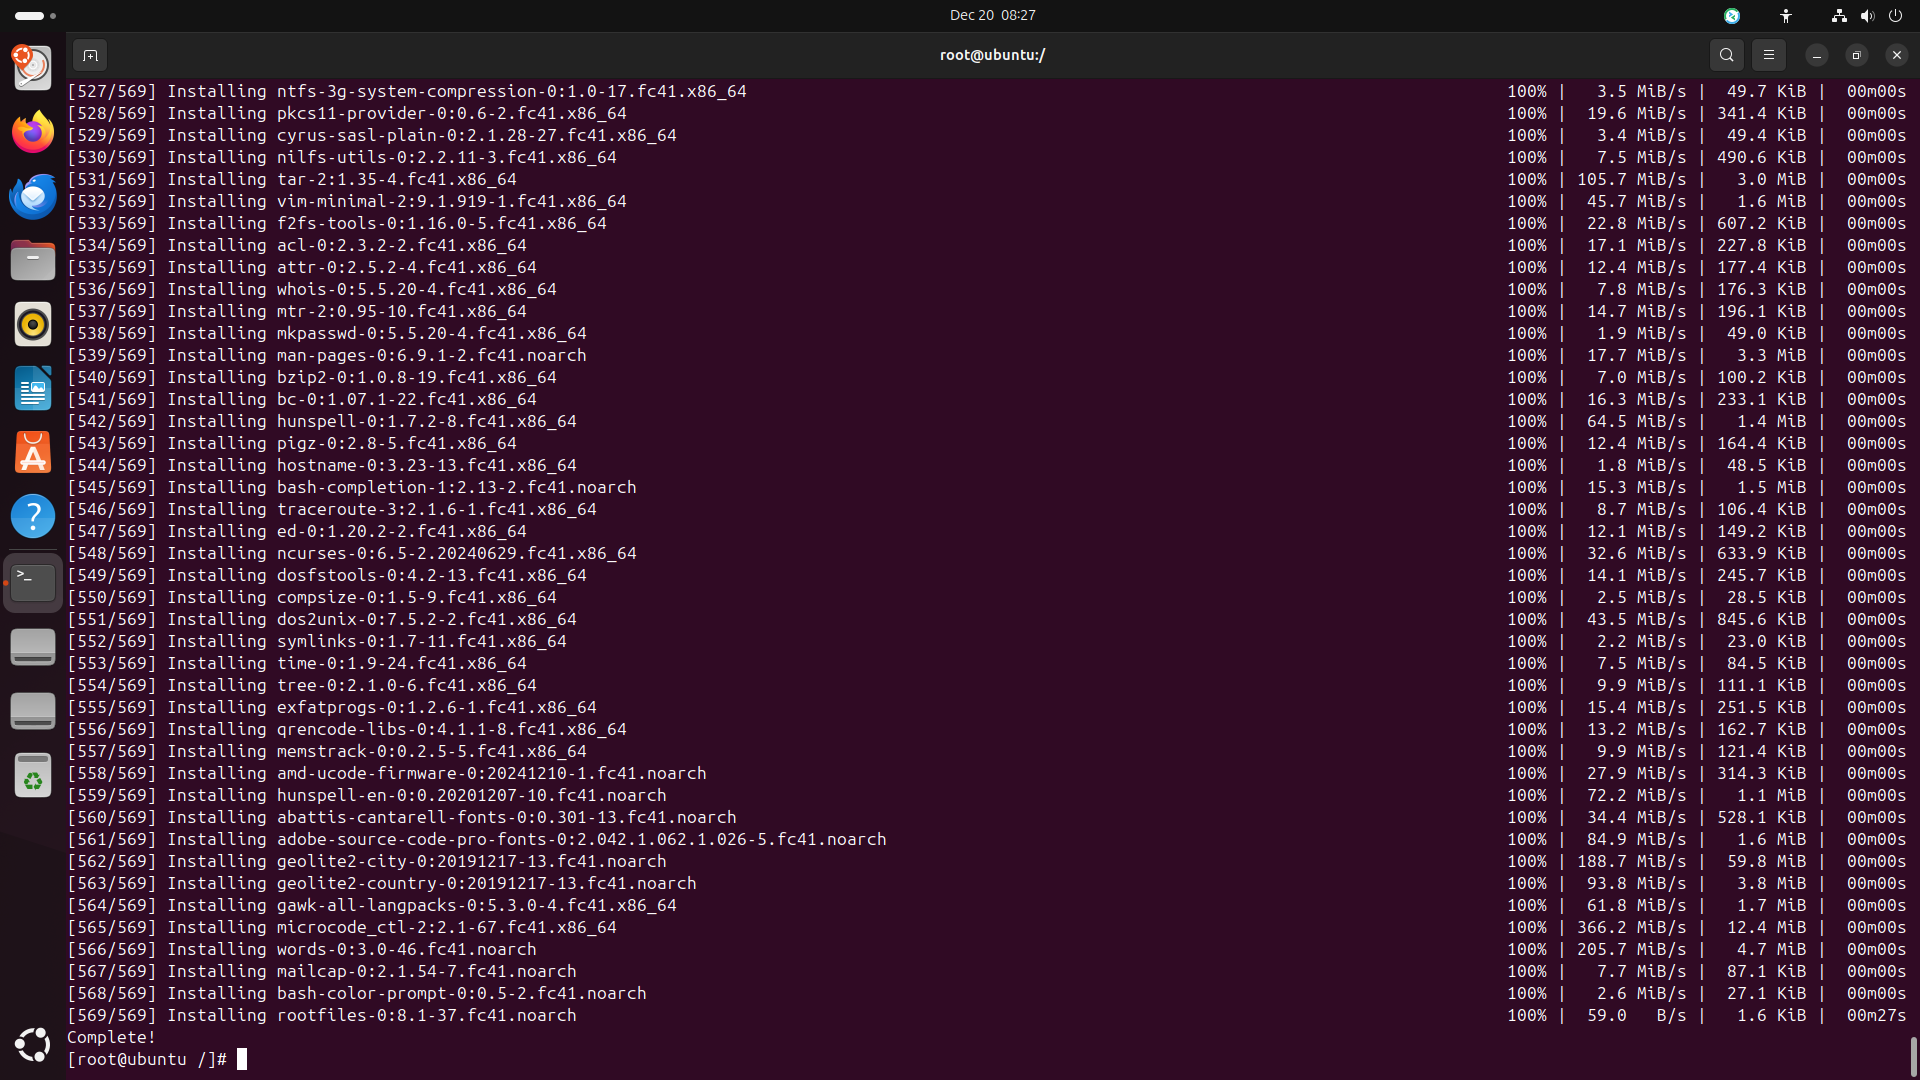
Standardgroup, which includes essential packages for a basic Fedora system. You can do this by running the following command:dnf --releasever=41 --setopt=fastestmirror=True group install core standard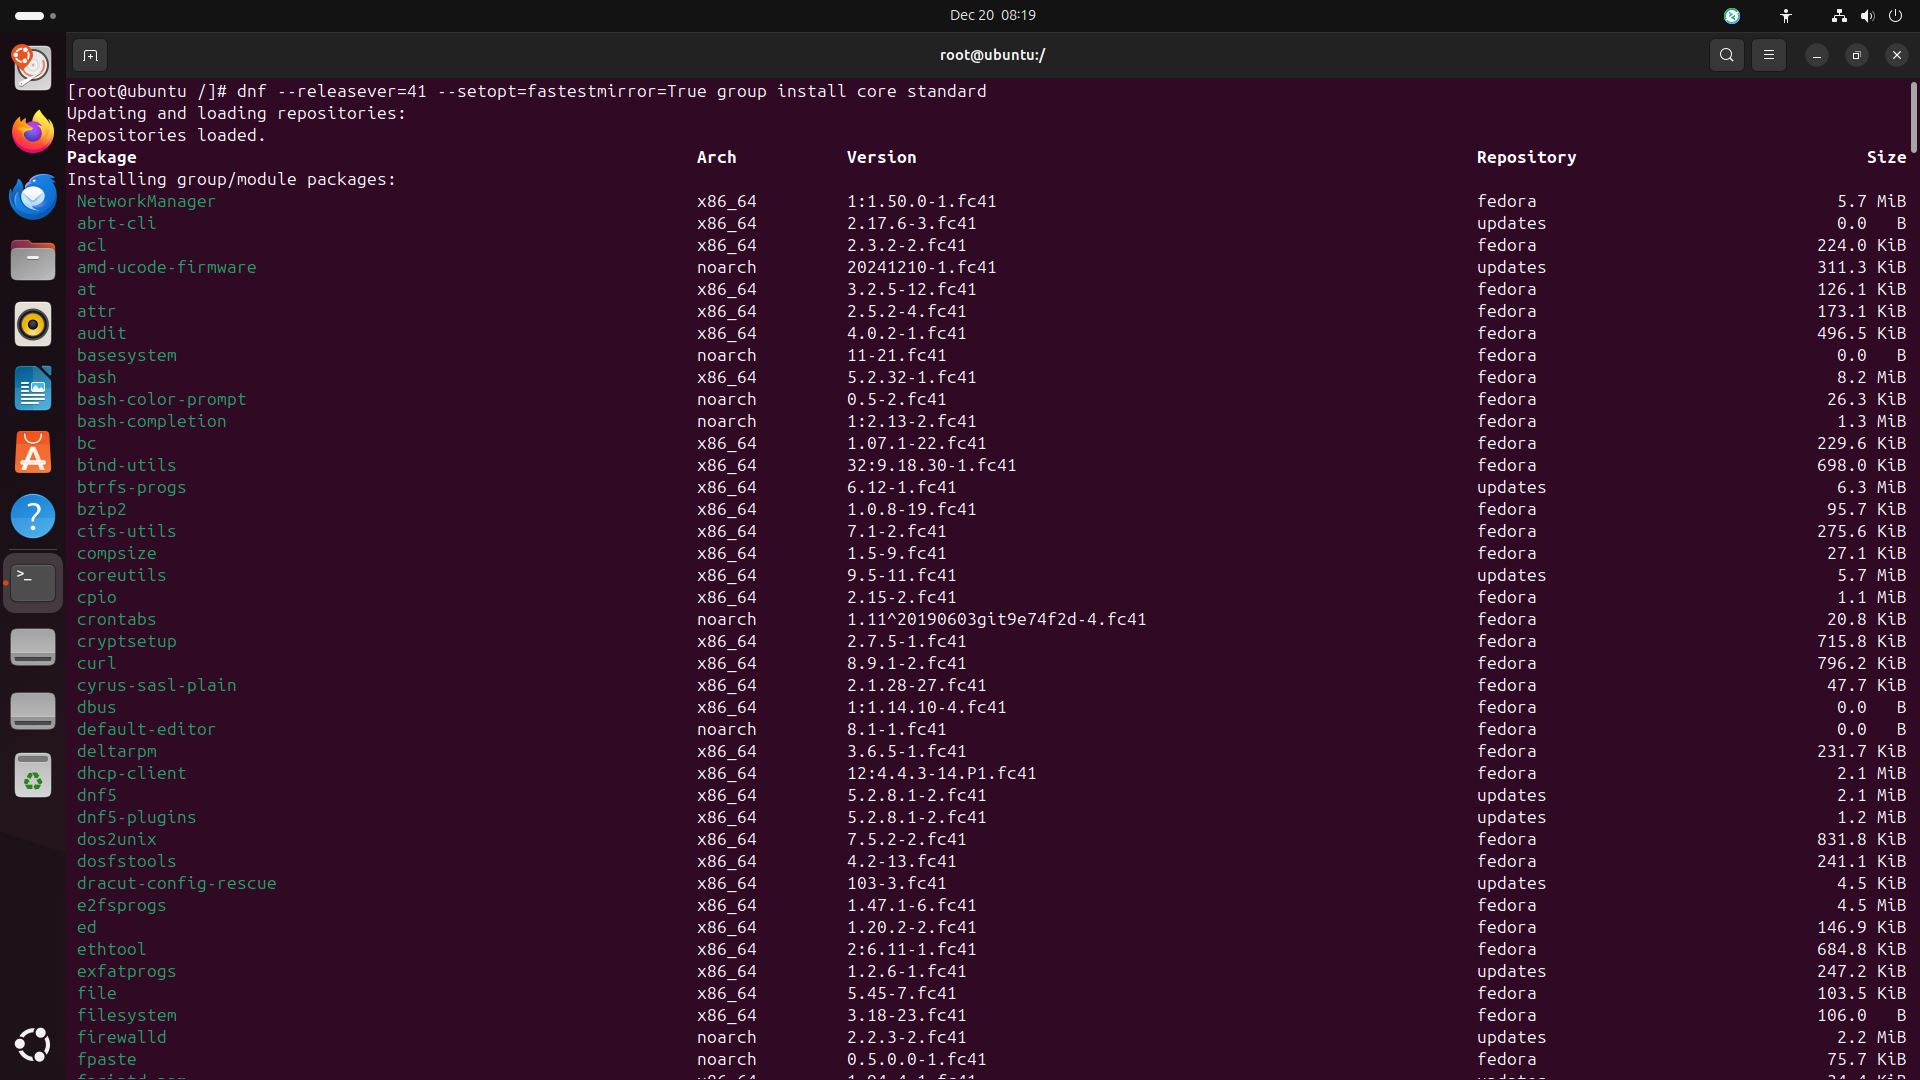
-
Then check fedora version from rpm command:
rpm -E %fedora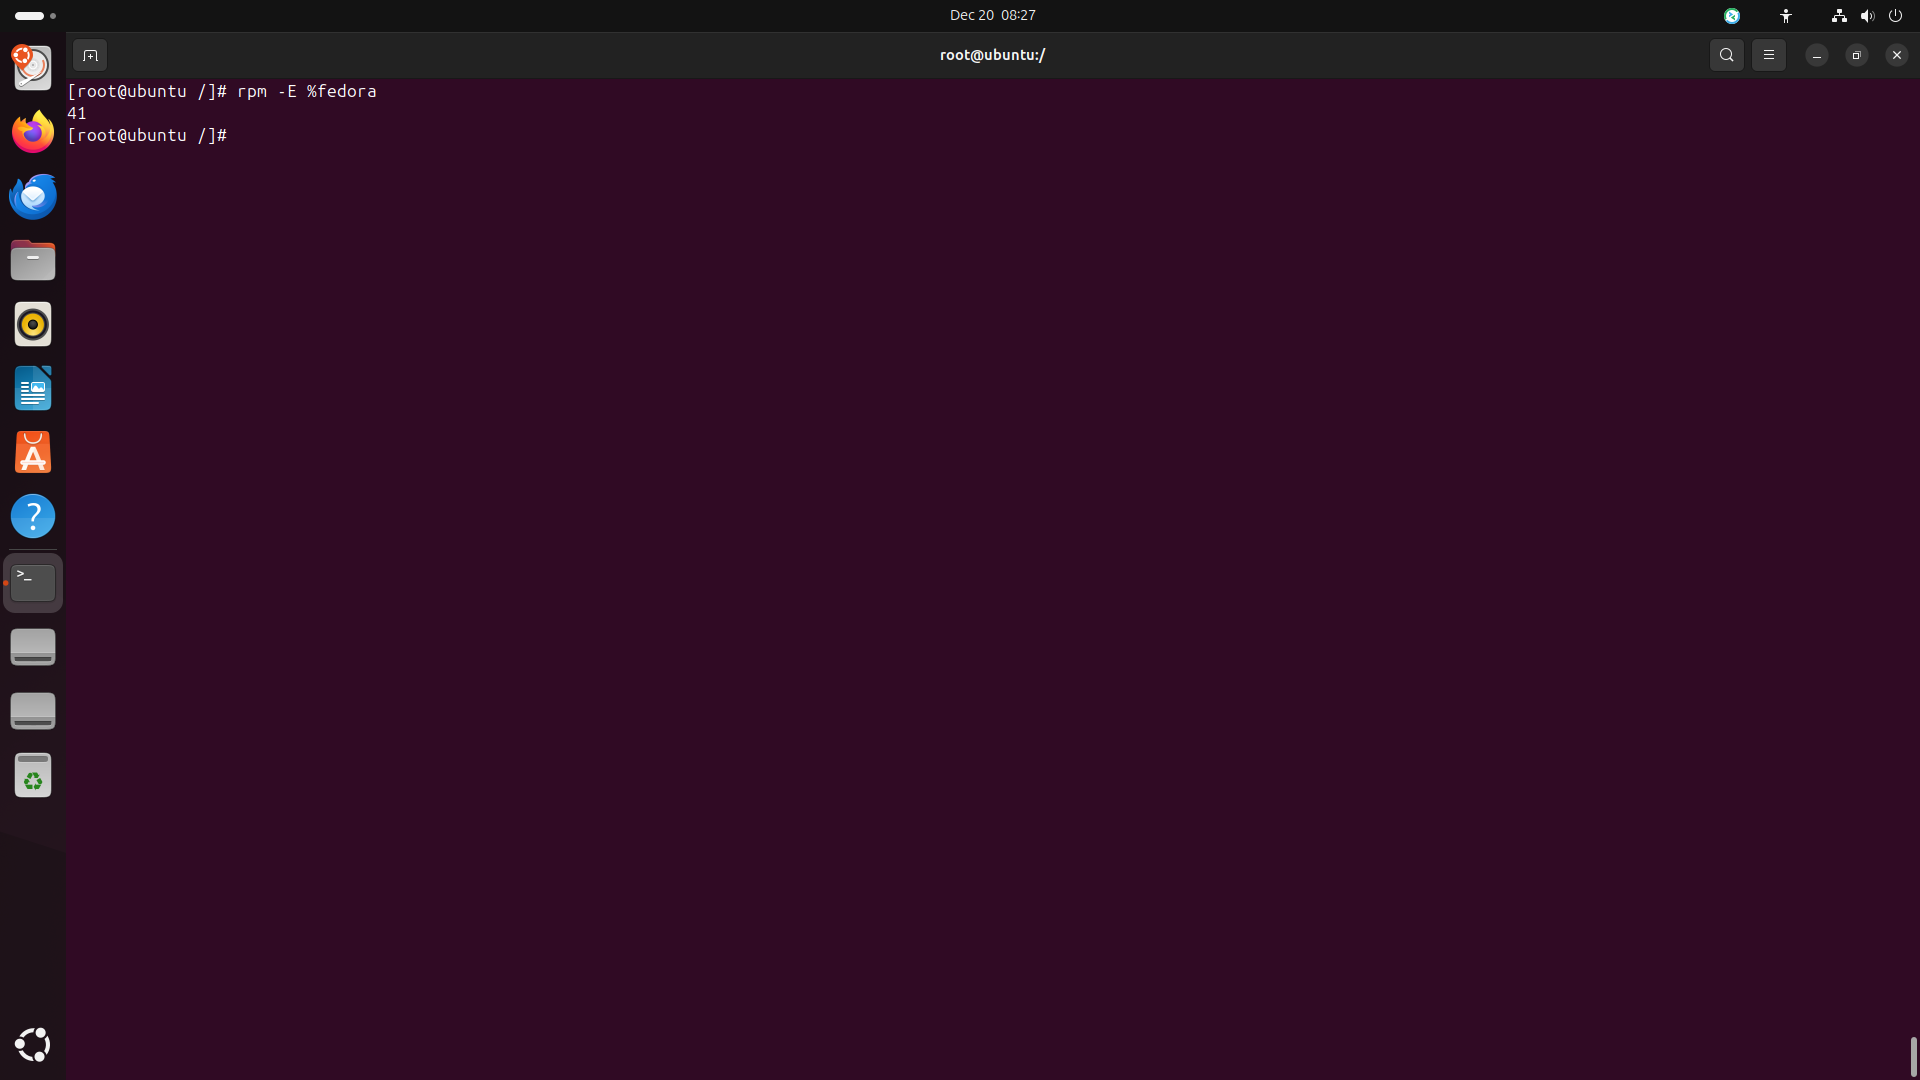
Step 10: Change dnf Configuration
-
The next step is to change the dnf configuration. You can do this by running the following commands:
vi /etc/dnf/dnf.conf -
Then append the following lines to the
dnf.conffile:gpgcheck=True installonly_limit=3 #~ keep 3 versions of the kernel packages clean_requirements_on_remove=True best=True skip_if_unavailable=True fastestmirror=True #~ find the fastest mirror max_parallel_downloads=10 #~ download 10 packages at the same time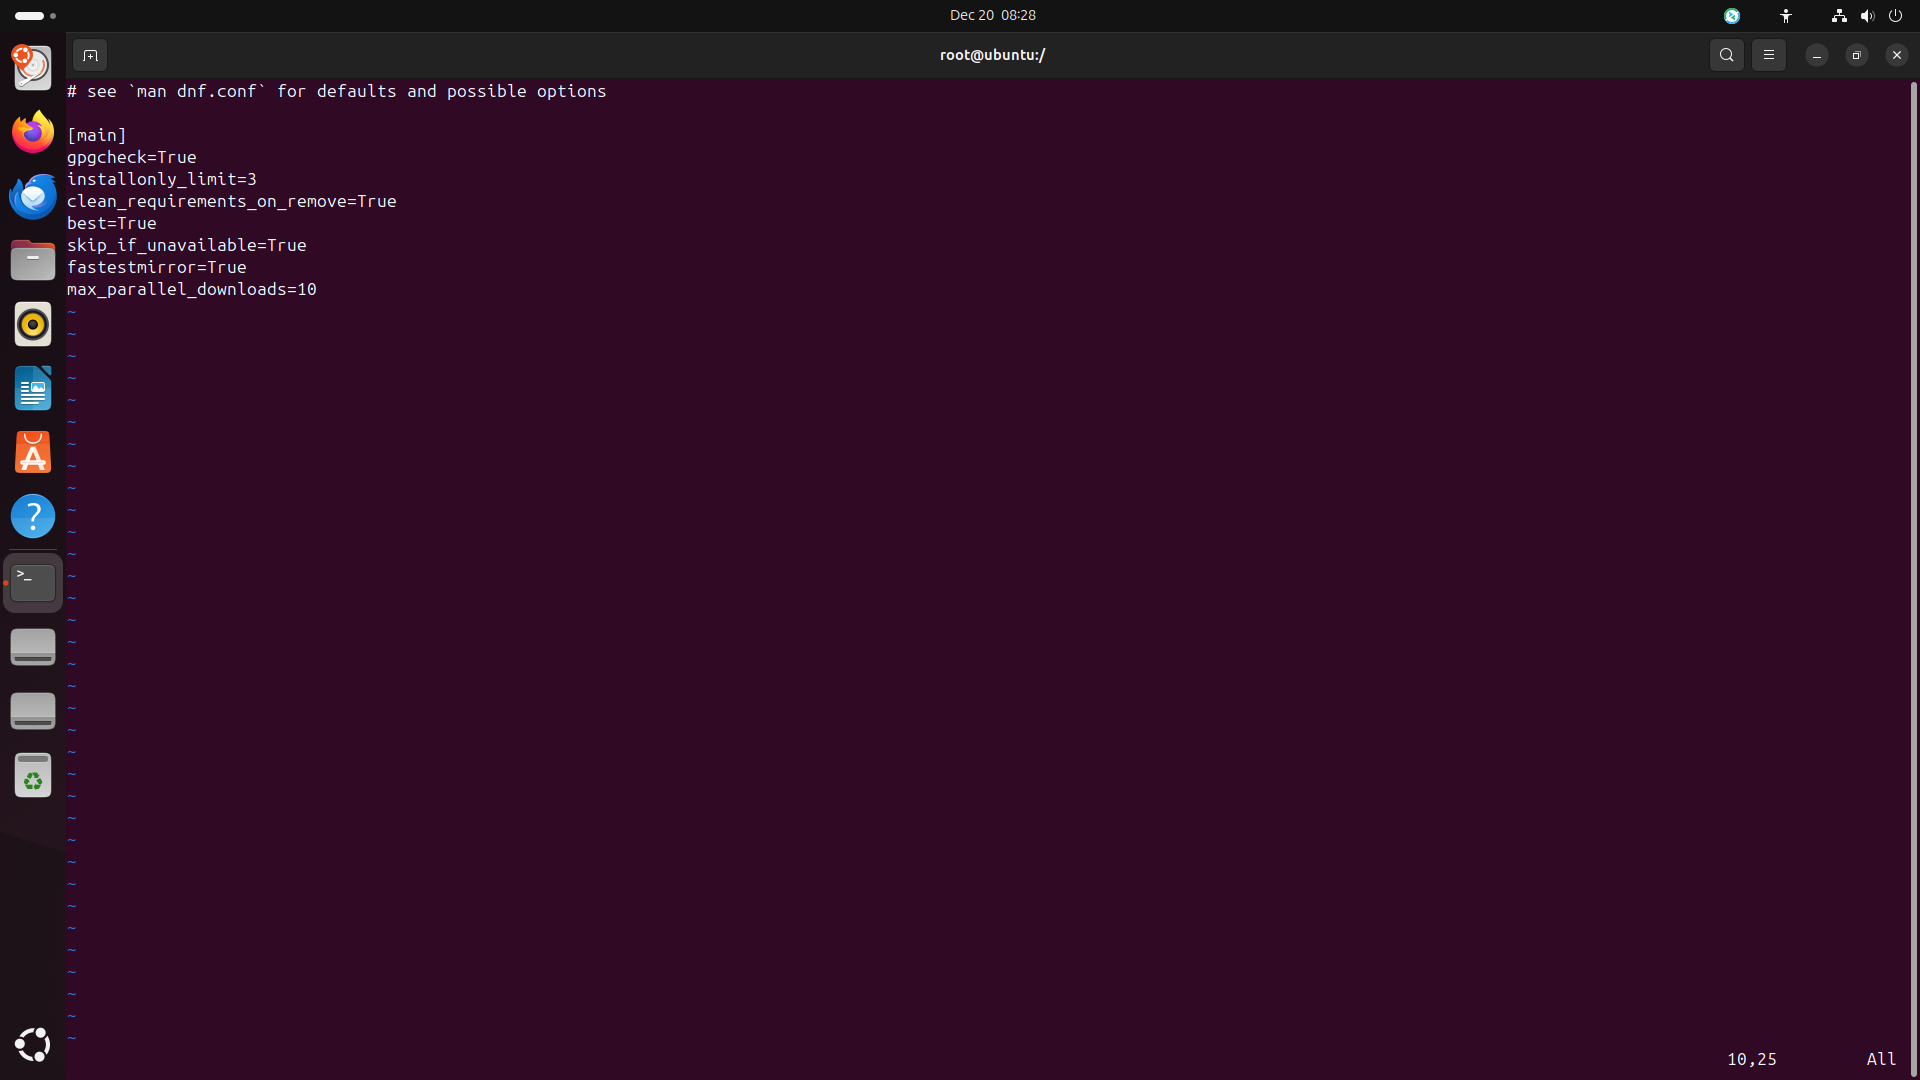
Step 11: Set the Zones, Locale and Etc
-
The next step is to set the zones, locale and etc. You can do this by running the following commands:
#~ install the locale packages
dnf install -y langpacks-{en,tr}* glibc-all-langpacks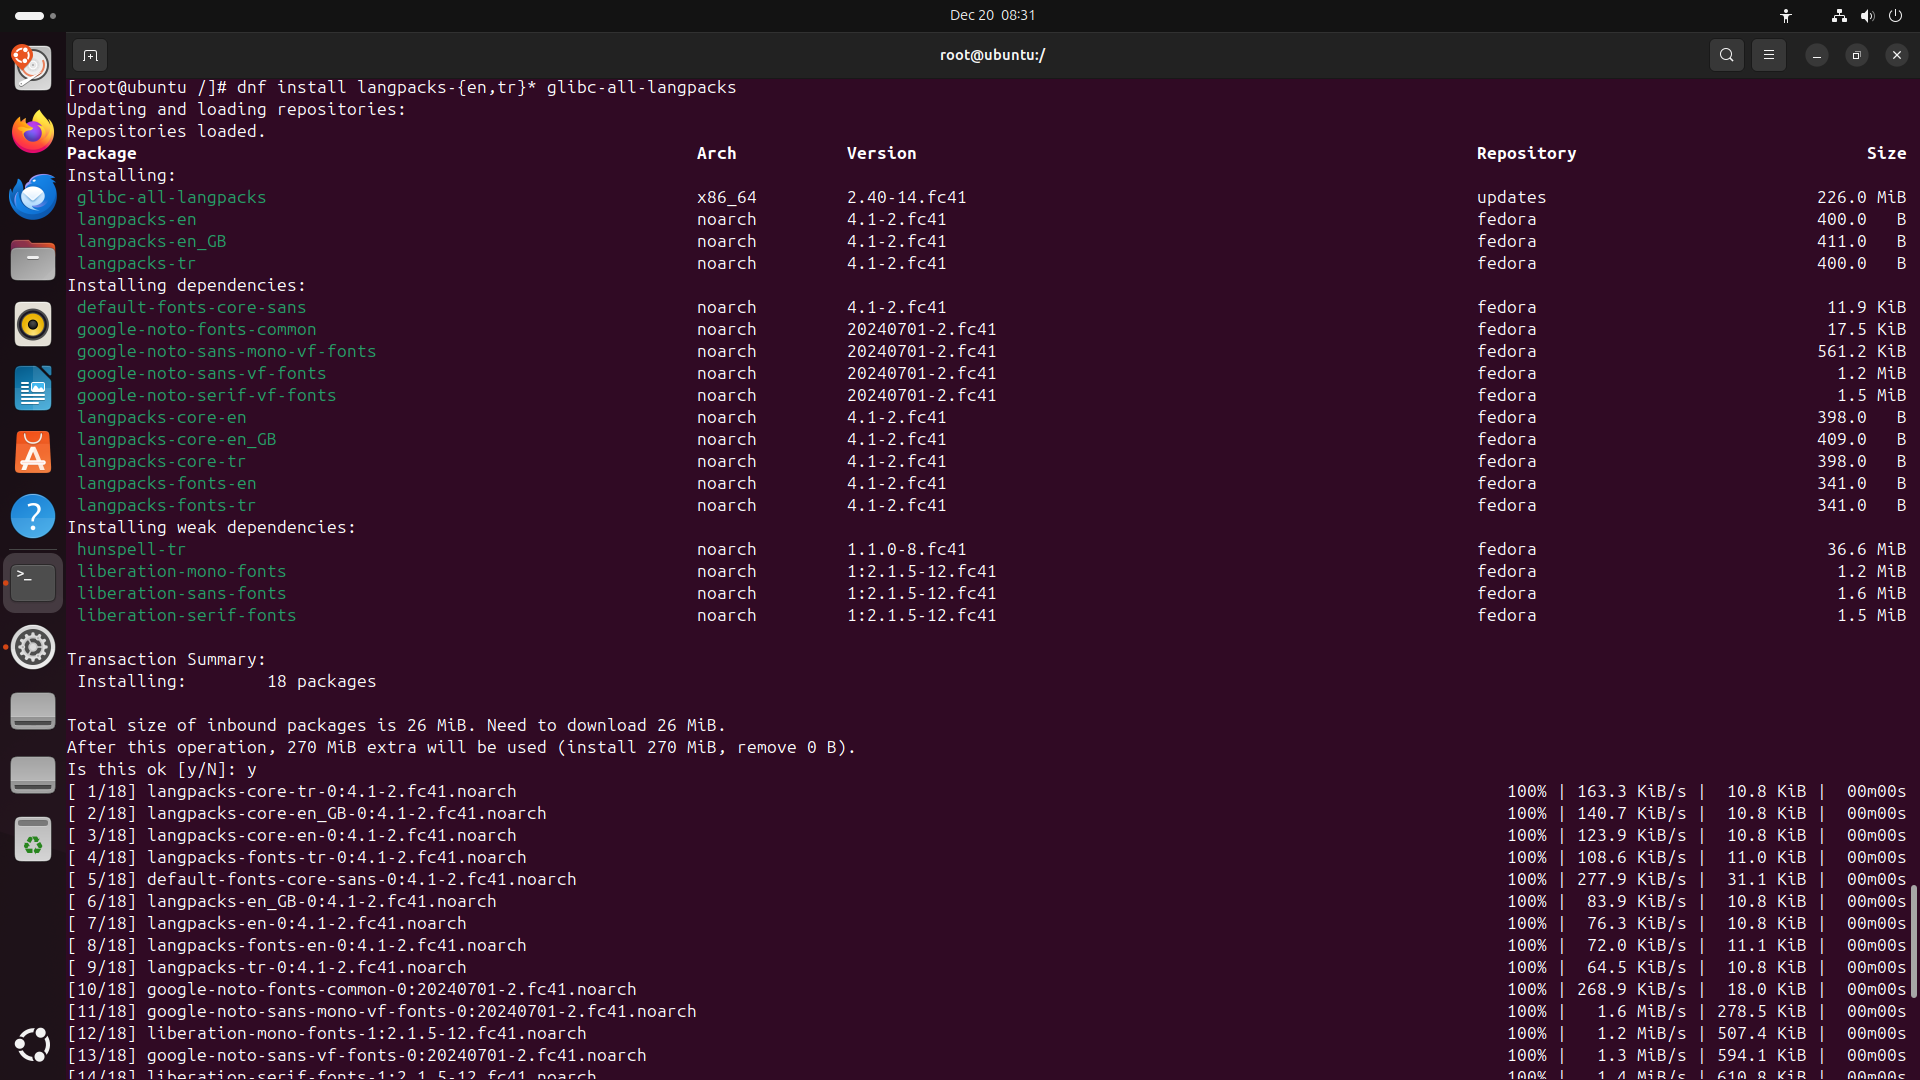
-
Then set the timezone, locale and vconsole:
#~ set the timezone (replace Europe/Istanbul with your timezone)
ln -sf /usr/share/zoneinfo/Europe/Istanbul /etc/localtime

#~ set the locale (replace en_US.UTF-8 with your locale)
echo 'LANG=en_US.UTF-8' > /etc/locale.conf

#~ set the vconsole (replace us with your keymap)
echo 'KEYMAP=us' > /etc/vconsole.conf
echo 'FONT=eurlatgr' >> /etc/vconsole.conf

#~ set hostname
echo 'yourhostname' > /etc/hostname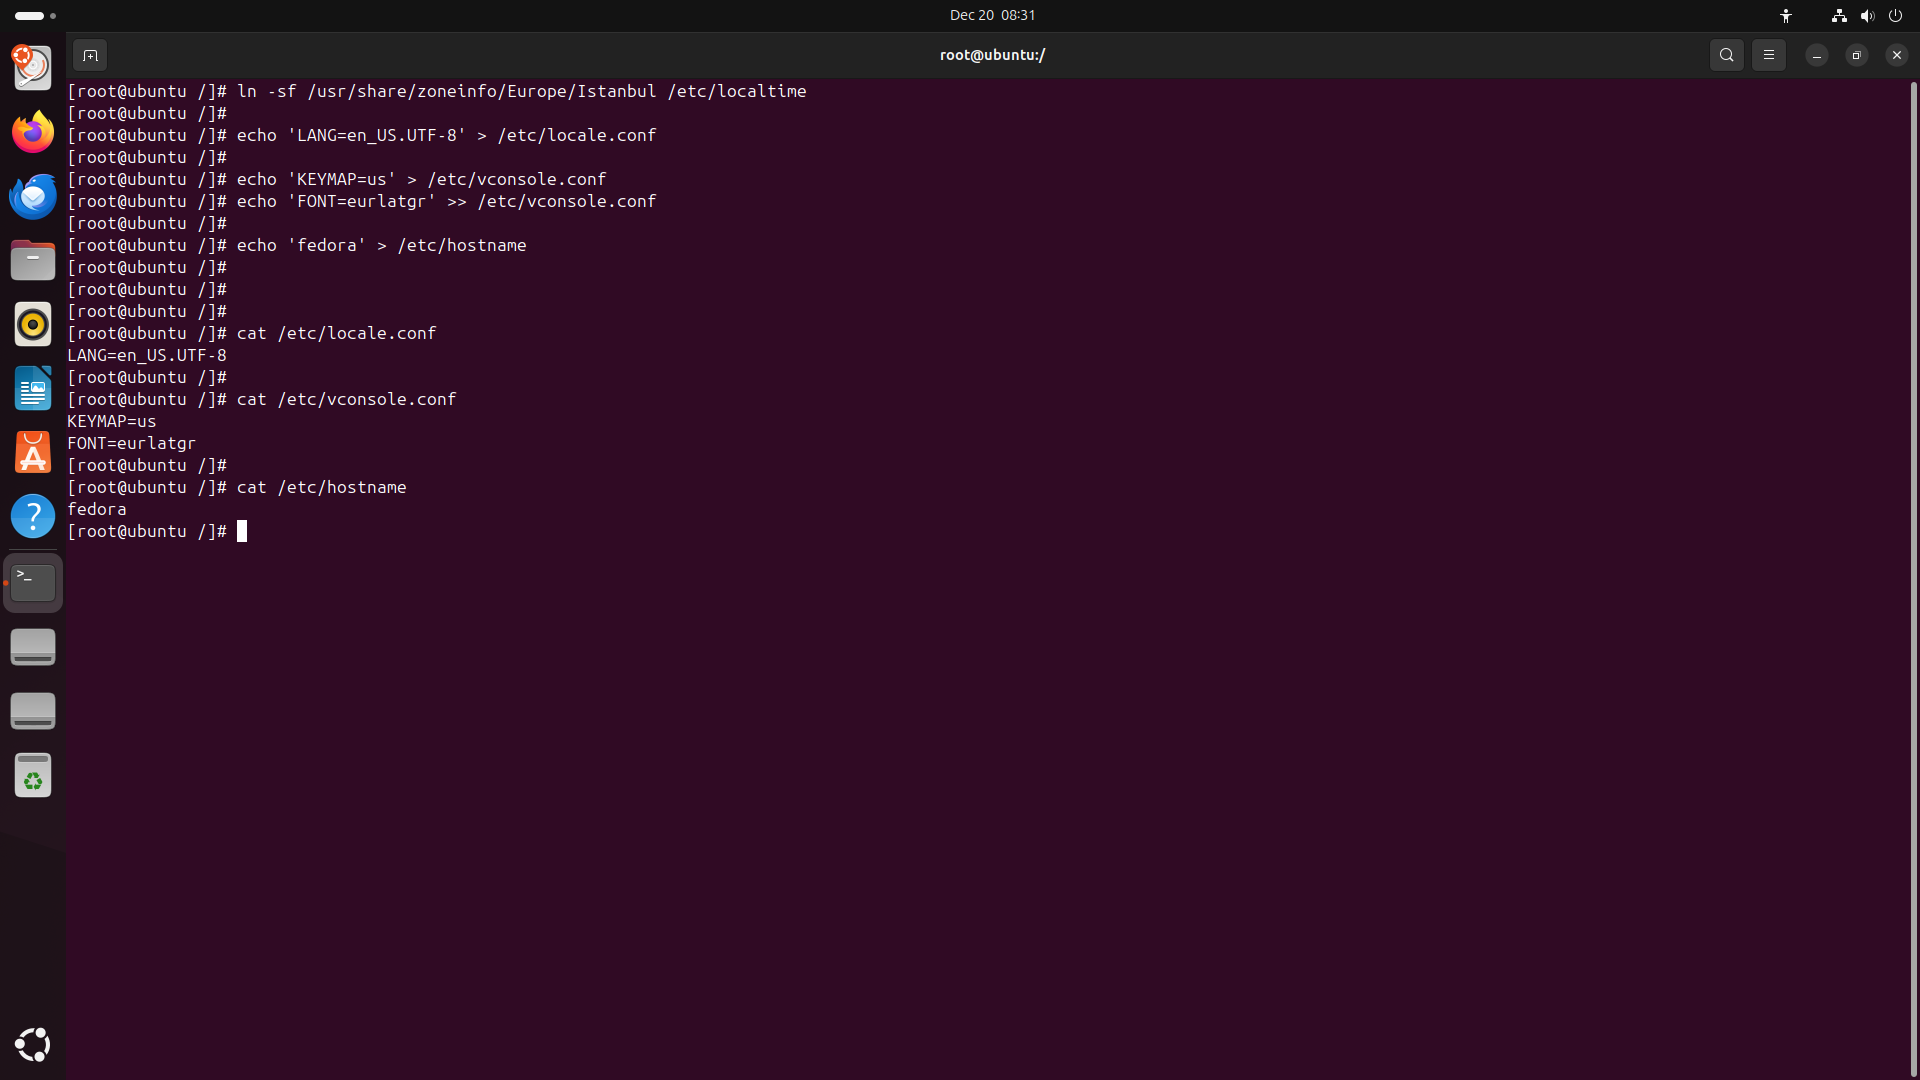
Step 12: Replace Bootloader to Systemd-boot from Grub
-
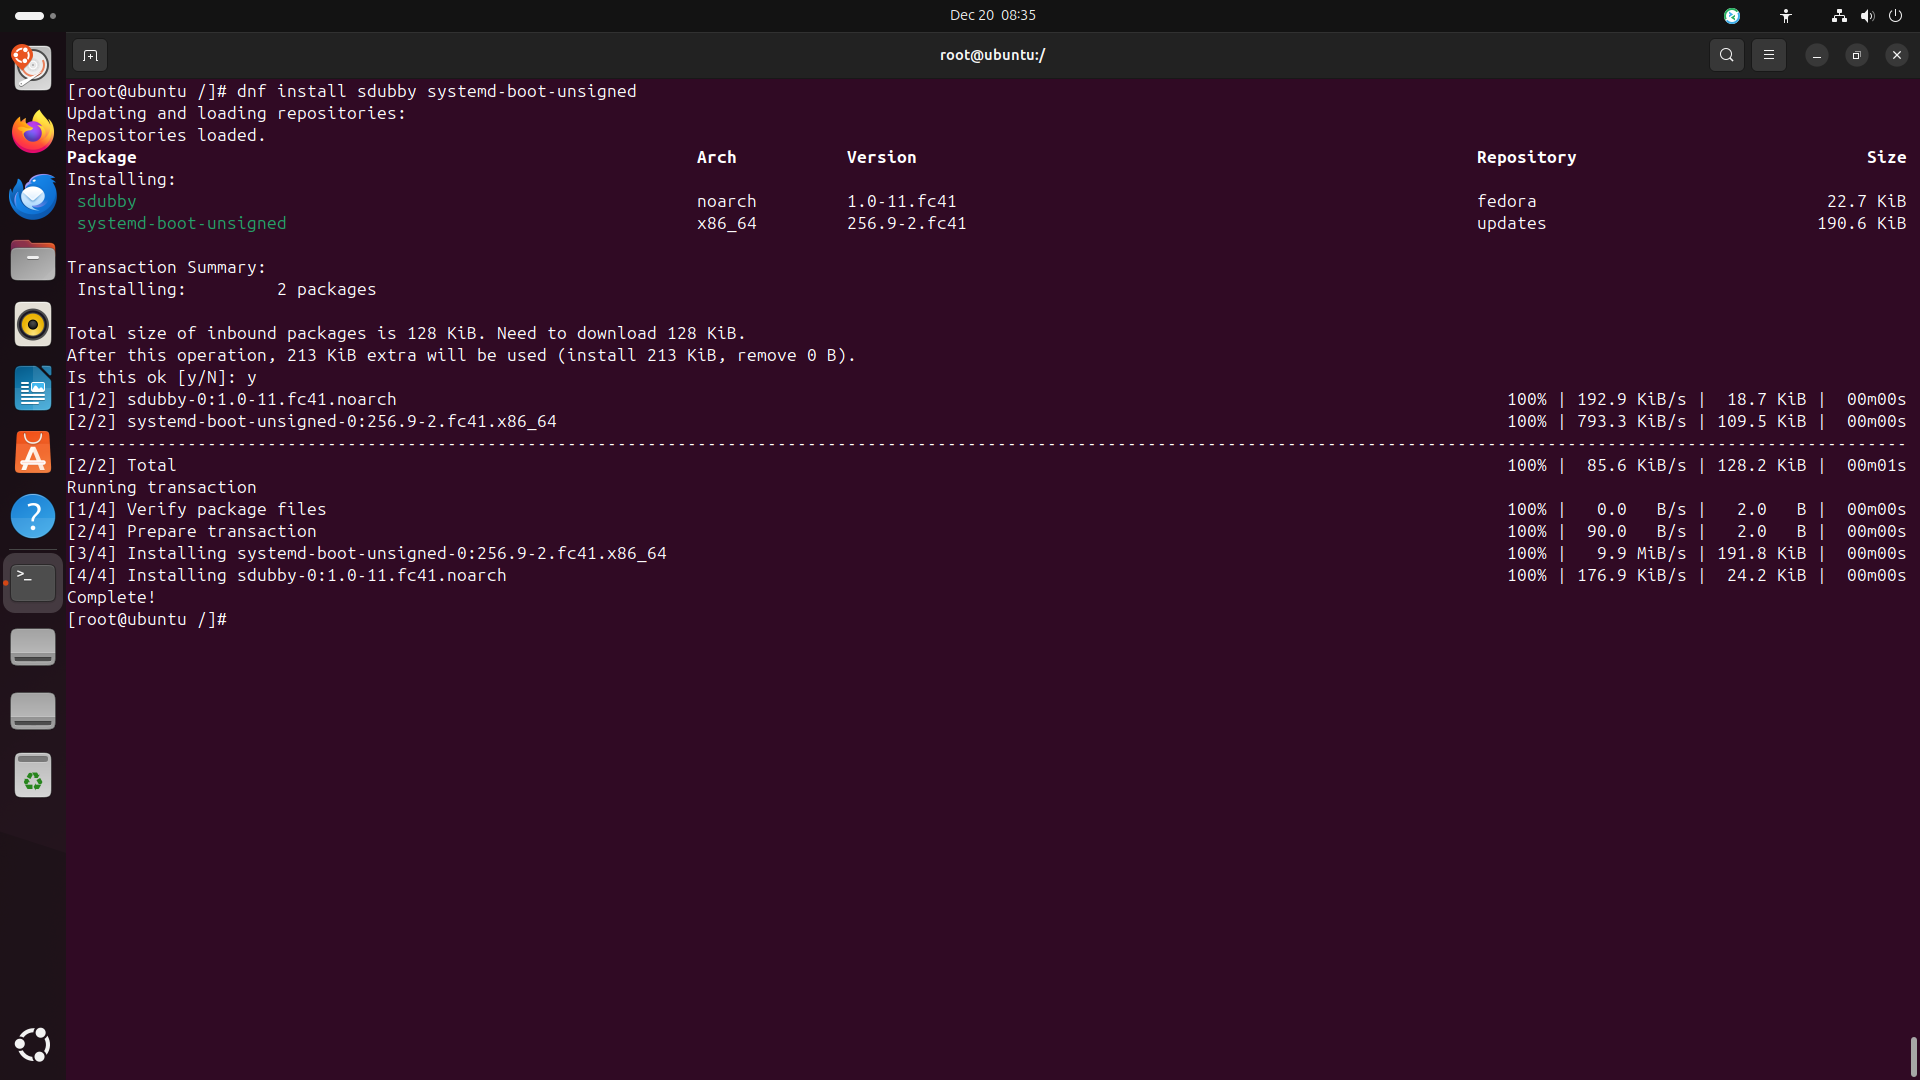
In this step, we will use systemd-boot as the boot loader. systemd-boot is a simple UEFI boot manager that provides an easy and efficient way to manage boot entries. You can do this by running the following commands:
#~ remove grub protection
rm -f /etc/dnf/protected.d/grub*

#~ remove grub packages
dnf remove grub*

#~ install systemd-boot
dnf install -y systemd-boot-unsigned sdubby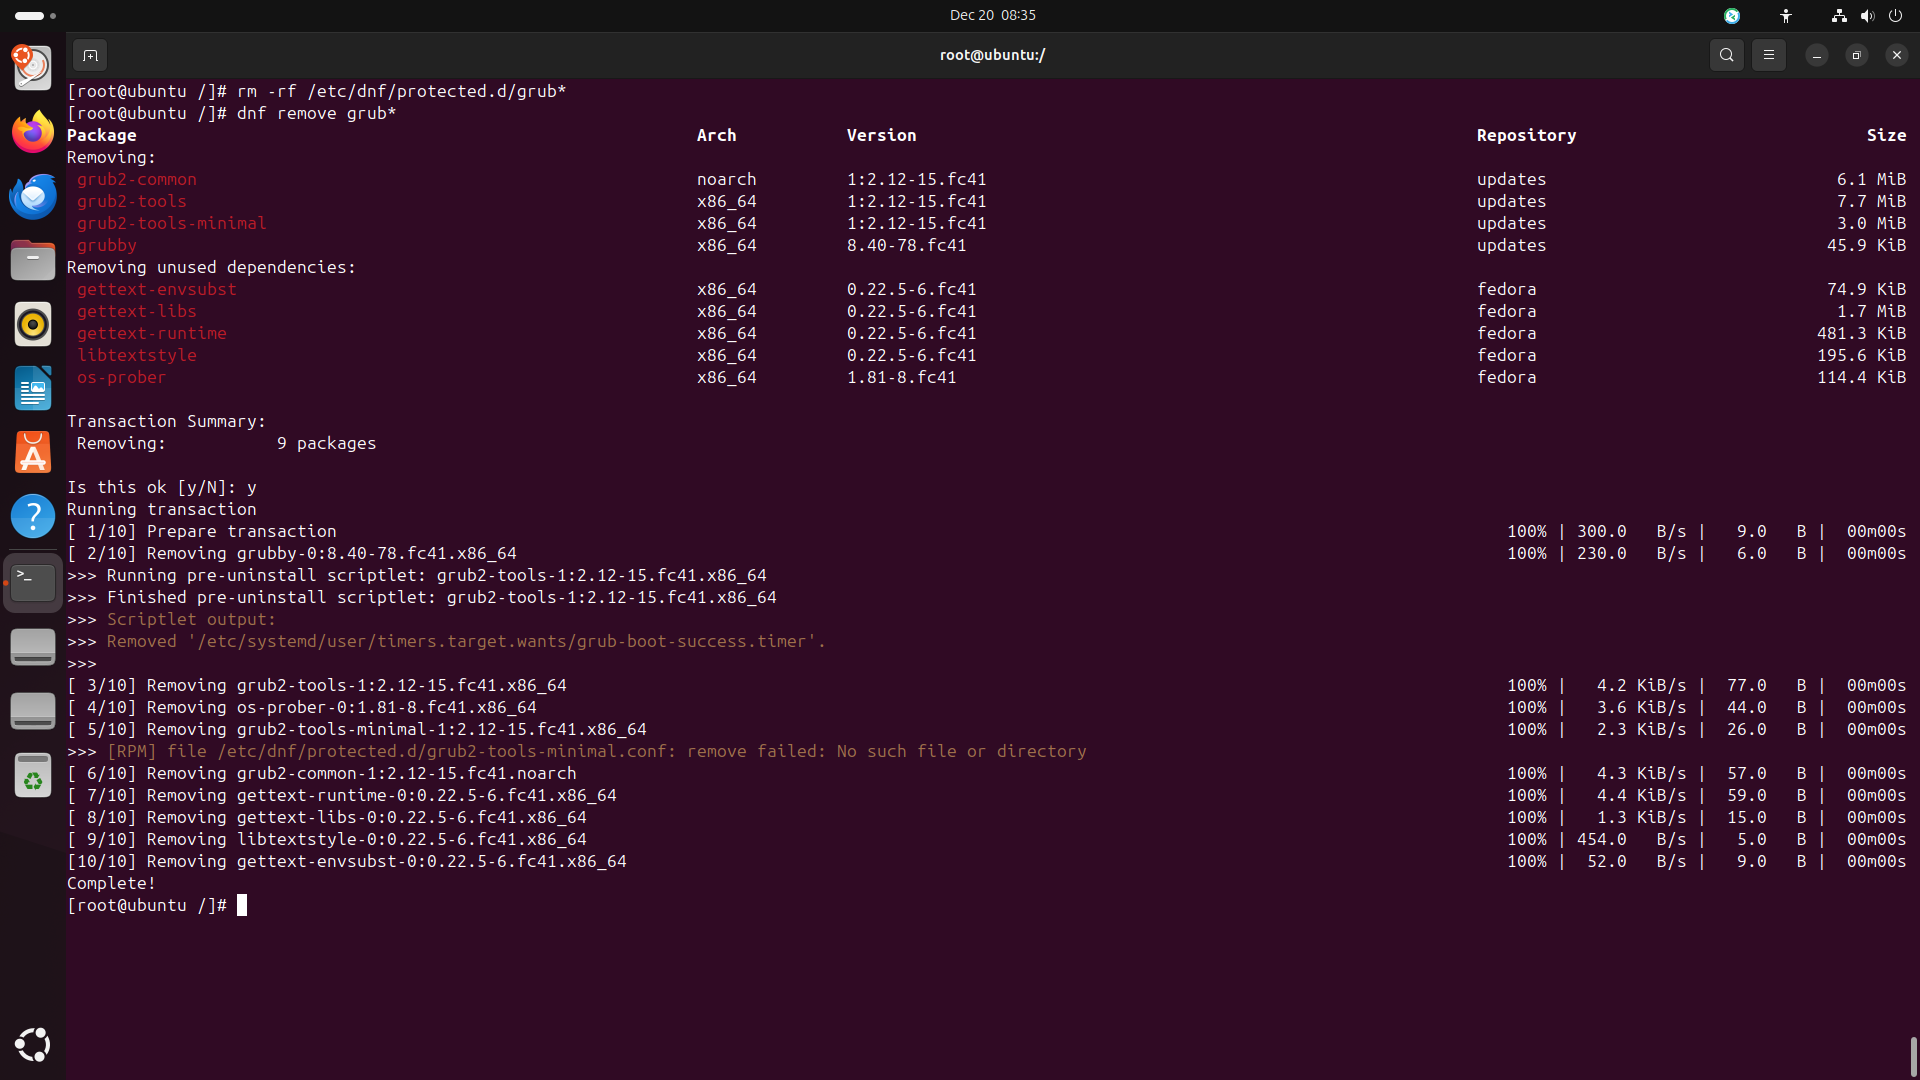
-
Then install systemd-boot to the disk:
bootctl install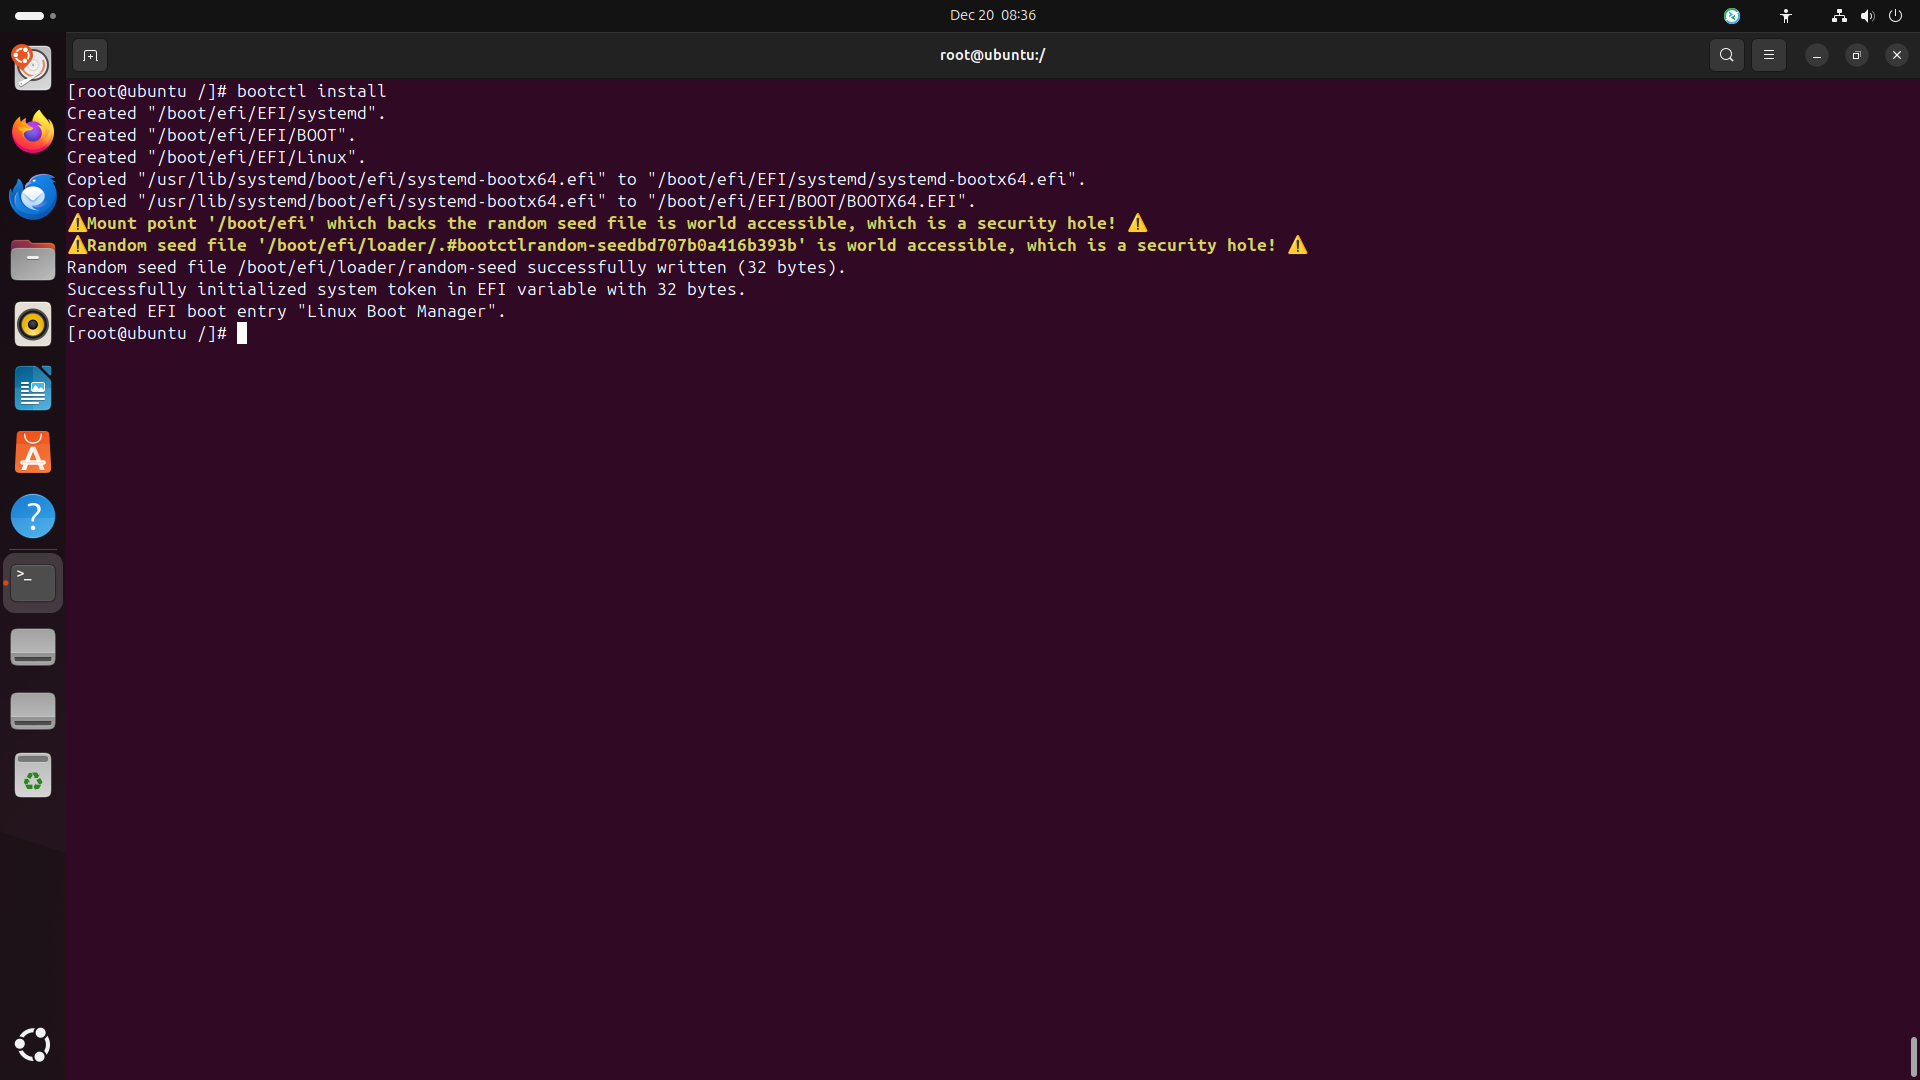
Step 13: Install Kernel Packages
-
The next step is to install the kernel packages. You can do this by running the following commands:
dnf install -y kernel{,-core,-devel,-modules,-modules-extra,-headers}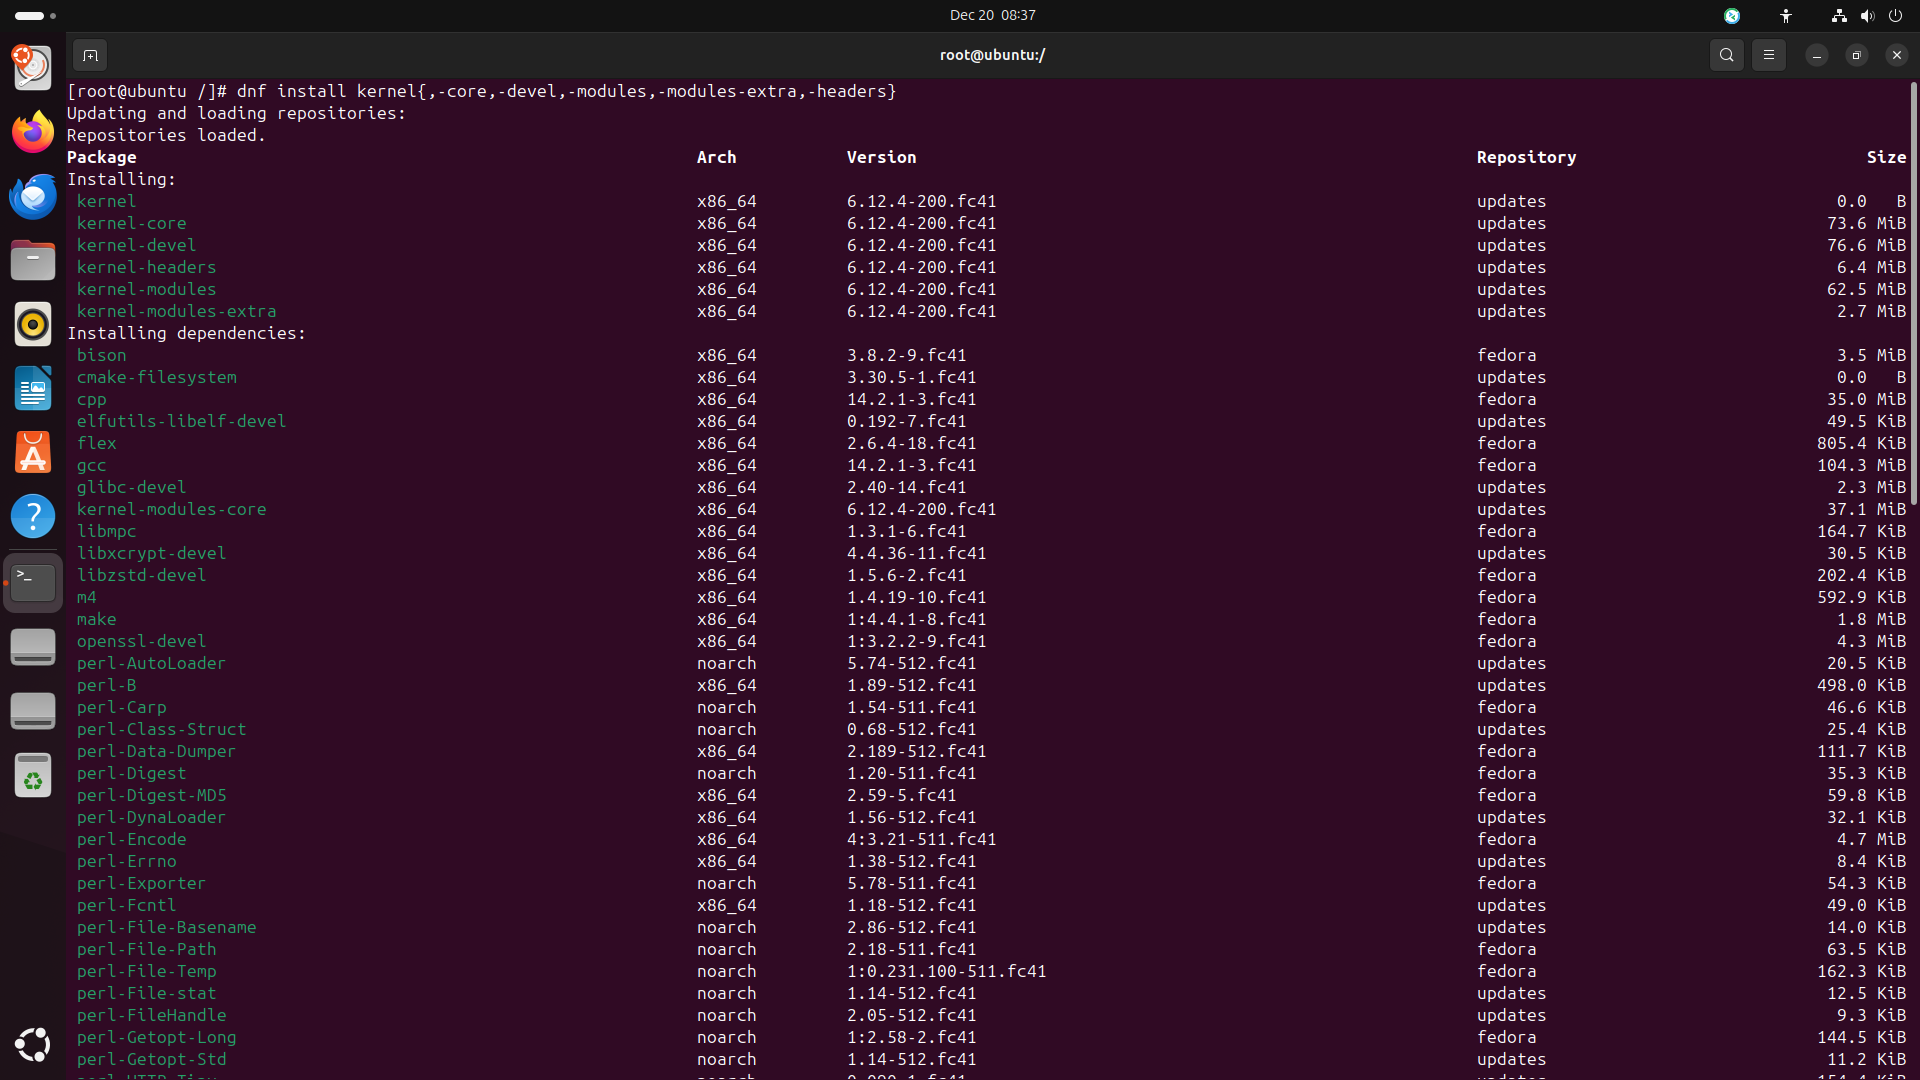
Step 14: Set Passwords and Create Users
-
The next step is to set passwords and create users. You can do this by running the following commands:
#~ set the root password
passwd

#~ create a new user
useradd -mG wheel -c User user

#~ set the user password
passwd user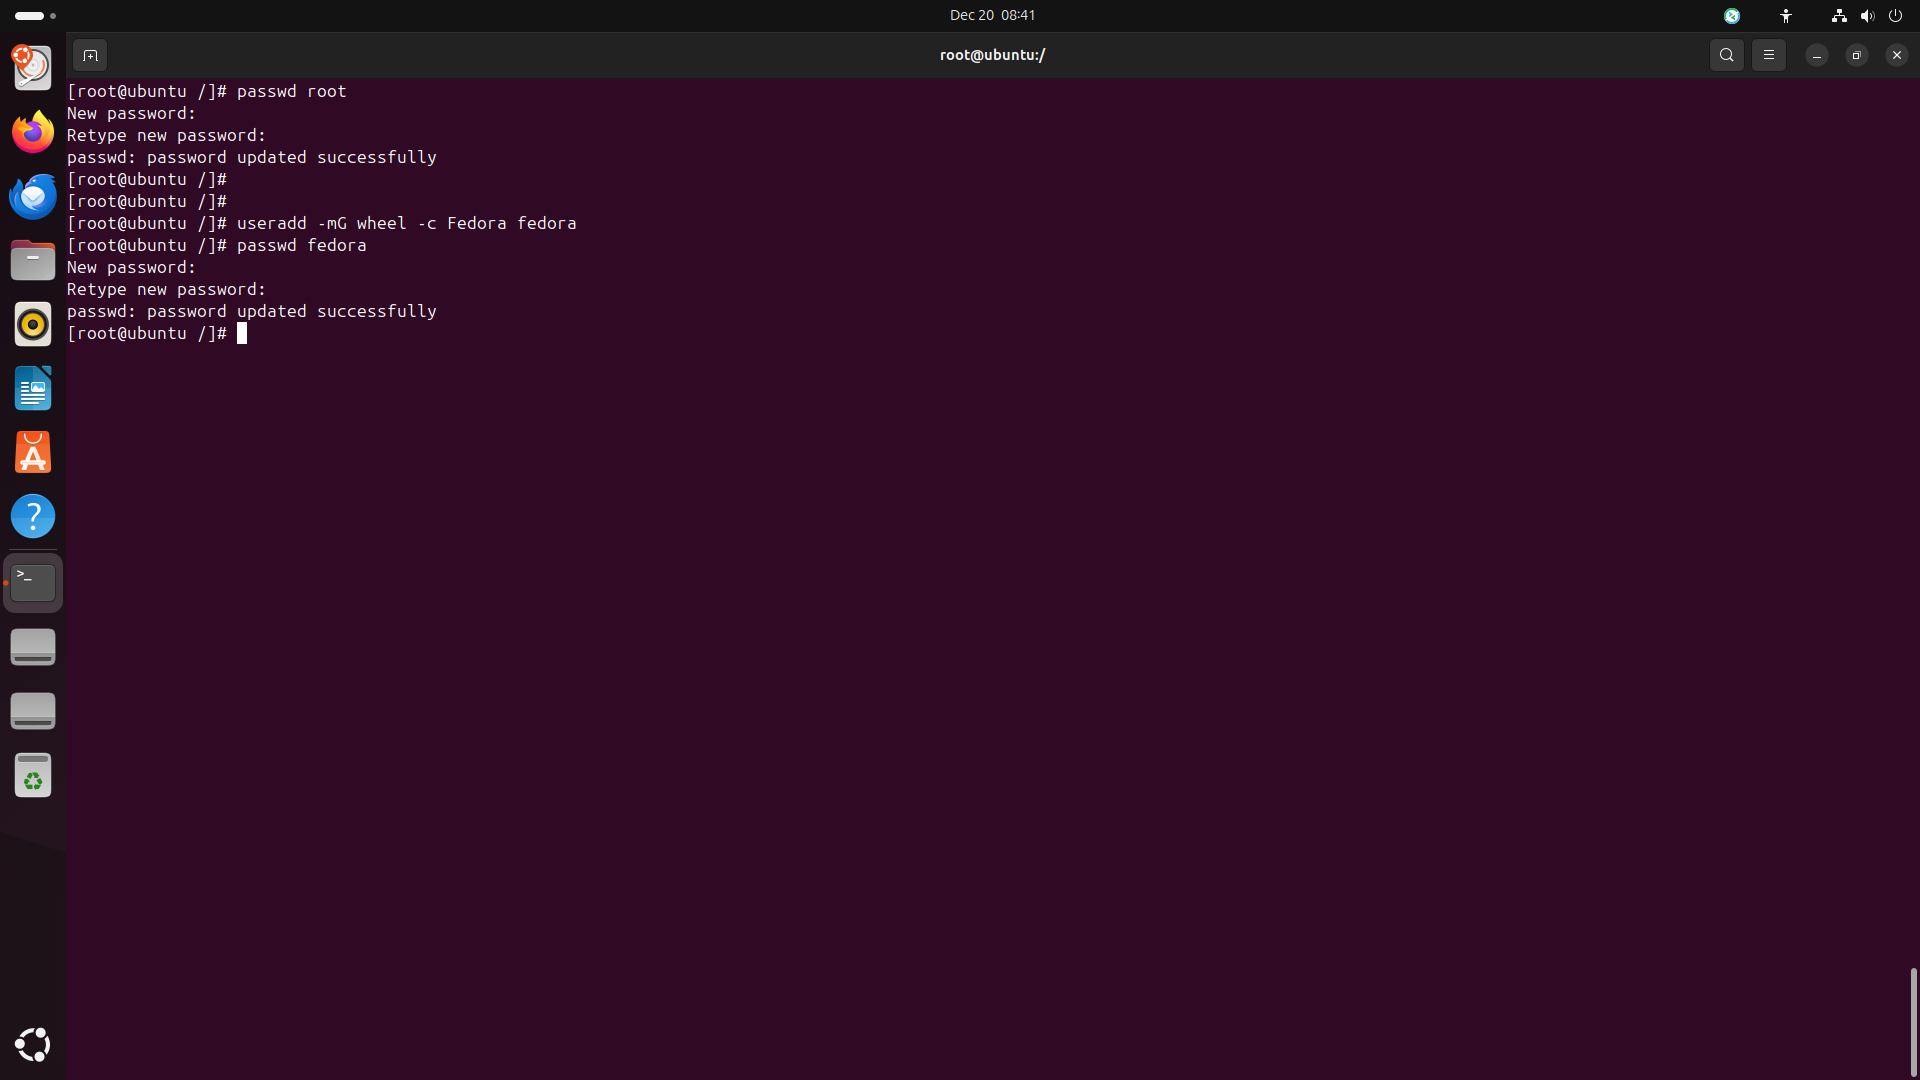
Step 15: Exit and Reboot
-
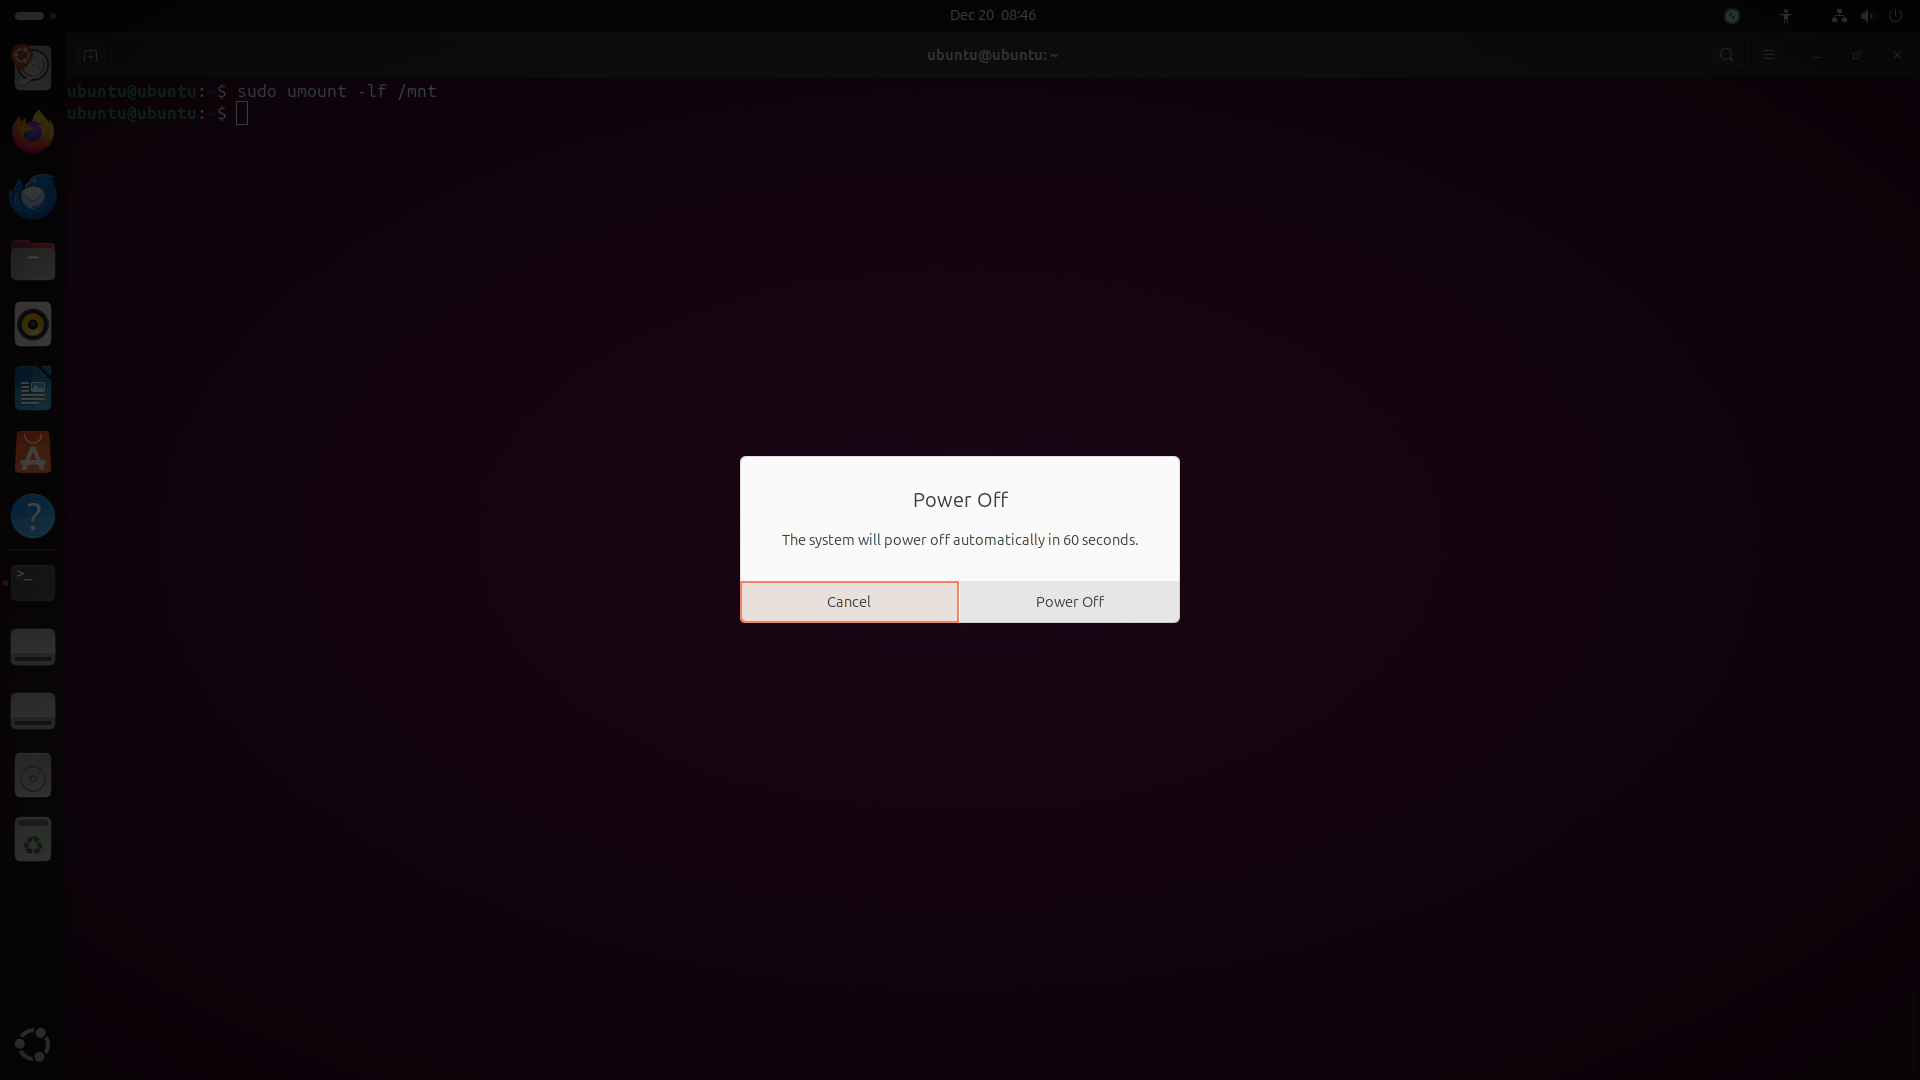
Once you have completed the installation, you can exit the chroot and reboot:
#~ exit the chroot
exit

#~ unmount the filesystems
cd
sudo umount -lf /mnt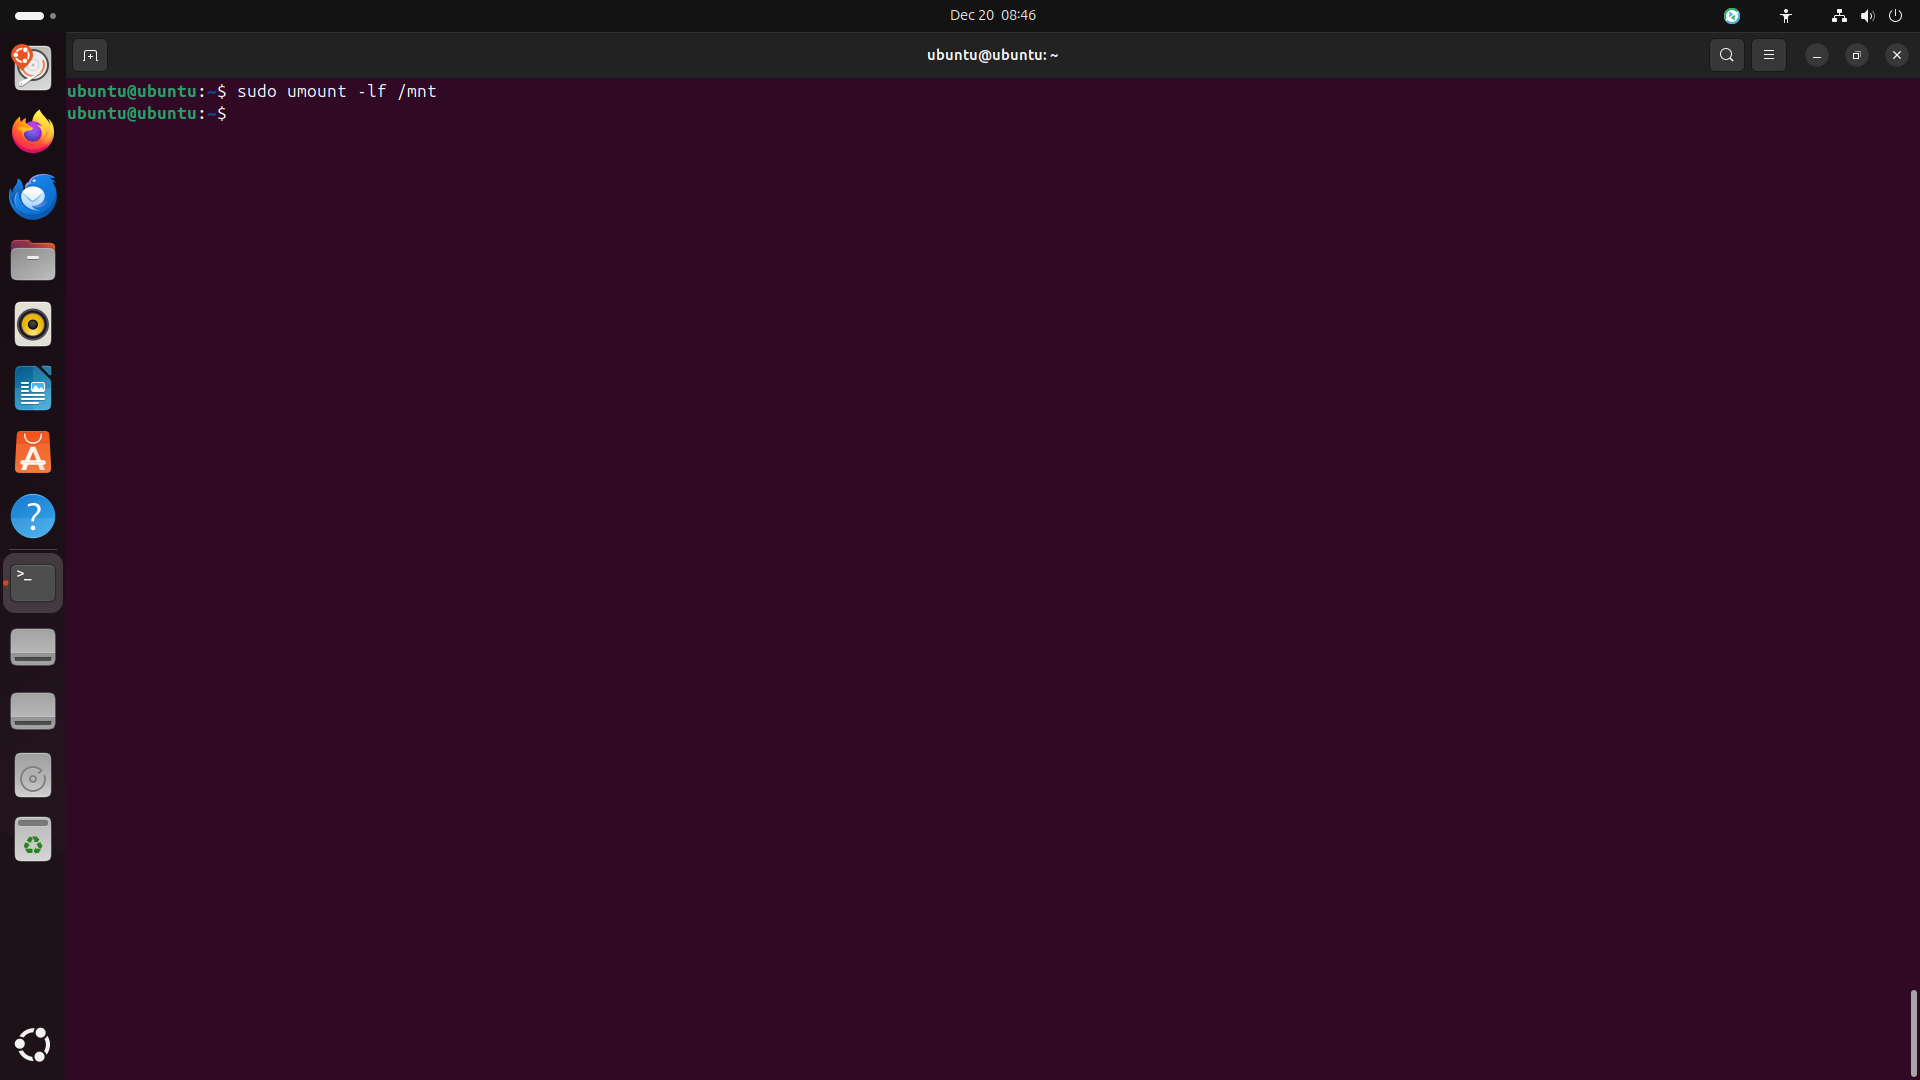
Step 16: Fix Selinux Contexts
-
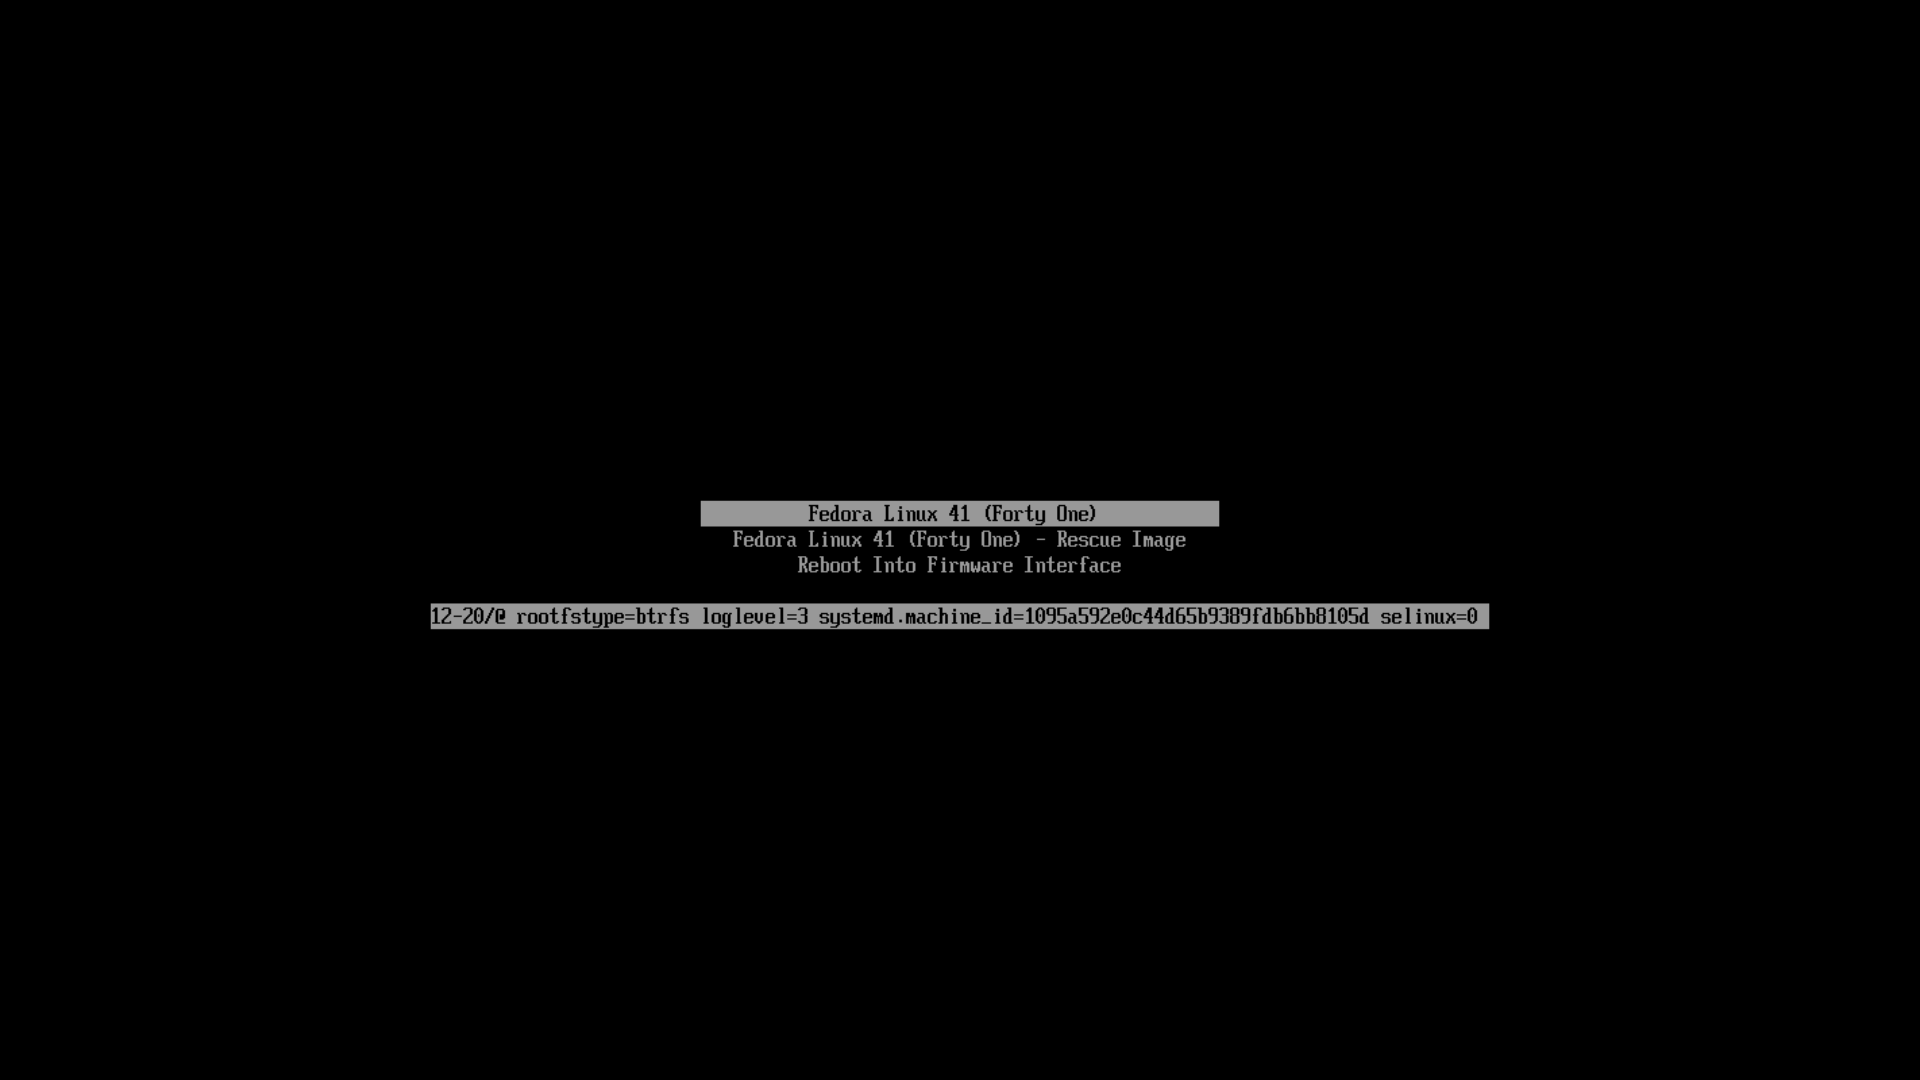
We have installed Fedora from live media. Therefore, the selinux contexts are not set correctly. Immediately after rebooting the system, press the up key repeatedly after the BIOS screen. When the boot menu appears, press e to temporarily edit the boot entry. Add selinux=0 to the end of the line:
-
Then press
Enterto boot the system. After booting the system, login with the root user and change selinux mode topermissiveby running the following command:touch /.autorelabel vi /etc/selinux/config -
Then change the
SELINUXline topermissive: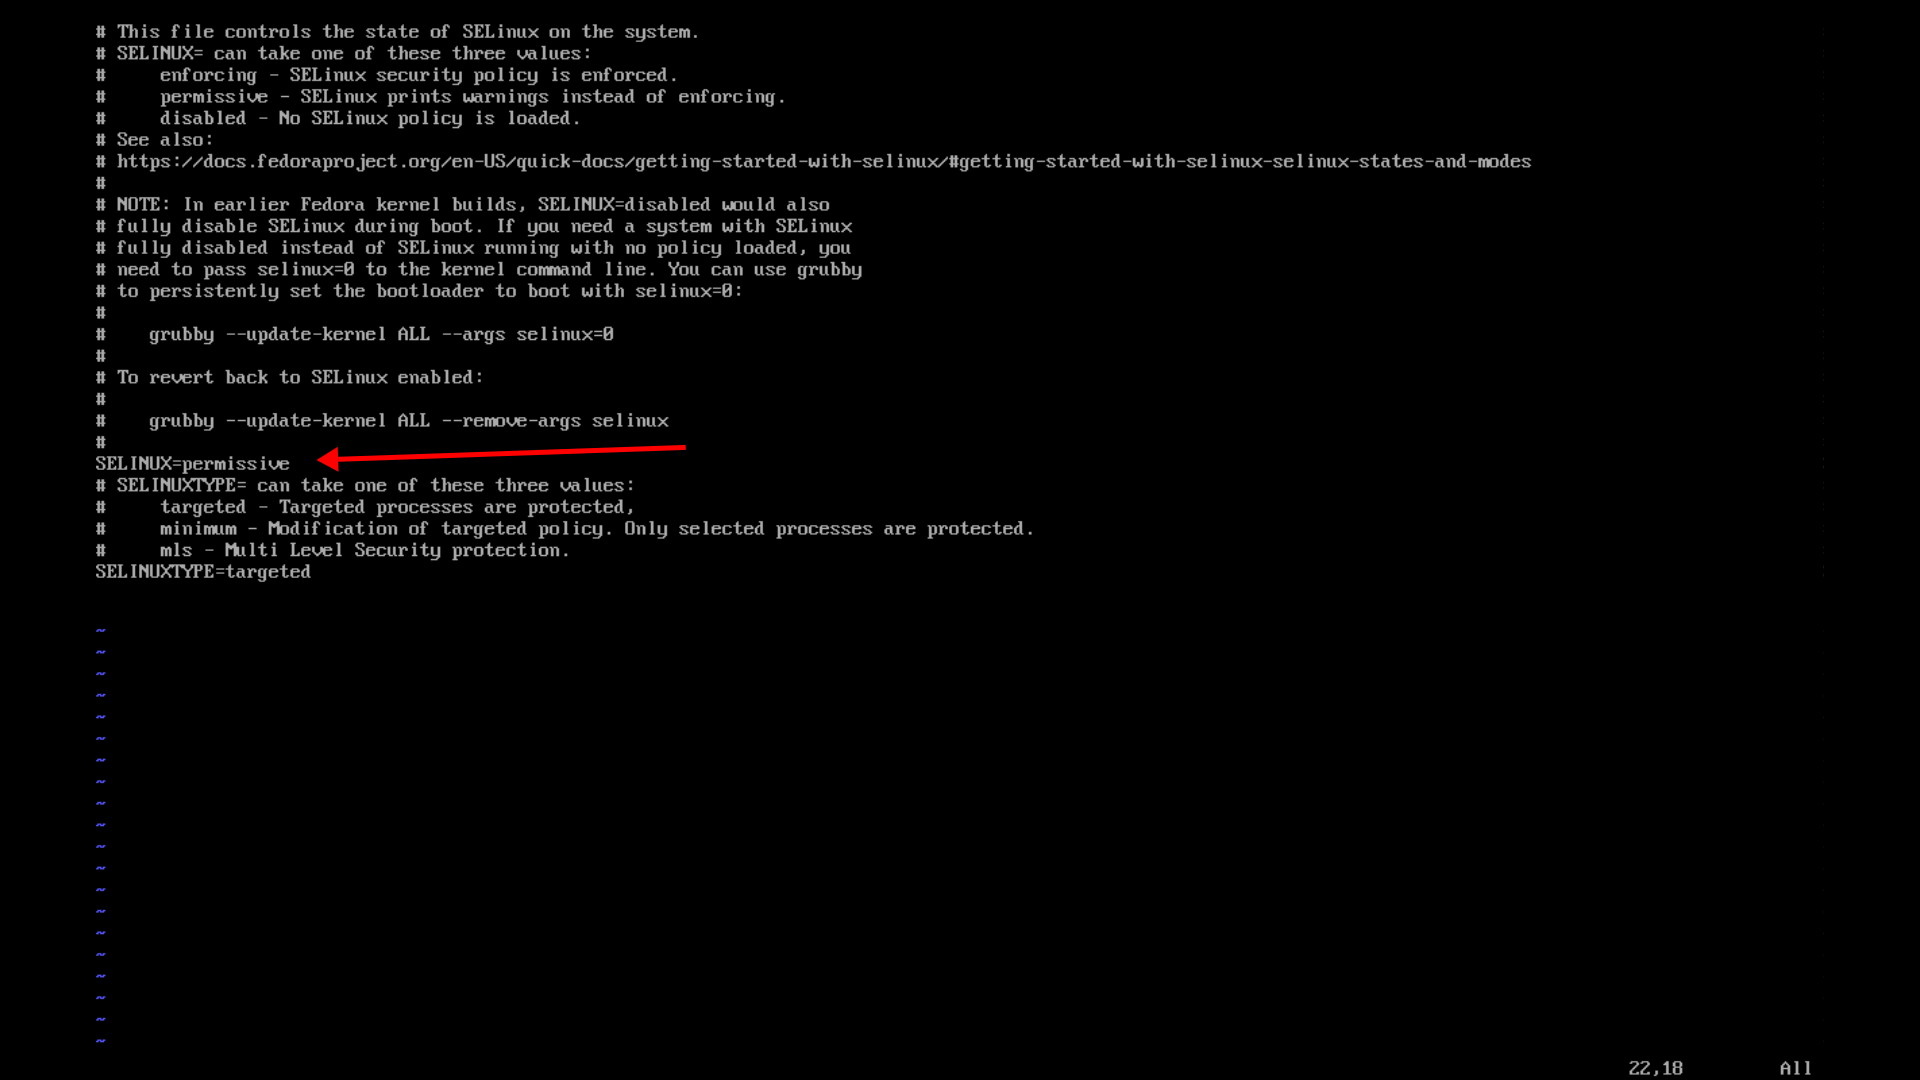
-
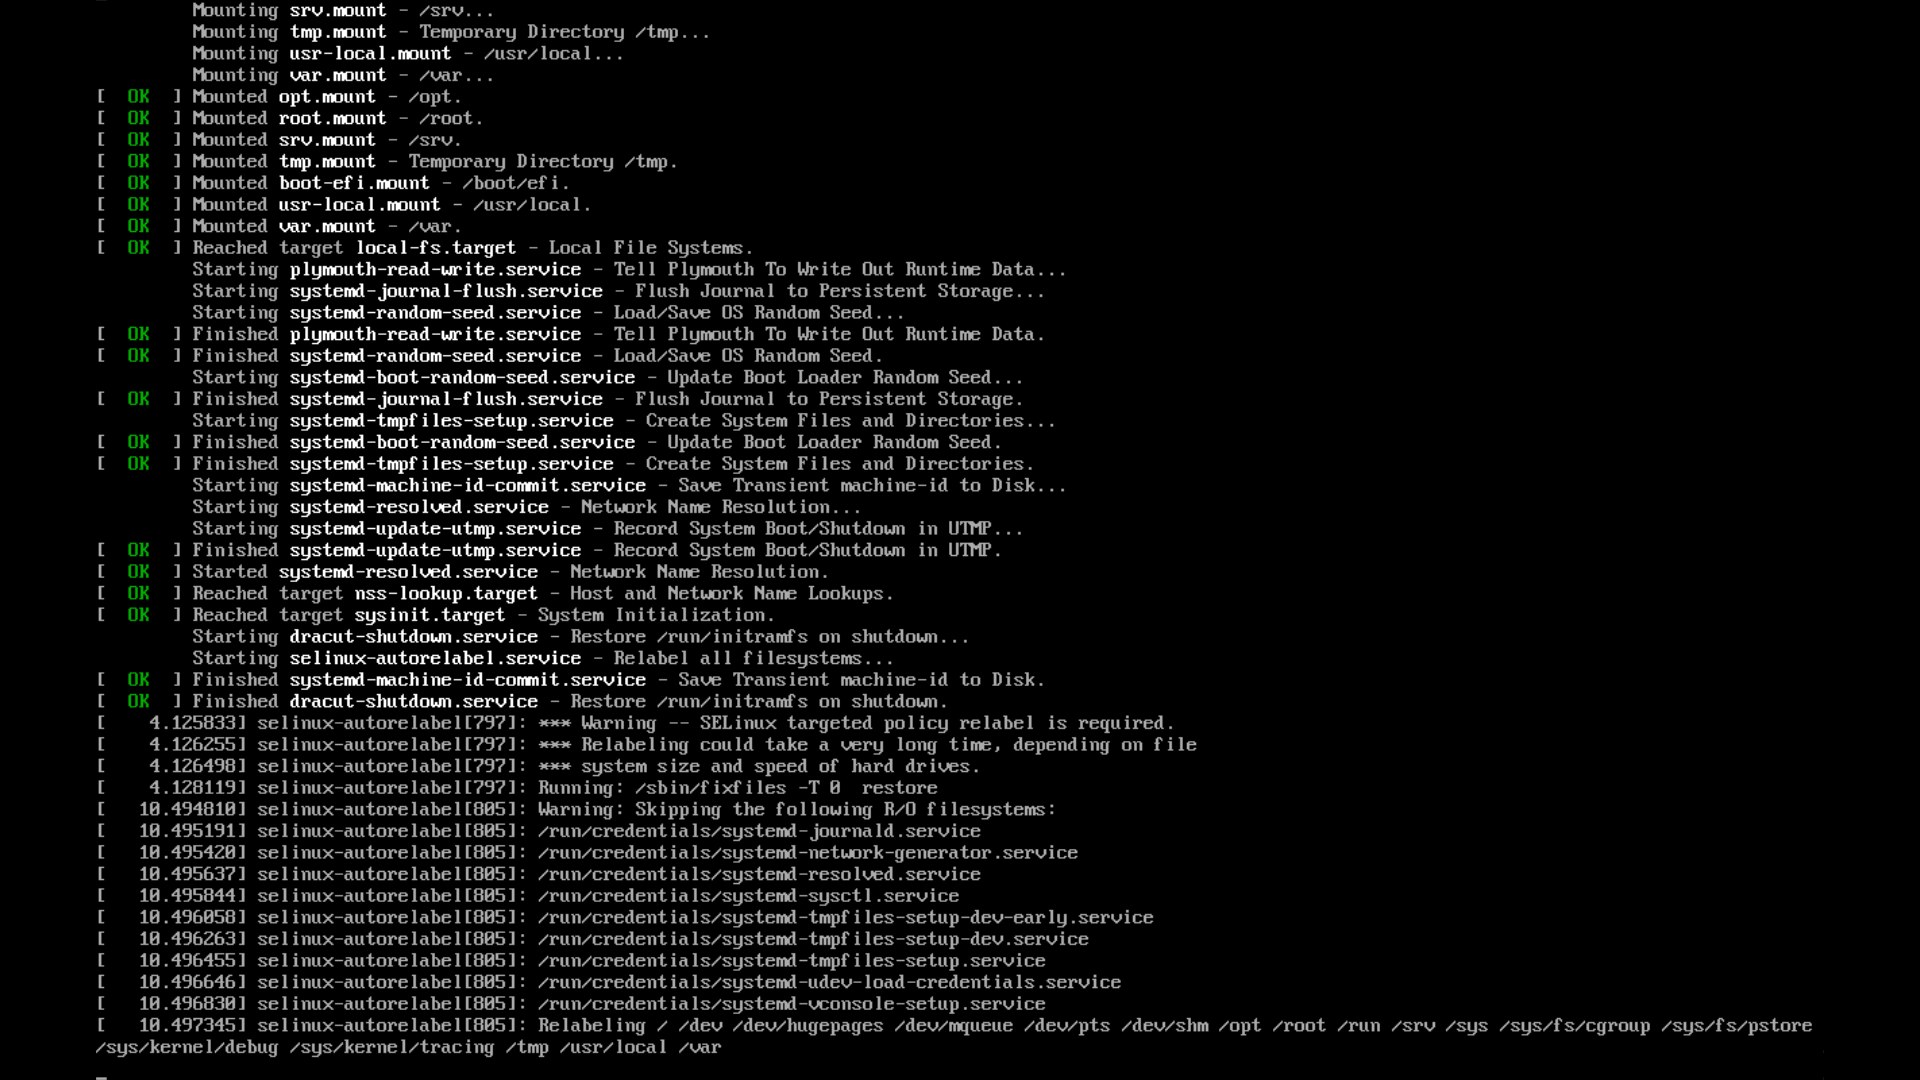
Reboot the system and selinux contexts will be fixed automatically.
-
After rebooting the system, change the selinux mode to
enforcingback.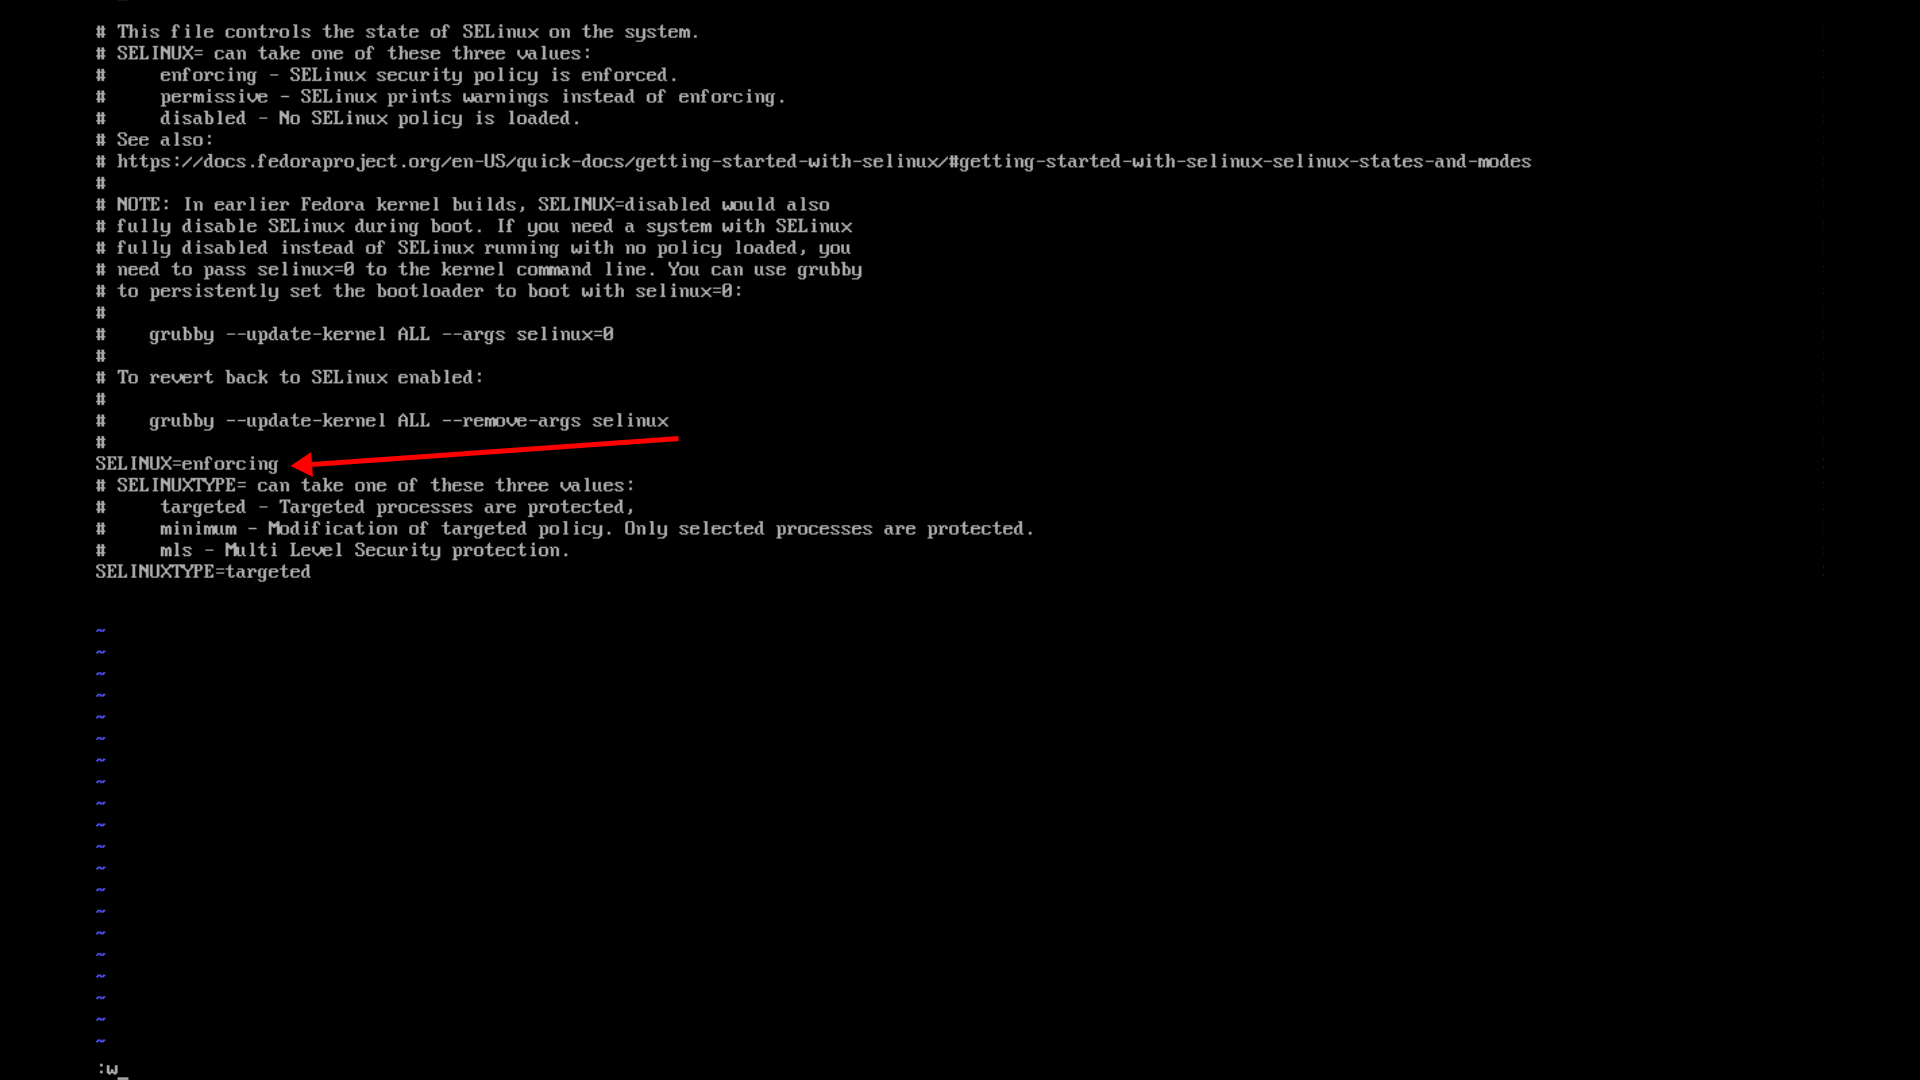
Conclusion
- Installing Fedora with DNF using the bootstrap method without a GUI installer is an effective method for those who want a minimal and customized system. This process allows you to build a lightweight, efficient, and fully controllable operating system by adding only the components you need. At the same time, it gives you a deeper understanding of Linux FHS. The results achieved in this way both enrich the learning process and provide an experience aimed at advanced users.