Disclaimer
This guide is a continuation of the Caddy Setup Guide. If you haven’t installed Caddy yet, please follow this guide first.
Introduction
- Caddy webserver is a modern, open-source web server with automatic HTTPS written in Go. It is designed to be easy to use and configure, making it an excellent choice for hosting websites and web applications. In this guide, we will show you how to set up a basic authentication portal with Caddy on your server.
Method 1: Basic Authentication
- Basic authentication is an easy way to protect your website or web application from unauthorised access. It requires users to enter a username and password before they can access the site. To set up basic authentication with Caddy, follow the steps below.
Step 1: Create a Password Hash
-
The first step is to create a password hash that will be used to authenticate users. You can create a password hash using the
caddy hash-passwordcommand. For example, to create a password hash for the passwordpassword123, you can run the following command:caddy hash-password --plaintext password123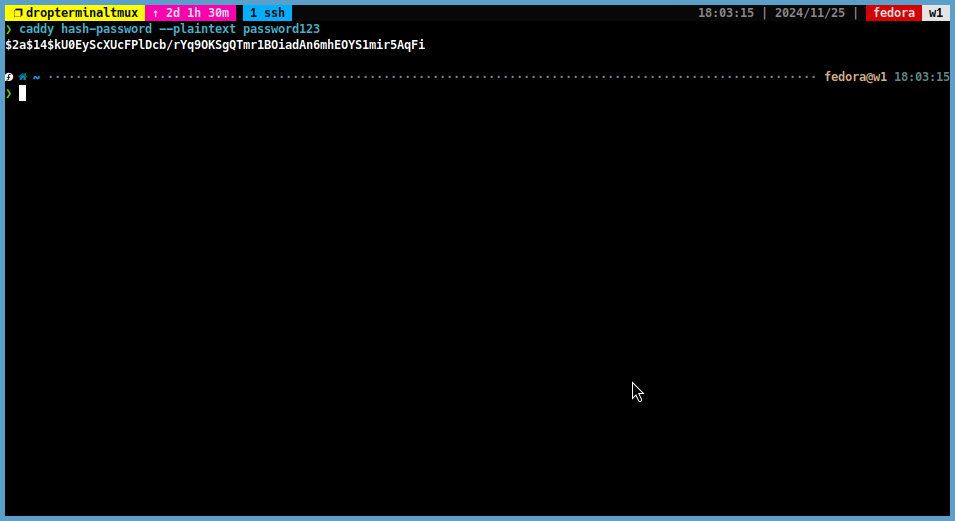
-
Then, open the Caddyfile in your favourite text editor and add the following lines:
:80 {
    basicauth / {
        <username> <password_hash>
    }
    respond "Hello, {http.auth.user.id}" 200
}
Note
Replace
<username>with the username you want to use for authentication and<password_hash>with the password hash you generated in the previous step.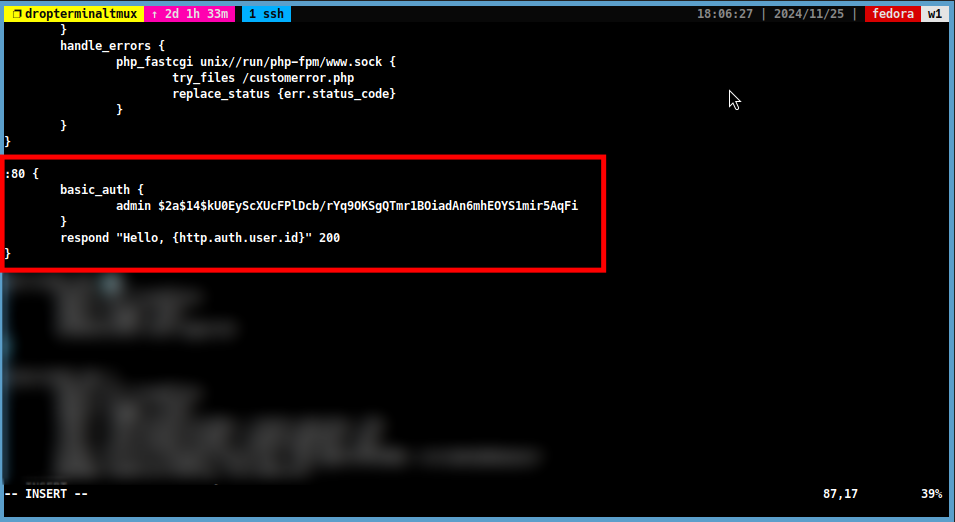
Step 2: Restart and Test Caddy
-
Once you have added the basic authentication configuration to your Caddyfile, you will need to restart Caddy for the changes to take effect. You can do this by running the following command:
sudo systemctl restart caddy -
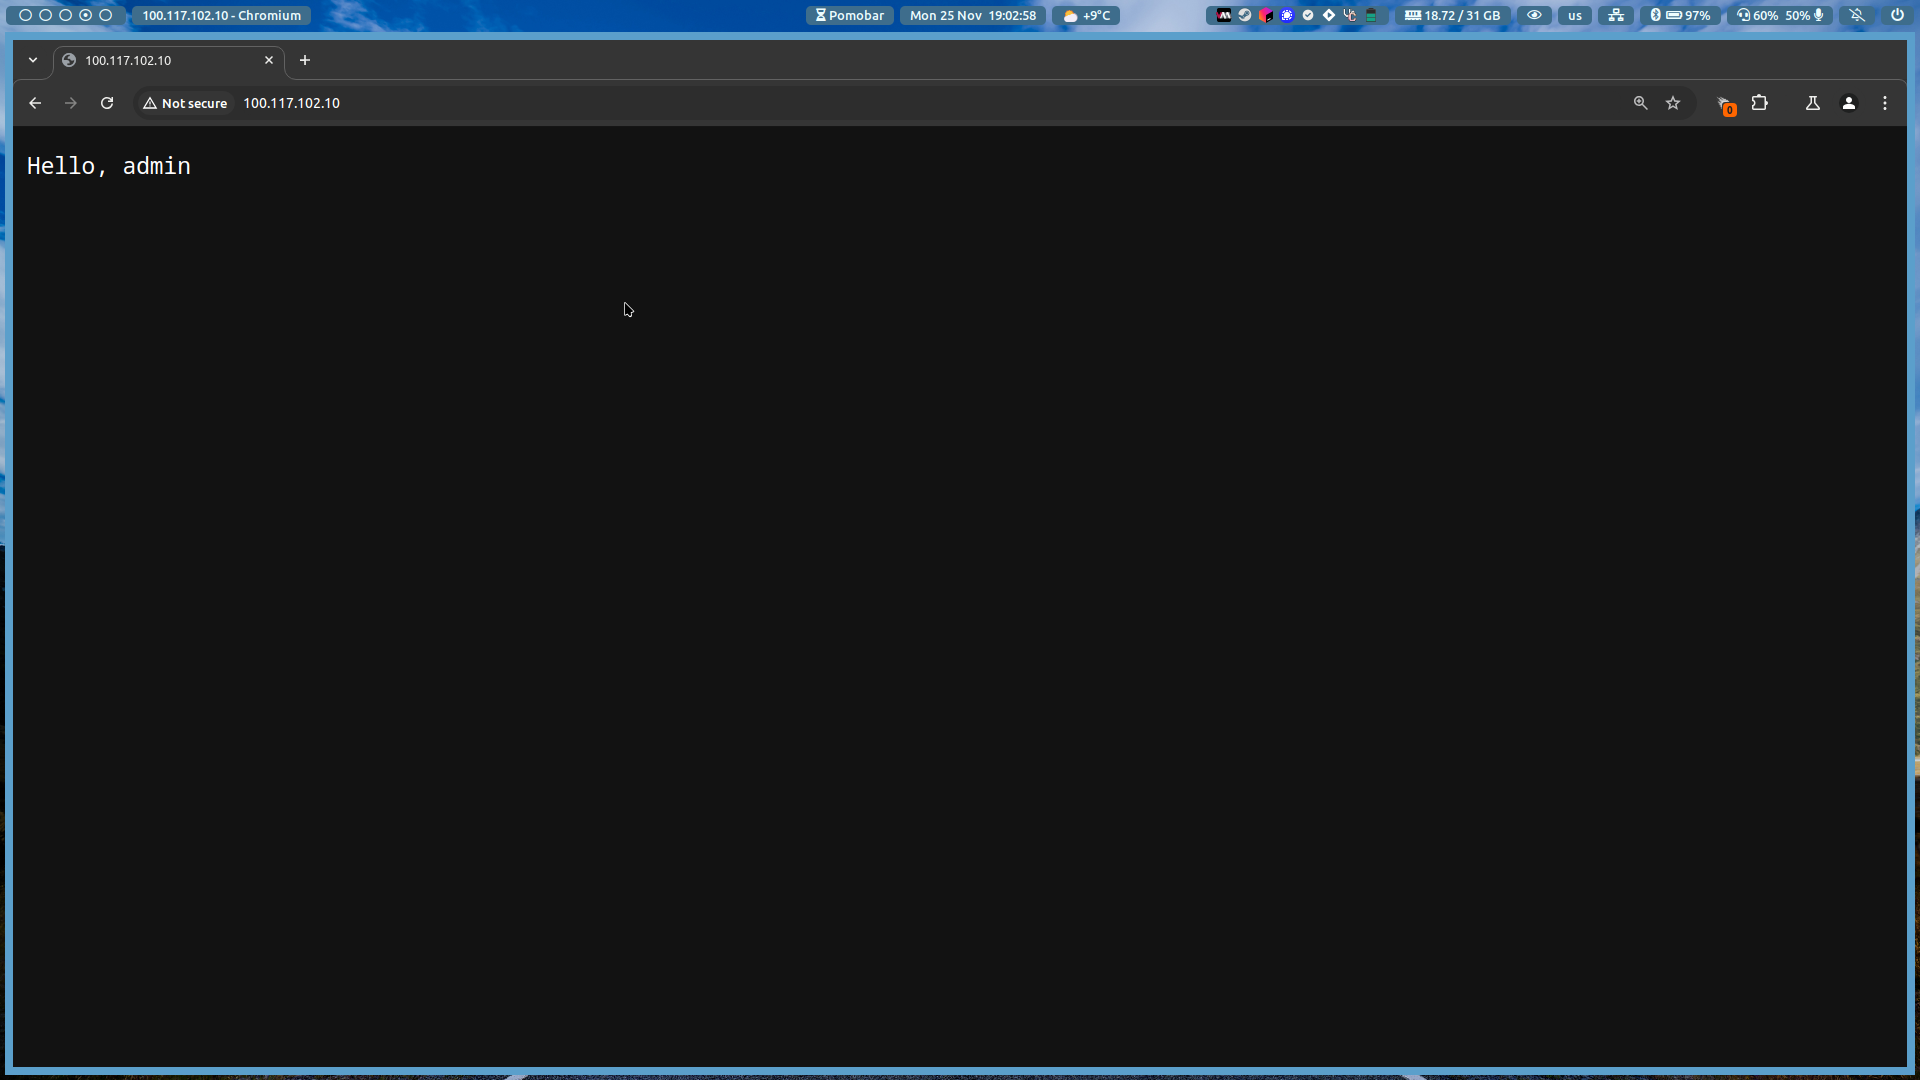
After restarting Caddy, you can test the basic authentication by visiting your website in a web browser. You should see a prompt asking you to enter your username and password.

Method 2: OAuth (Google)
- If you want to use Google OAuth for authentication with Caddy, you can follow the steps below.
Step 1: Create a Google OAuth Credentials
- The first step is to create a Google OAuth client that will be used to authenticate users. You can create a Google OAuth client by following the steps below:
Step 1.1: Create a Google Cloud Project
- Go to the Google Cloud Console.
- Create a new project by clicking on the
Select a projectdropdown menu and then clicking on theNew Projectbutton. - Enter a name for your project and click on the
Createbutton.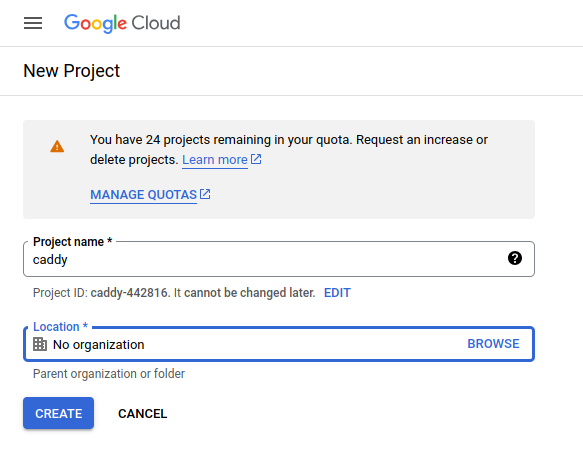
Step 1.2: Create OAuth Application
-
Once the project is created, switch to the project and go to the
APIs & Services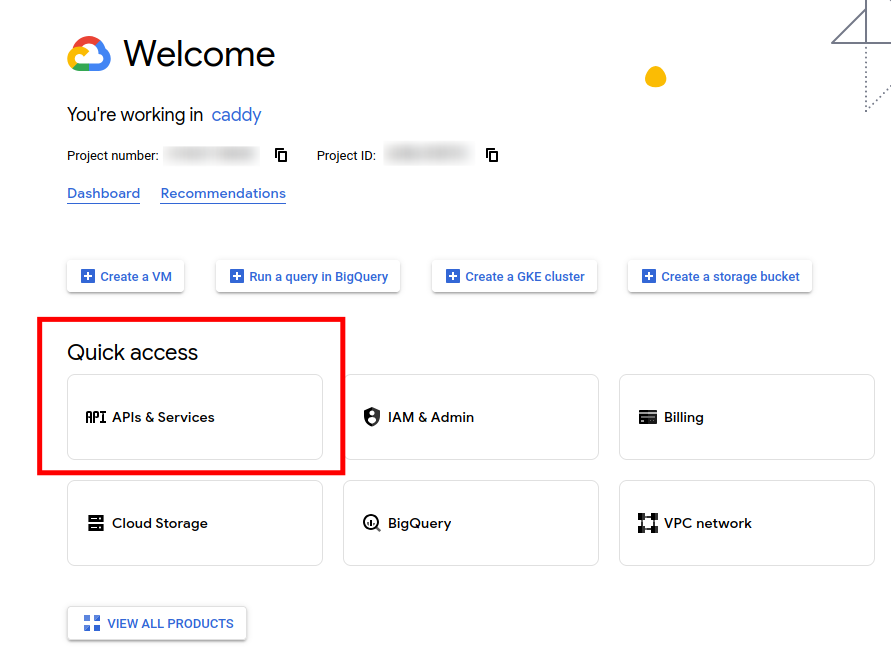
-
Select the
OAuth consent screentab on the left sidebar. Then selectExternaland click on theCreatebutton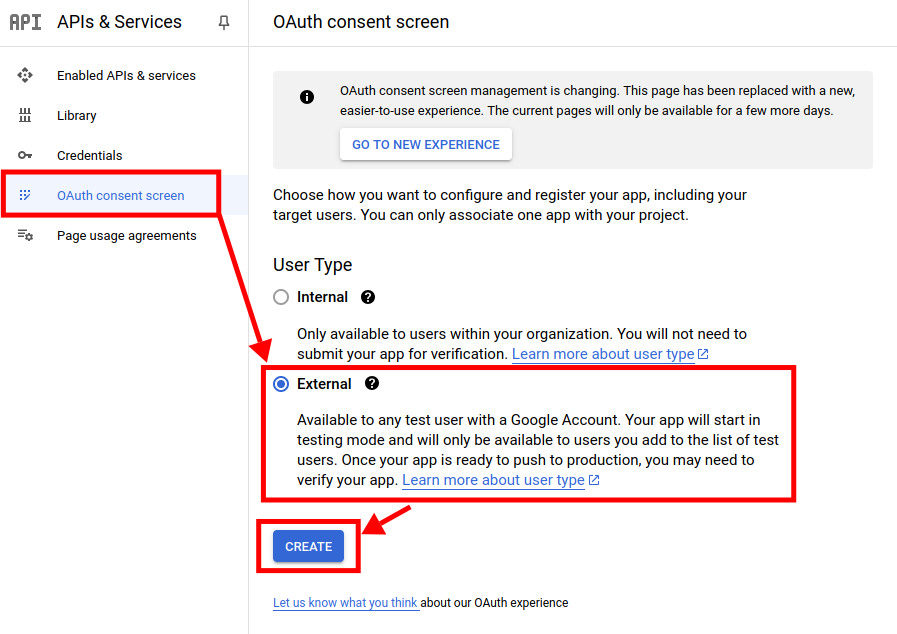
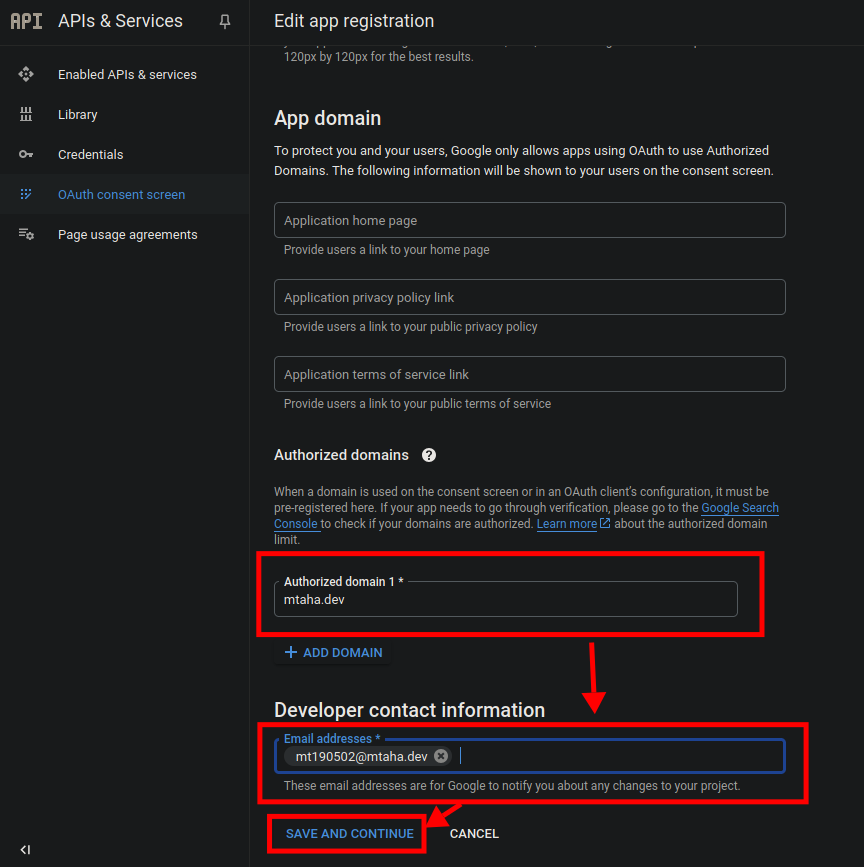
-
Fill in the required fields and click on the
Savebutton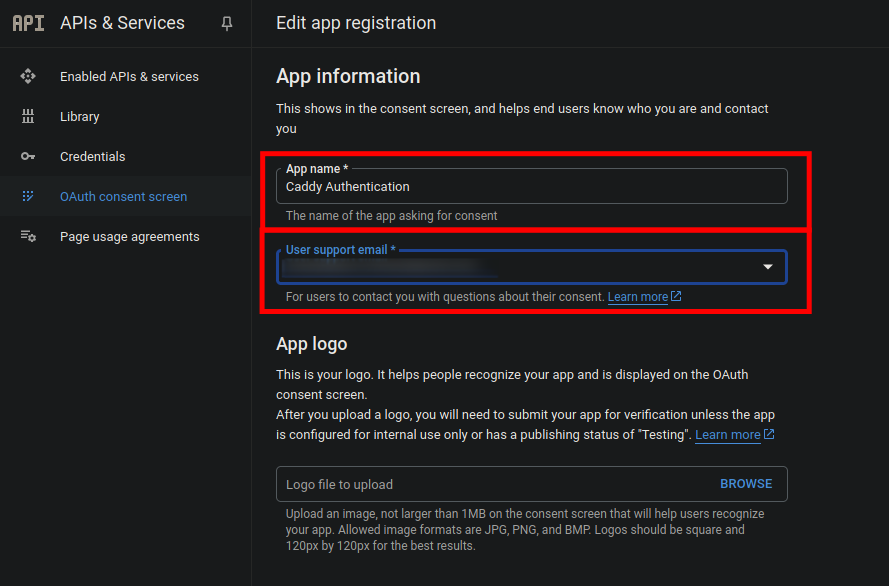
Step 1.3: Create OAuth Client ID and Copy Credentials
-
Click on the
Credentialstab on the left sidebar. Then click on theCreate Credentialsdropdown menu and selectOAuth client ID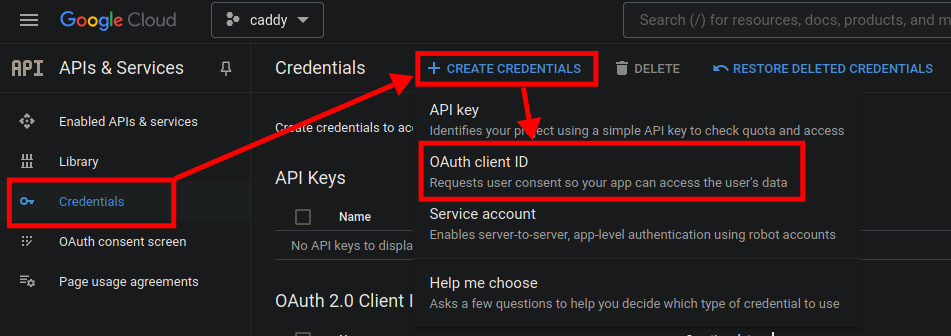
-
Select
Web applicationas the application type. Then fill the required fields. -
Enter the following URL in the
Authorized redirect URIsfield:
https://auth.<your-subdomain>/auth/oauth2/google/authorization-code-callback
https://auth.<your-subdomain>/oauth2/google/authorization-code-callback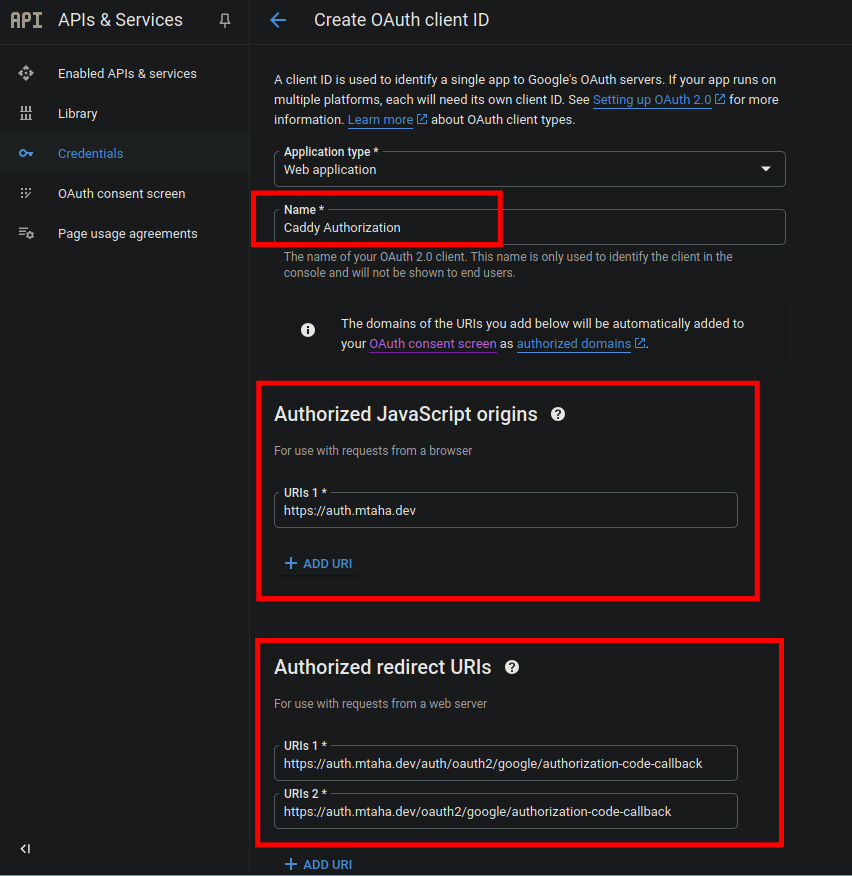
-
Copy the
Client IDandClient Secretvalues.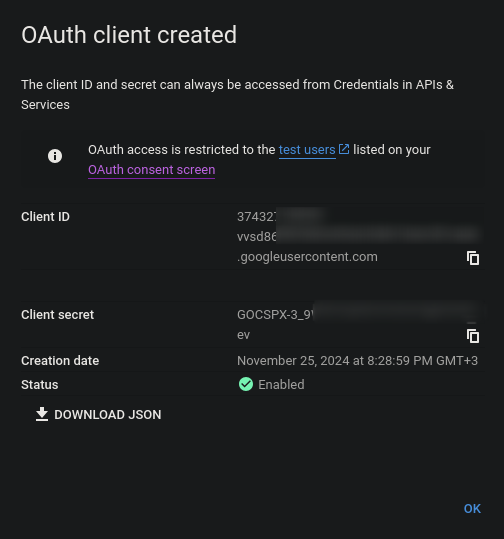
Step 2: Install caddy-securty Plugin
-
To use Google OAuth with Caddy, you need to install the
caddy-securityplugin. You can install thecaddy-securityplugin by running the following command:sudo caddy add-package github.com/greenpau/caddy-security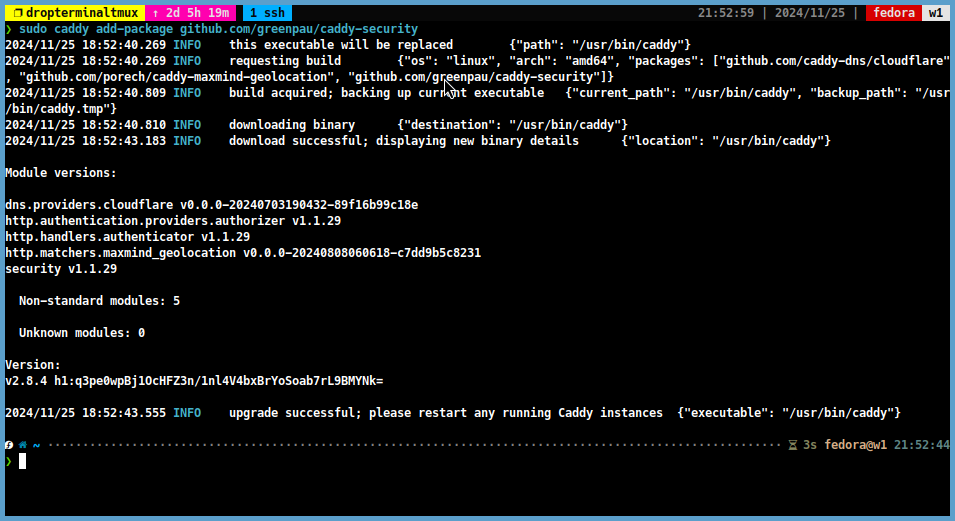
Step 3: Configure Caddy with Google OAuth
-
Open the Caddyfile in your favourite text editor and add the following lines:
{
    email [email protected]                 ### your email
    order authenticate before respond
    order authorize before basicauth
    security {
        oauth identity provider google {
            realm google
            driver google
            client_id 3......googleusercontent.com  ### your client id
            client_secret GOCSPX-...............ev  ### your client secret
            scopes openid email profile
        }

        authentication portal myportal {
            cookie domain <your_domain>             ### your domain
            cookie lifetime 86400
            enable source ip tracking
            enable identity provider google
            transform user {
                match origin google
                match email <your_gmail_account>    ### your gmail account
                action add role authp/admin
                ui link "My Identity" "/whoami" icon "las la-user"
            }
        }
        authorization policy mypolicy {
            allow roles authp/admin
            #deny roles authp/guest        #~ optional
            validate bearer header
            set auth url https://auth.<your_domain>/auth/login   ### your domain
            inject headers with claims
        }
    }
}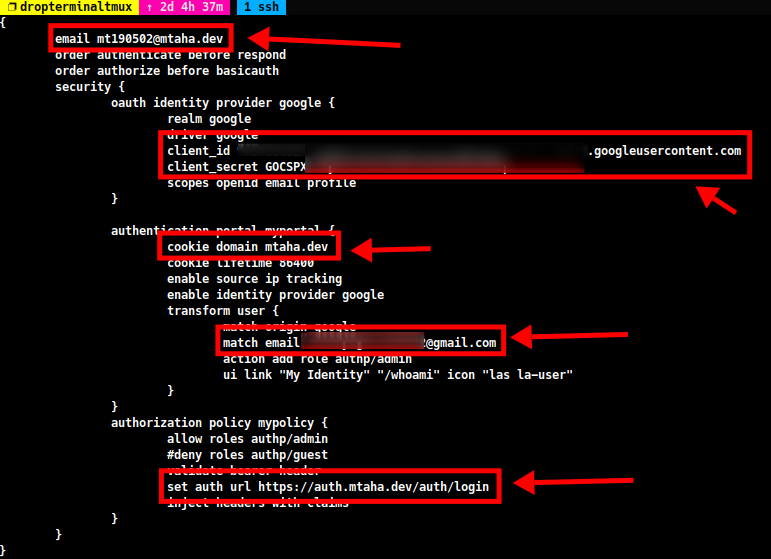
-
Then create a new vhost in the Caddyfile and add the following lines:
auth.<your_domain> { import tls-cloudflare authenticate with myportal } -
Then assign the portal to the any vhost you wish to protect:
test.<your_domain> {
    import tls-cloudflare
    authorize with mypolicy
    respond "Hello, World!" 200
}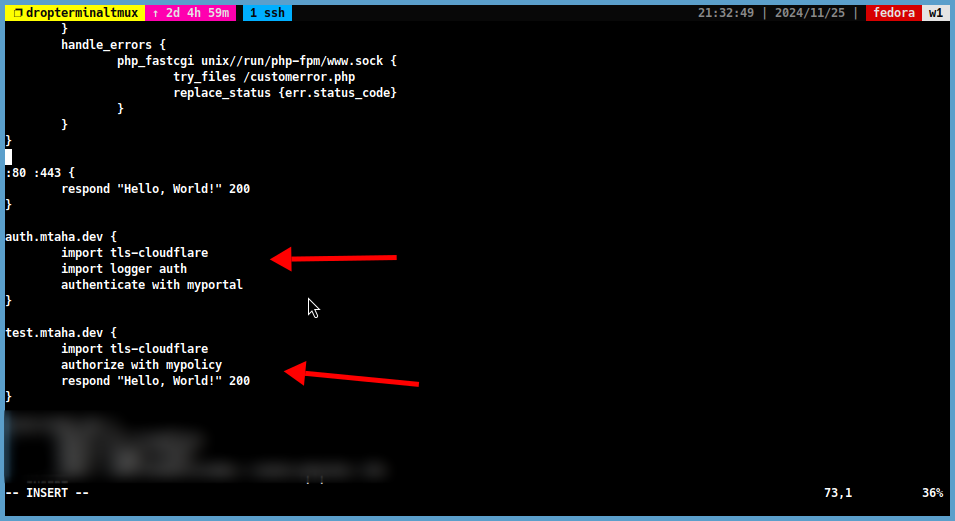
Step 4: Restart and Test Caddy
-
Once you have added the Google OAuth configuration to your Caddyfile, you will need to restart Caddy for the changes to take effect. You can do this by running the following command:
sudo systemctl restart caddy -
After restarting Caddy, you can test the Google OAuth authentication by visiting your website in a web browser. You should see a prompt asking you to sign in with your Google account.

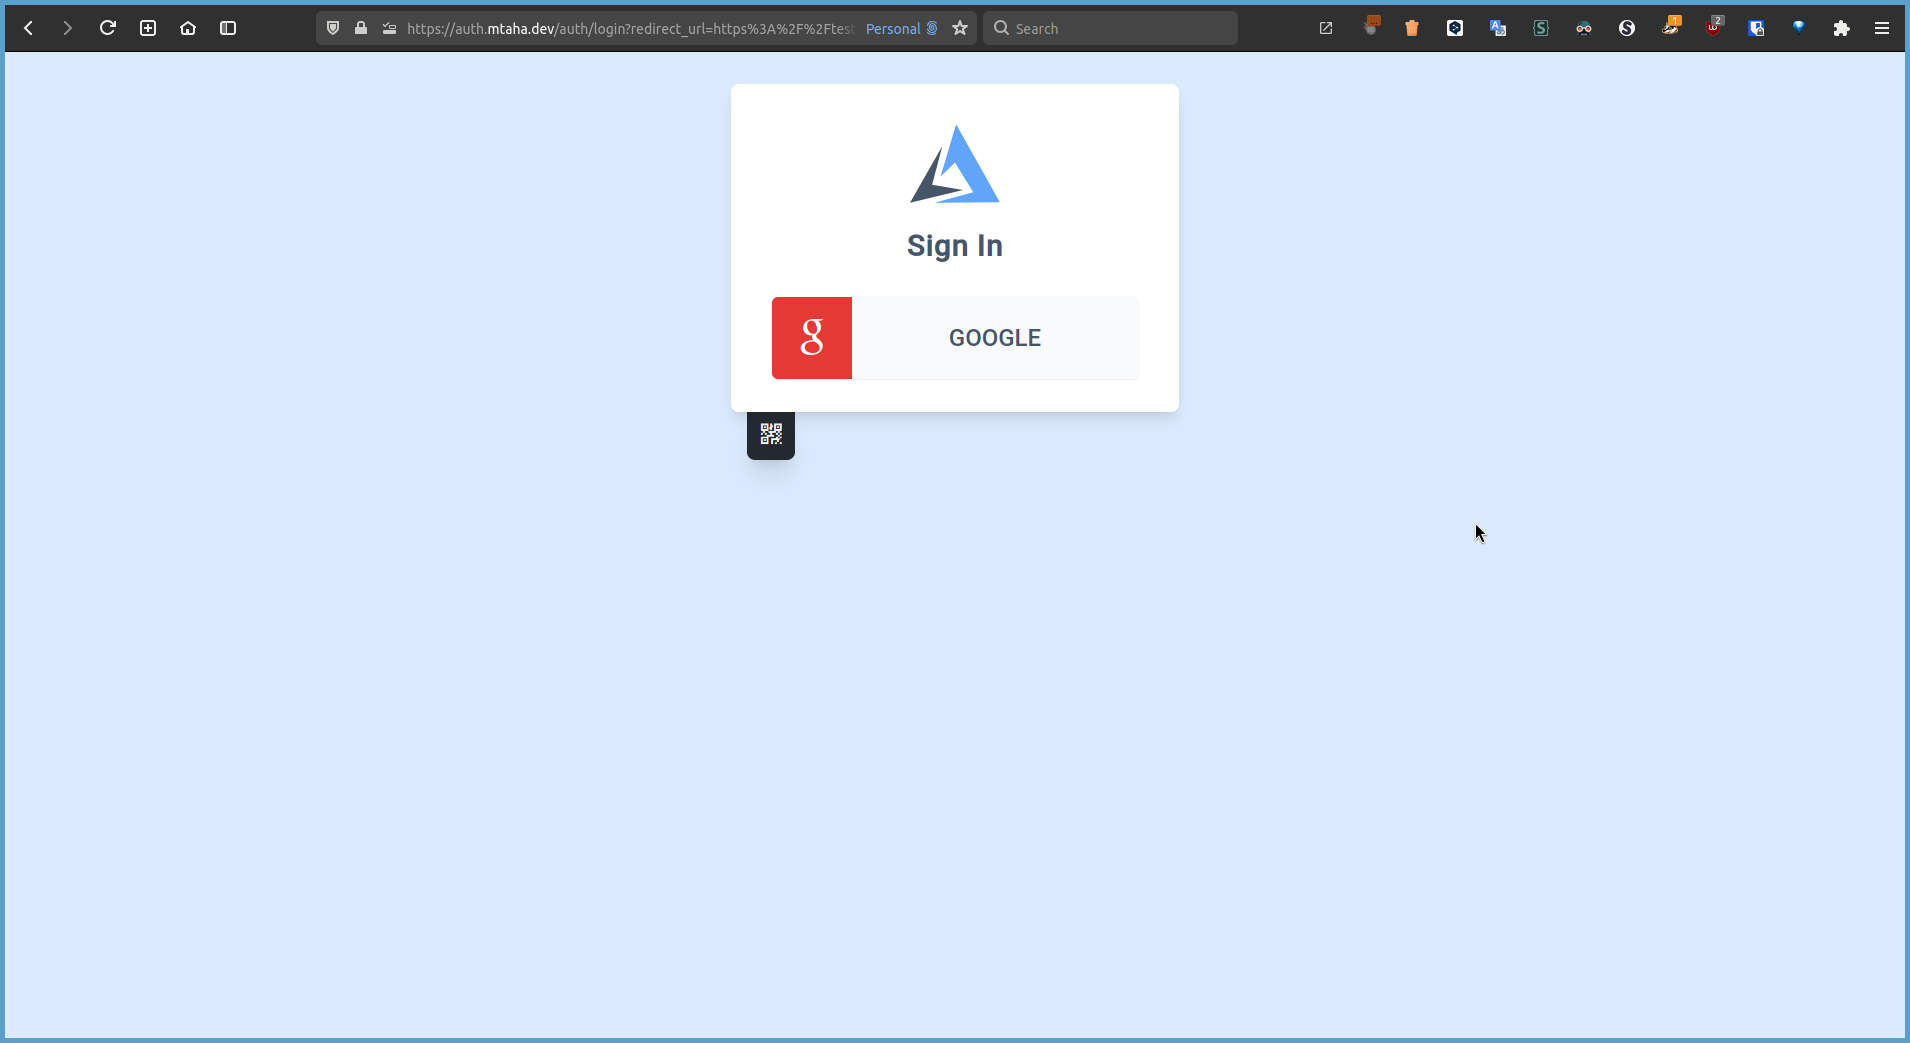
-
You will then be taken to the Google sign-in page, where you can enter your Google Account credentials. If you are successfully authenticated, you will be returned to your website.
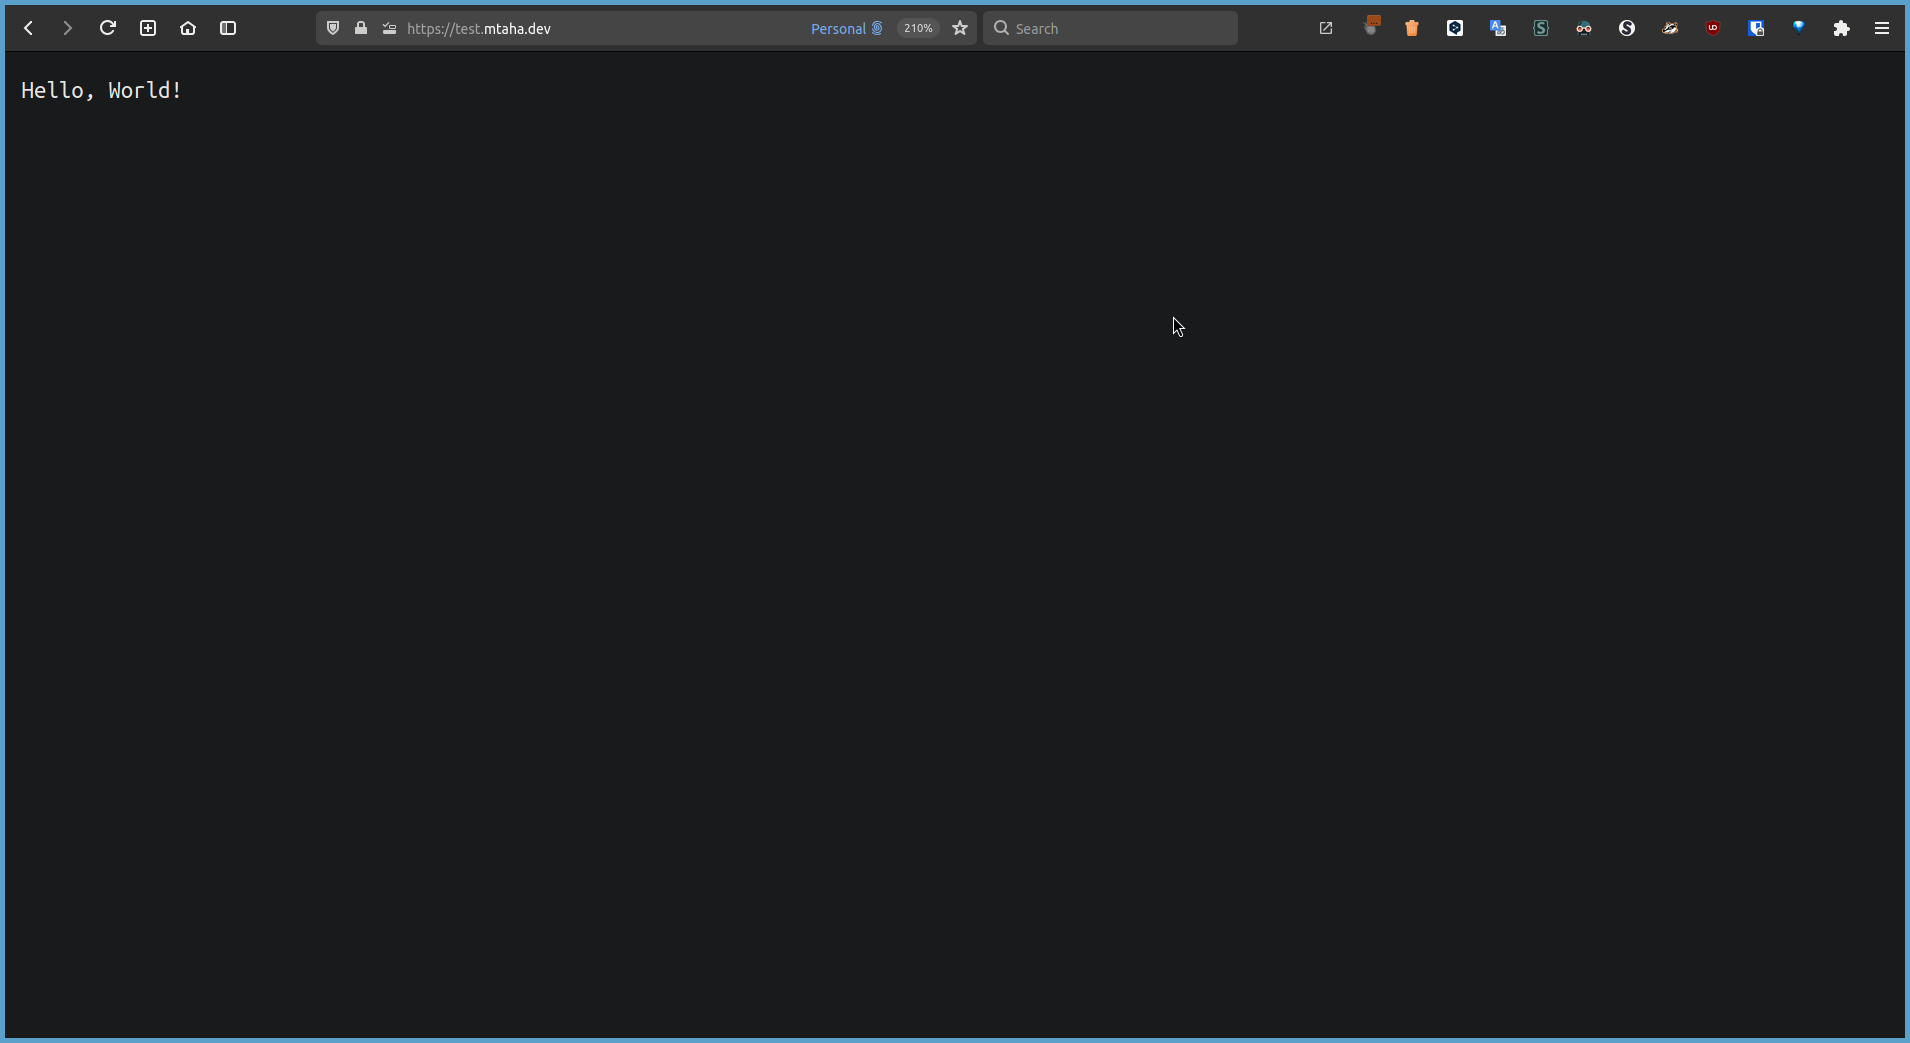
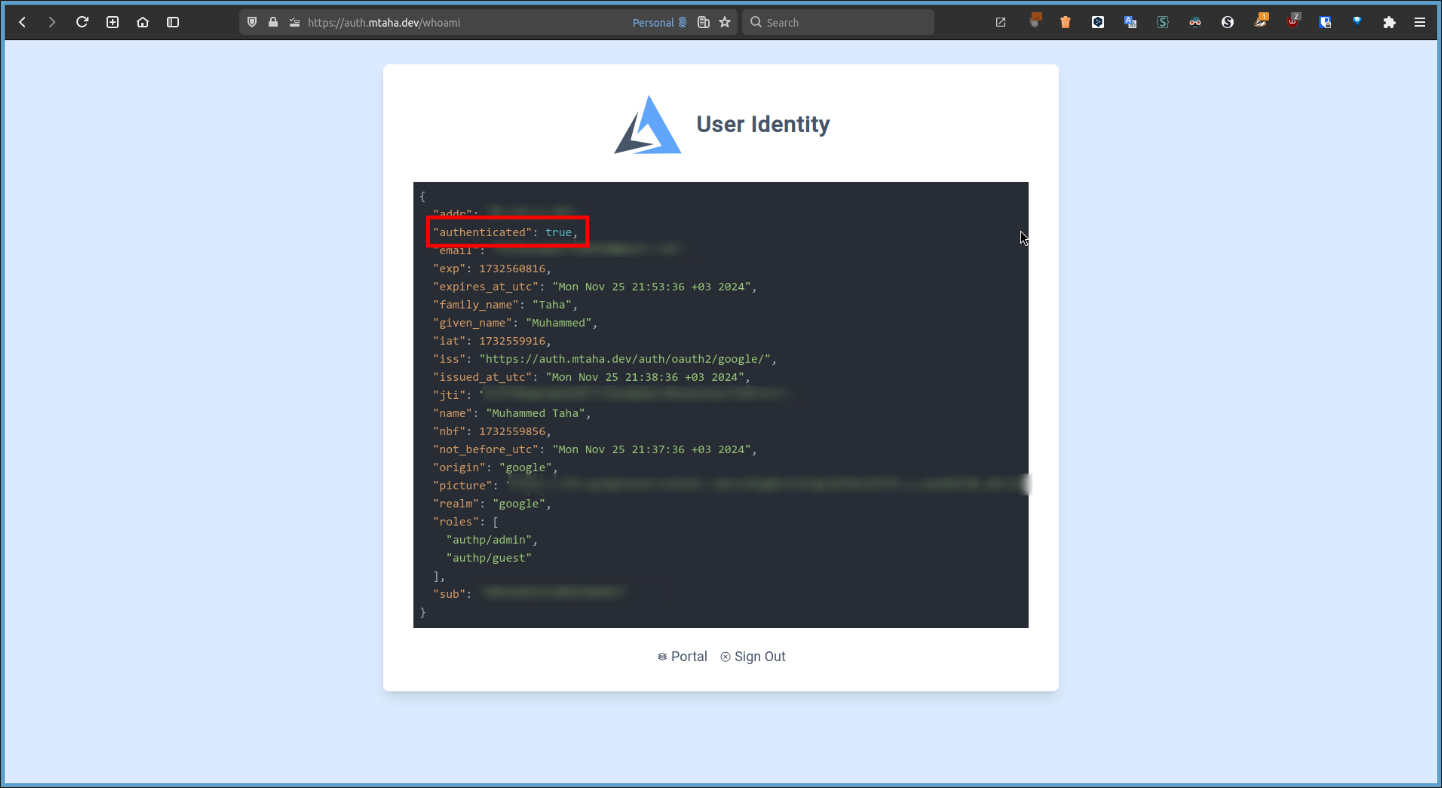
-
Back to the
https://auth.<your_domain>/whoamipage, you can see your identity information.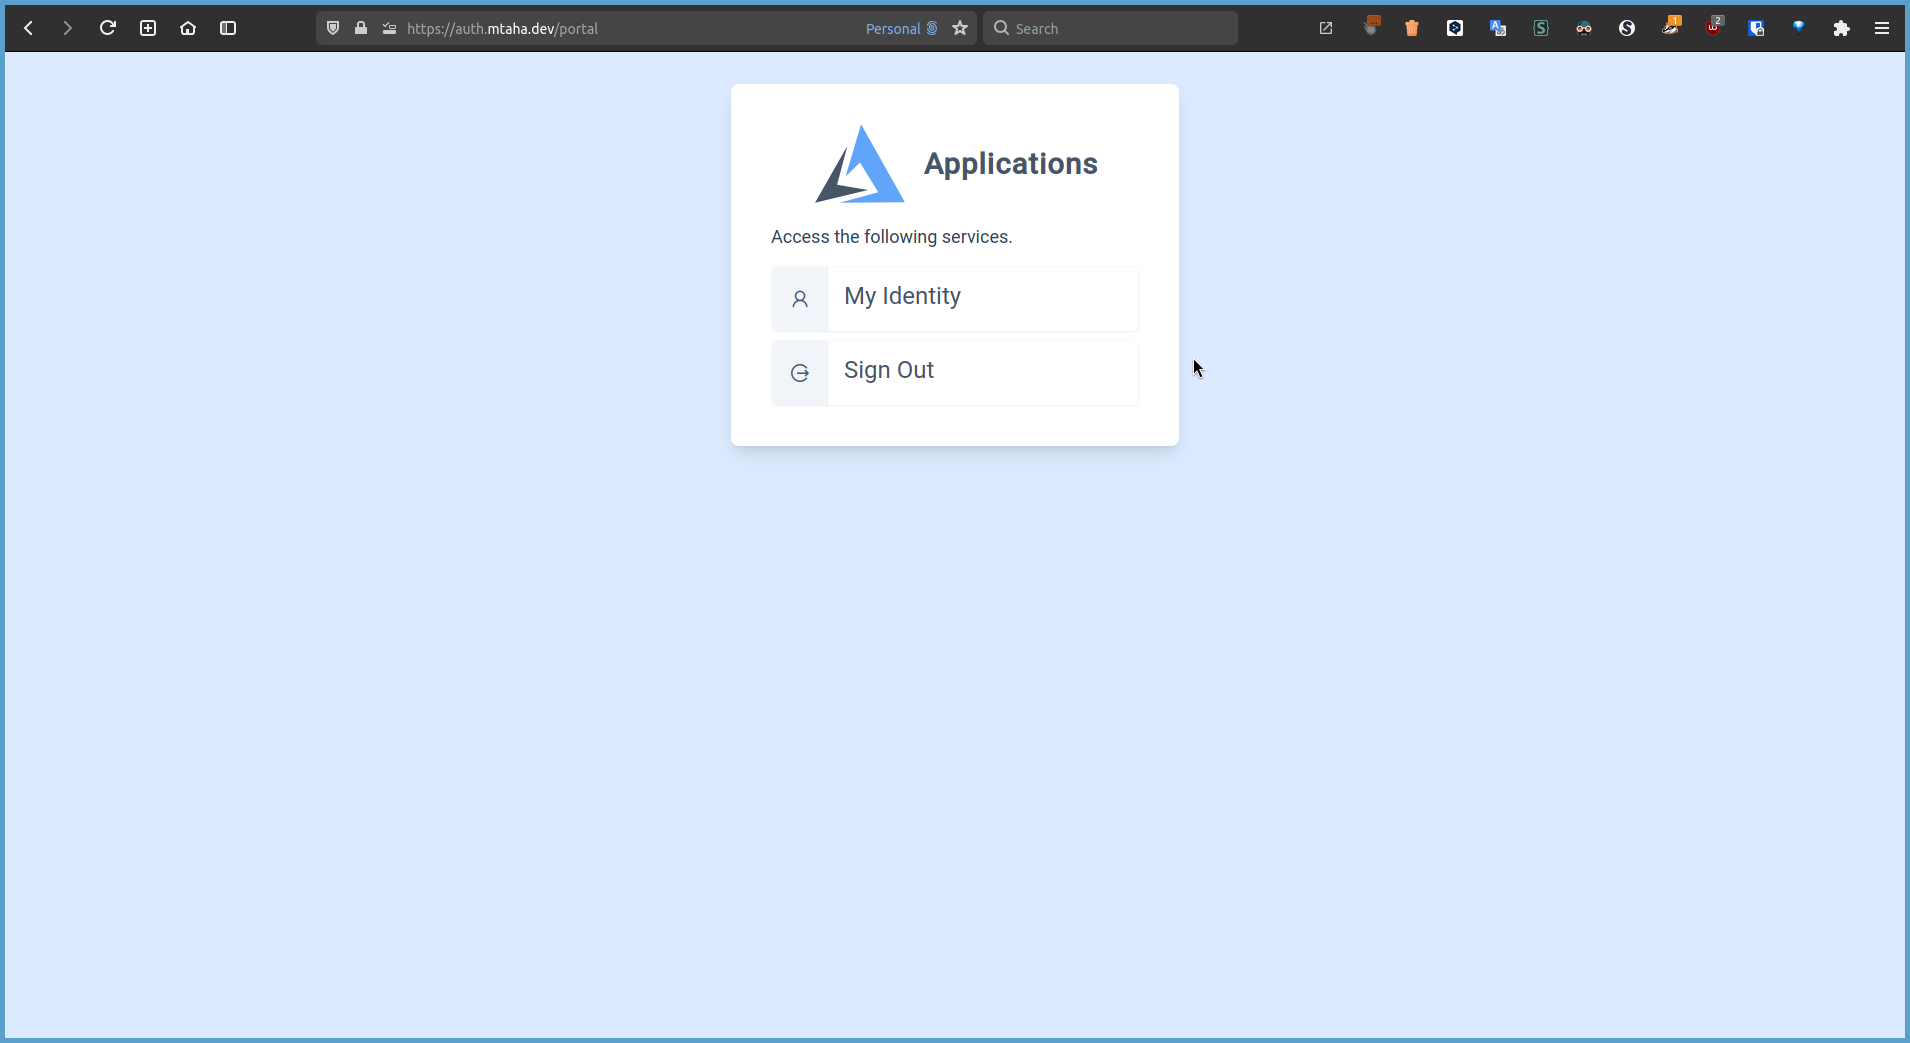
-
Then try to access the
https://test.<your_domain>with another account, you will be denied access.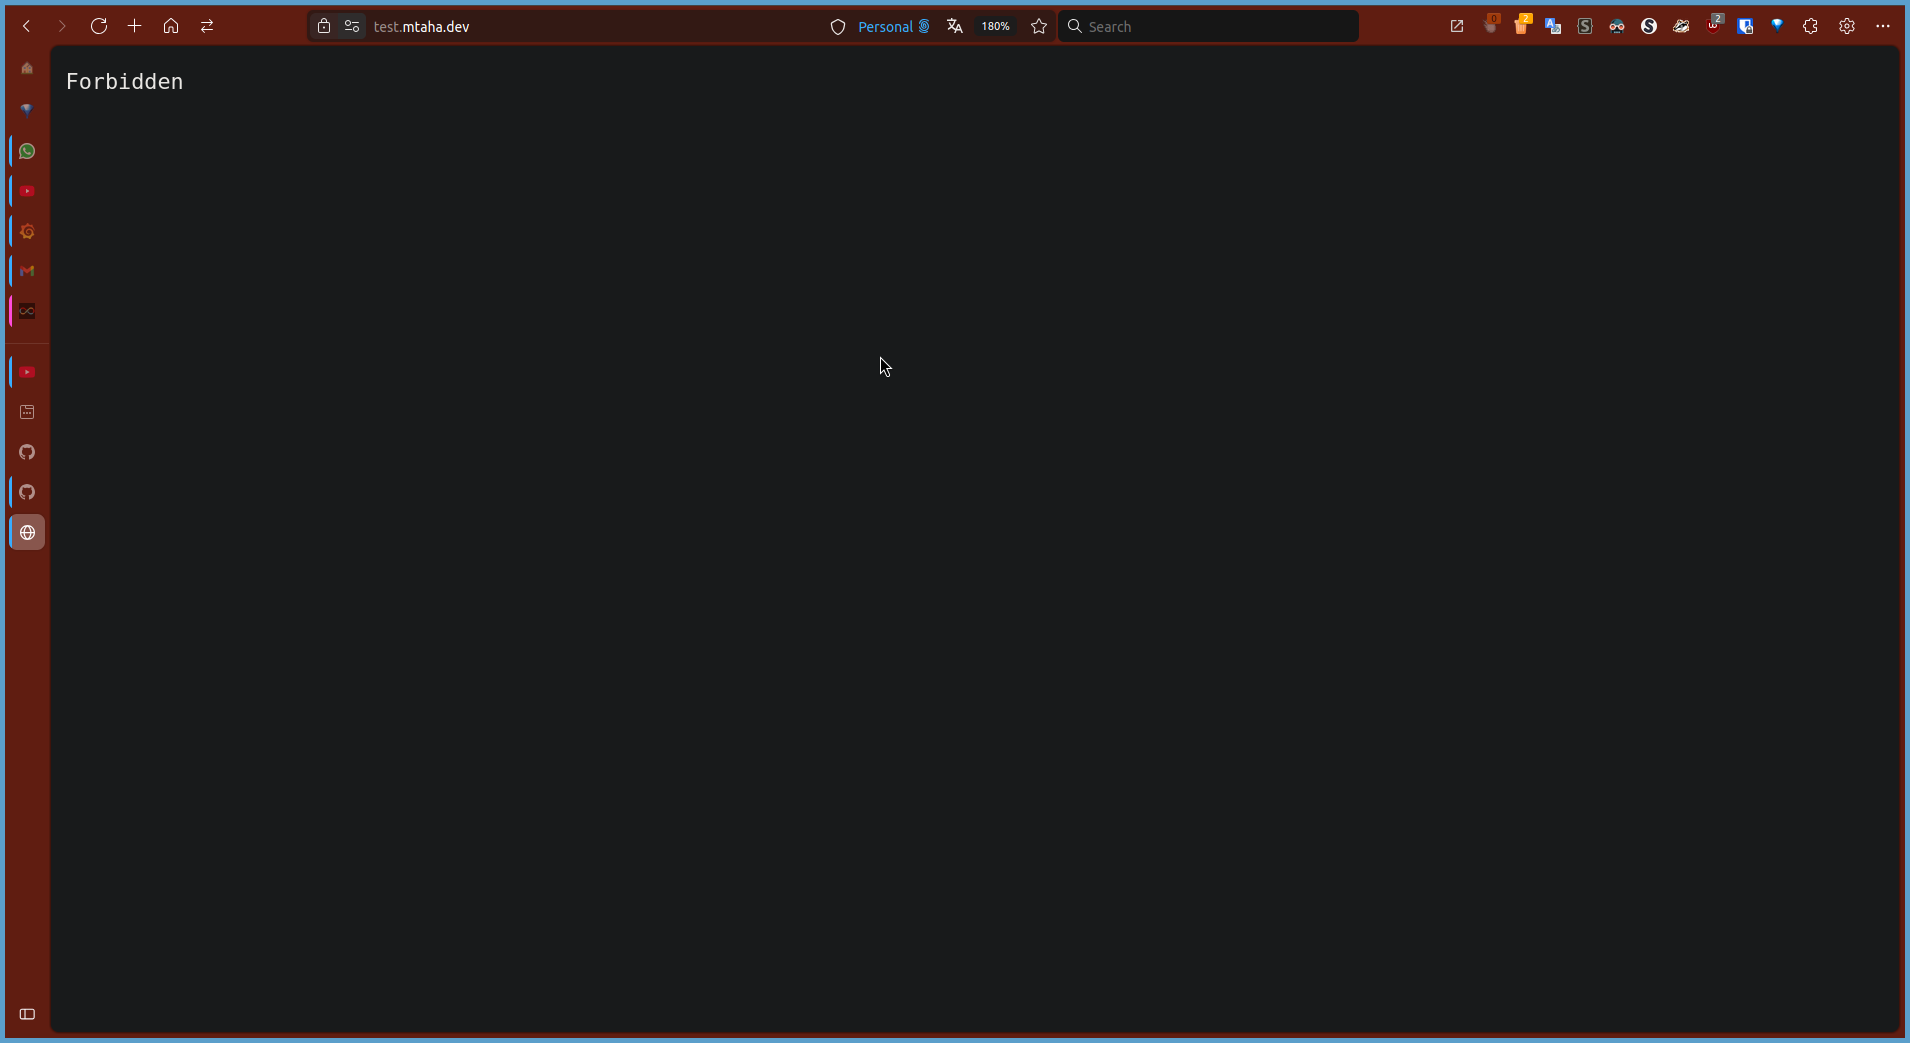
Conclusion
- In this guide, we have shown you how to set up Basic Authentication and Google OAuth with Caddy. Basic Authentication is an easy way to protect your website or web application from unauthorised access, while Google OAuth provides a more secure and user-friendly authentication method. You can choose the method that best suits your needs and configure it on your server using Caddy.