Disclaimer
In this guide, I will use Fedora 41 Cloud Edition as the base operating system. Some steps may vary depending on the distribution you are using.
Introduction
- Cockpit is a web-based server management tool that allows you to monitor and manage multiple servers from a single interface. It provides an easy-to-use dashboard that displays system information and logs. In this guide I will show you how to install Cockpit on your server and set it up behind a reverse proxy.
Step 1: Install Cockpit
-
The first step is to install Cockpit on your server. You can do this by running command:
-
For Debian/Ubuntu:
sudo apt update sudo apt install cockpit -
For CentOS/RHEL:
sudo yum install cockpit -
For arch-based distros:
sudo pacman -S cockpit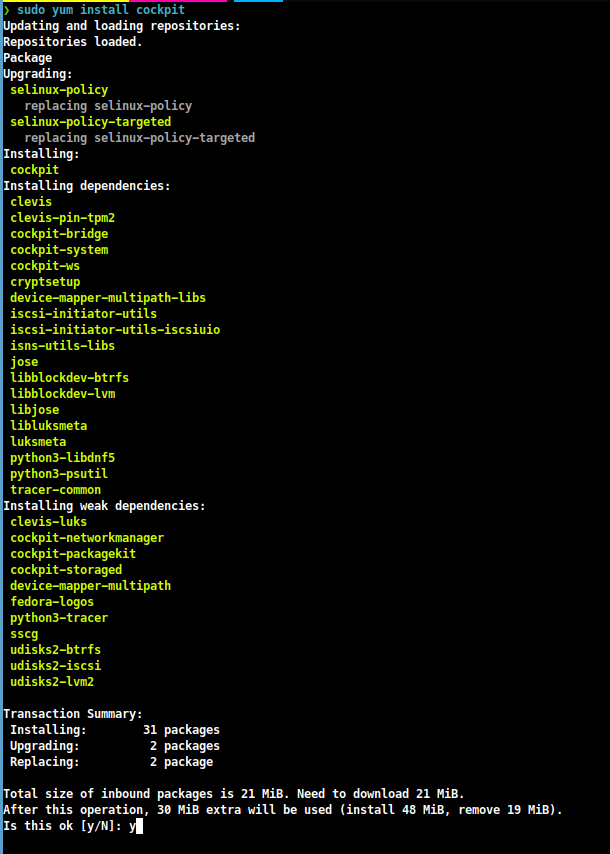
Step 2: Enable and Start Cockpit
-
Once Cockpit is installed, you need to enable and start the Cockpit service. You can do this by running the following commands:
sudo systemctl enable --now cockpit.socket
Step 3: Configure Firewall for Testing Cockpit
-
If a firewall is enabled on your server and you are not using a reverse proxy, you will need to allow traffic on port 9090 (the default Cockpit port). You can do this by running the following commands:
-
For UFW:
sudo ufw allow 9090/tcp -
For FirewallD:
sudo firewall-cmd --permanent --zone="$(firewall-cmd --get-default-zone)" --add-service=cockpit
sudo firewall-cmd --reload
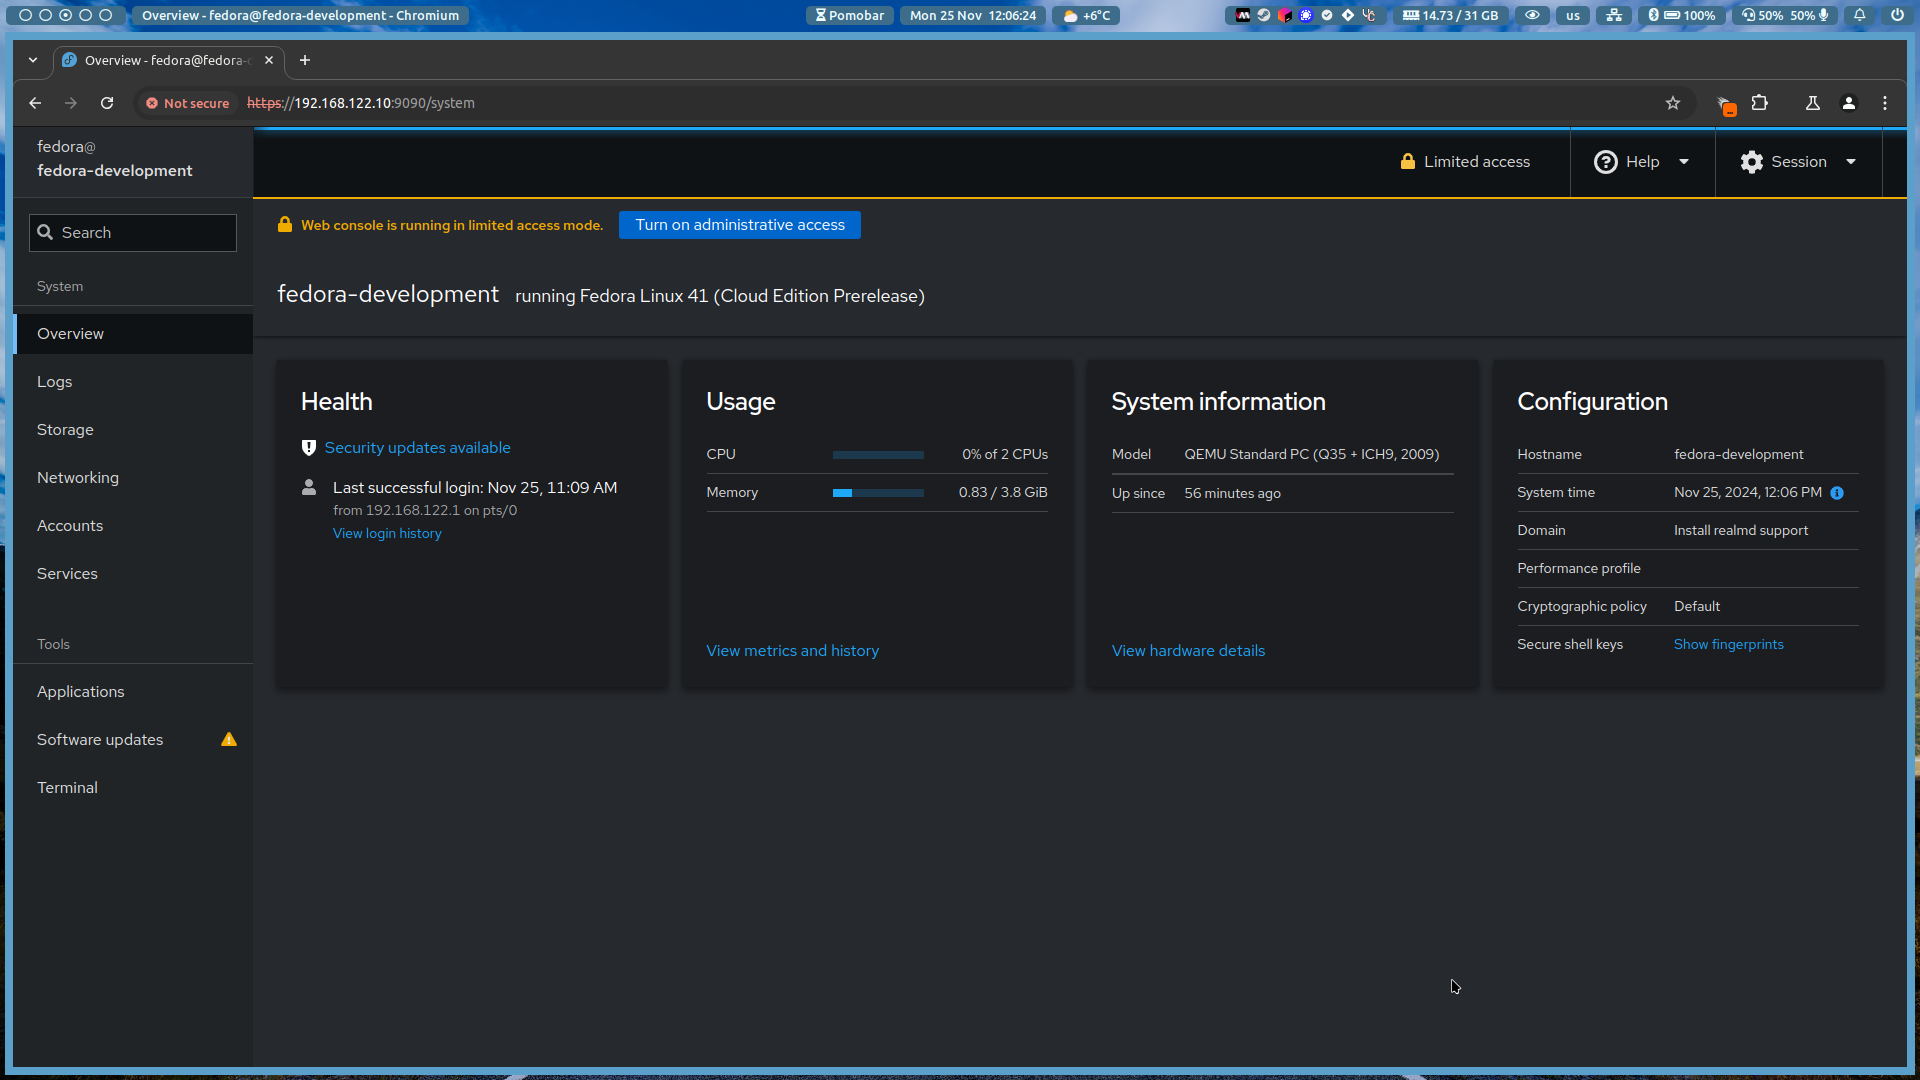
Step 4: Access Cockpit Web Interface
-
Once Cockpit is installed and running, you can access the web interface by navigating to
https://your-server-ip:9090in your web browser. You will be prompted to log in with your server username and password.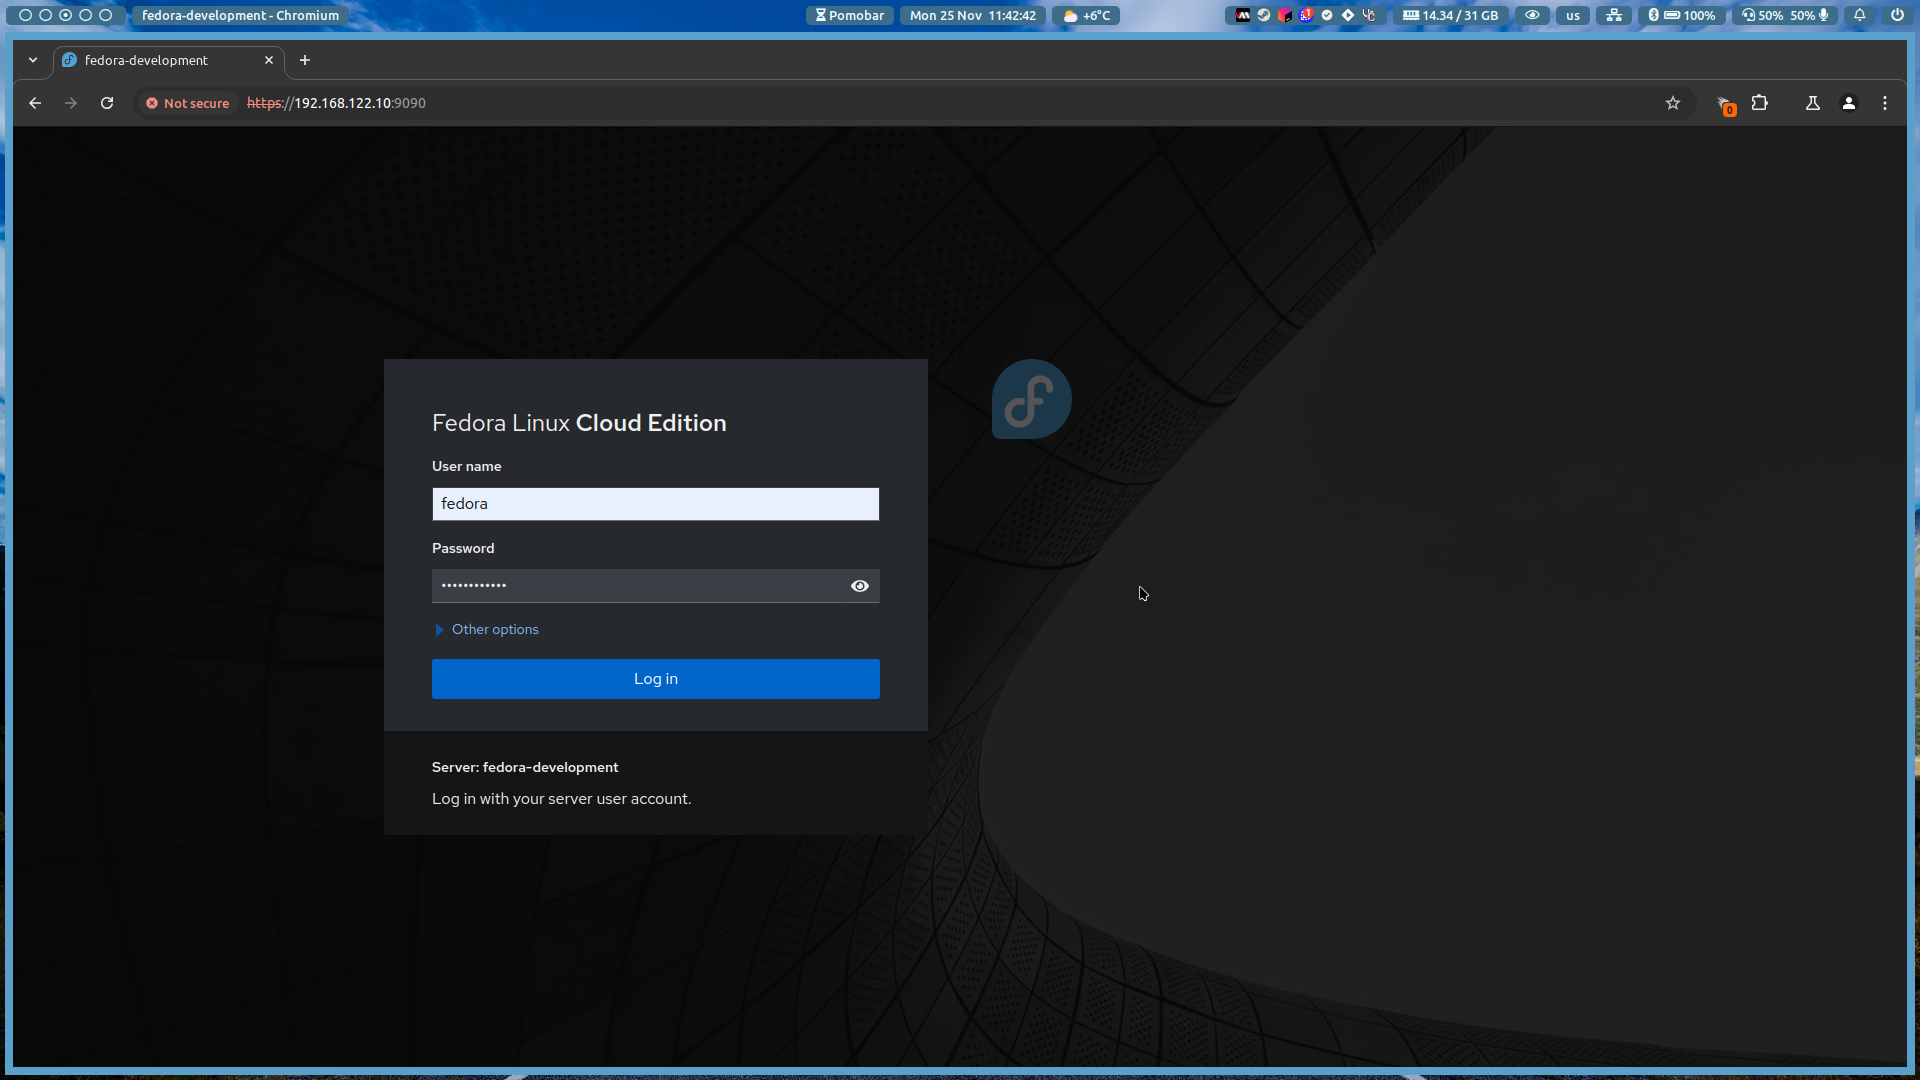
-
If you get the Cockpit login page, then you have successfully installed Cockpit. Then you can close the cockpit port 9090 as follows:
-
For UFW:
sudo ufw delete allow 9090/tcp -
For FirewallD:
sudo firewall-cmd --permanent --zone="$(firewall-cmd --get-default-zone)" --remove-service=cockpit
sudo firewall-cmd --reload
-
Step 5: Set Up Reverse Proxy
-
To use Cockpit behind a reverse proxy, you need to configure your web server to forward requests to the Cockpit service. Here is a sample configuration for web servers:
-
Apache
-
Create a new Apache configuration file for your domain:
sudo vim /etc/apache2/sites-available/your-domain.com.conf -
Add the following configuration to the file:
<VirtualHost *:80> ServerName your-domain.com Redirect permanent / https://your-domain.com/ </VirtualHost> <VirtualHost *:443> ServerName your-domain.com SSLEngine on SSLCertificateFile /etc/letsencrypt/live/your-domain.com/fullchain.pem SSLCertificateKeyFile /etc/letsencrypt/live/your-domain.com/privkey.pem ProxyPass / http://localhost:9090/ ProxyPassReverse / http://localhost:9090/ ErrorLog ${APACHE_LOG_DIR}/error.log CustomLog ${APACHE_LOG_DIR}/access.log combined </VirtualHost> -
Save the configuration file and reload Apache:
sudo systemctl reload apache2
-
-
Caddy
Note
If you don’t have Caddy installed, you can follow [[sysadmin/caddyserver_setup |this]] guide to install it.
-
Open the Caddyfile for editing:
sudo vim /etc/caddy/Caddyfile -
Add the following configuration to the file:
your-domain.com {
    ...
    reverse_proxy localhost:9090
}
Note
Replace
your-domain.comwith your actual domain name.
If you want to use authorization with Caddy, you can follow [[security/caddyserver_auth_setup |this]] guide.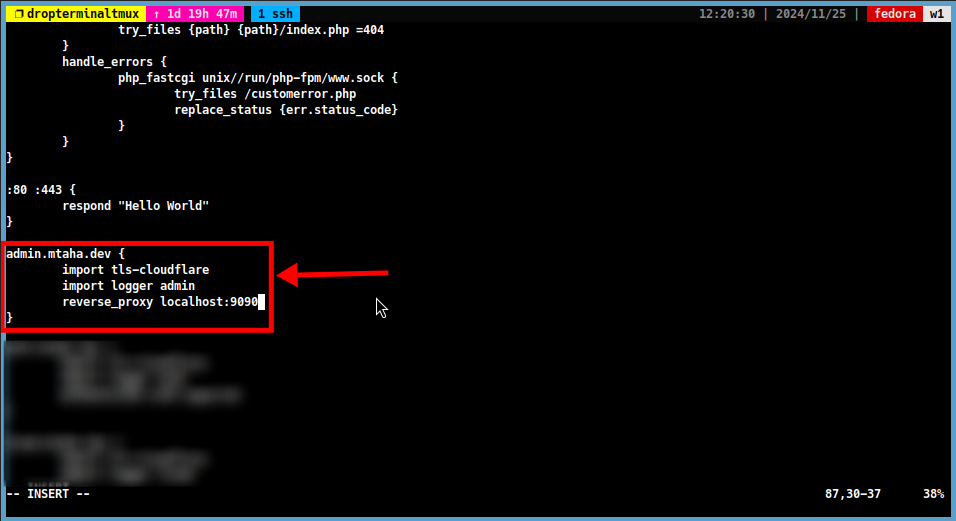
-
Save the Caddyfile and reload Caddy:
sudo systemctl reload caddy -
Nginx
-
Create a new Nginx configuration file for your domain:
sudo vim /etc/nginx/sites-available/your-domain.com -
Add the following configuration to the file:
server { listen 80; listen [::]:80; server_name your-domain.com; rewrite ^ https://$host$request_uri? permanent; } server { listen 443 ssl http2; listen [::]:443 ssl http2; server_name your-domain.com; ssl_certificate /etc/letsencrypt/live/your-domain.com/fullchain.pem; ssl_certificate_key /etc/letsencrypt/live/your-domain.com/privkey.pem; ssl_protocols TLSv1.2 TLSv1.3; location / { proxy_pass http://localhost:9090; proxy_set_header Host $host; proxy_set_header X-Real-IP $remote_addr; proxy_set_header X-Forwarded-For $proxy_add_x_forwarded_for; proxy_set_header X-Forwarded-Proto $scheme; } } -
Save the configuration file and enable the site:
sudo ln -s /etc/nginx/sites-available/your-domain.com /etc/nginx/sites-enabled/
sudo systemctl reload nginx
-
-
Then you can access Cockpit by navigating to
https://your-domain.comin your web browser.
Conclusion
- In this guide, we have shown you how to install Cockpit on your server and set it up behind a reverse proxy. Cockpit provides a user-friendly interface for managing your server, and using a reverse proxy allows you to access it securely over the internet.